
Ombre vs. Gradient: The Difference Everyone Thinks They Know (But Doesn’t)
Let’s clear something up that has caused way more chaos than it deserves: ombre and gradient are not identical twins. They’re more like cousins who show up to the same family reunion wearing the same outfit and then act offended when you mix up their names.
And yes mixing them up can absolutely backfire. Like, “I wanted a soft fade and now my hair looks like a highlighter exploded” levels of backfire. Or “I asked for ombre nails and got rainbow unicorn flames” (which… could be a win depending on your personality, honestly).
Here’s the one question test that fixes almost everything:
Does the actual color (hue) change… or does it stay the same and just get lighter/darker?
That’s it. That’s the whole magic trick.
The lazy (but accurate) cheat sheet
- Gradient: a smooth transition that can change colors (yellow → orange → red) and/or lightness
- Ombre: a smooth transition within one color family (same color, just lighter → darker)
So technically, ombre is a type of gradient. Like how every square is a rectangle, but not every rectangle is a square. (Yes, I was the kid who enjoyed that fact. No, I don’t have hobbies.)
If you remember nothing else:
Ombre = one color, different shades.
Gradient = can be multiple colors.
“Sombré” and “variegated” (a quick translation so you sound fancy)
You’ll also see these two words floating around like they pay rent:
- Sombré: basically ombre’s softer, more subtle sister. Less contrast, more “oh look how natural and effortless I am” (even though you and I both know effort happened).
- Variegated: color changes that aren’t a smooth fade. More scattered, more random, more “the yarn is doing interpretive dance.”
Okay. Now let’s talk real life situations, because definitions are cute but you still need to walk into a salon/craft store without spiraling.
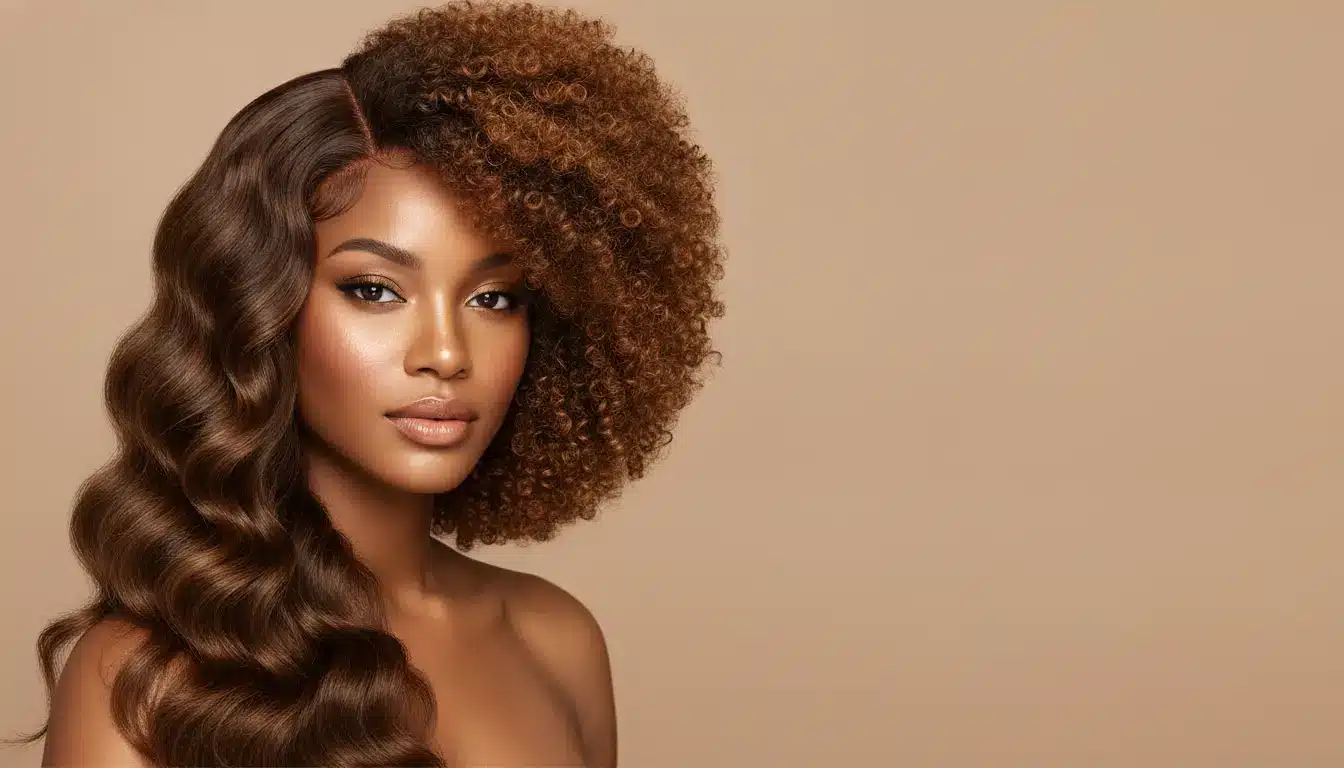
Hair: where the stakes (and the bleach) are high
Classic ombre hair = darker roots, lighter ends
The “traditional” ombre look is dark near the roots → gradually lighter toward the ends. The fade usually starts around mid length so it looks intentional, not like your hair got bored halfway through being colored.
Why people love it: the grow out is forgiving. Because your roots being darker is part of the plan, you’re not touching it up every five minutes.
Reverse ombre = light roots, darker ends
It’s a vibe. A bold one. Also: harder to pull off without it looking like an accident, so keep that in mind.
The thing everyone really confuses: ombre vs balayage
This is where I see people get twisted up. Balayage isn’t a color result, it’s an application method.
- Ombre: more of a planned fade zone (think: a smoother shift that reads as “top to bottom transition”)
- Balayage: more scattered hand painted highlights (think: sun kissed, “I just got back from vacation,” even if you just got back from Target)
Balayage can create an ombre-ish look, which is why the words get used interchangeably in the wild. But if you’re trying to communicate clearly, it helps to separate what you want it to look like (ombre/gradient) from how they do it (balayage/foils/etc.).
Hair types where ombre gets tricky
I’m not here to tell you what to do with your own head, but here’s what I’ve learned watching this play out:
- Very short hair doesn’t have enough length for a pretty fade. The transition can look abrupt because there’s nowhere for it to go.
- Fine/thin hair can look a little swallowed by high contrast. This is where sombré can be your best friend.
- Curly/textured hair reflects light differently (and hides transitions in a way that can be either gorgeous or frustrating). Often you need a little more contrast for it to read as “ombre” instead of “I guess my ends are lighter?”
My very un-fun safety note
If you are starting from medium to dark brown hair and you need bleach to get the look… seriously consider a pro. The worst case scenario isn’t “oops it’s not perfect.” It’s breakage. Hair can’t be unsnapped. And no conditioner on this earth can sweet talk it back together.
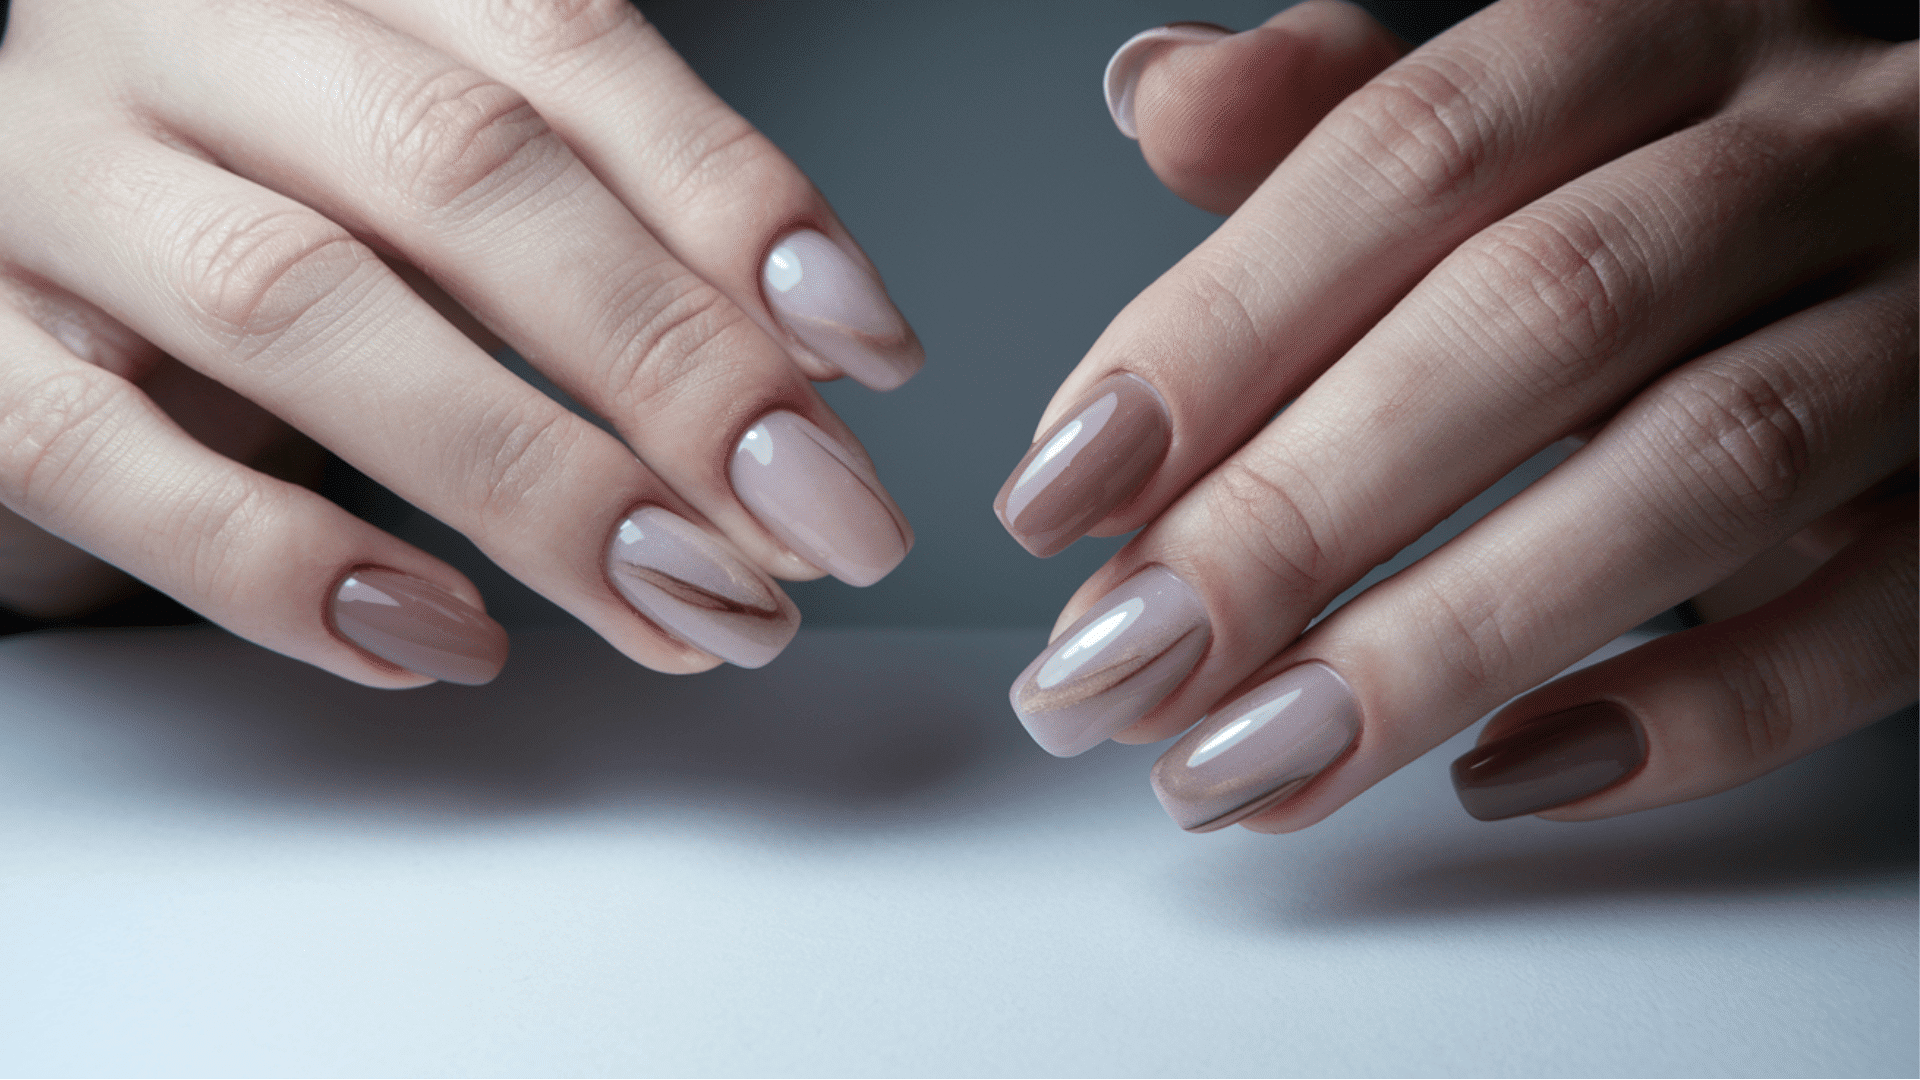
Nails: where “ombre” often means something totally different
This one surprises people.
Ombre nails (often) = the fade happens across your fingers
A lot of salons use “ombre nails” to mean: each nail is a different shade of the same color family.
Example: pinky is pale blush → ring finger is rose → middle is berry → index is deep magenta → thumb is basically wine o’clock.
No blending on each nail. Just a cute set that looks coordinated and intentional with nail shapes that photograph best (and also happens to be very beginner friendly).
Some people call this the skittle effect, which sounds like candy and joy, so I approve.
Gradient nails = blended colors on the same nail
This is the classic blended look: pink → purple → blue across one nail (or cuticle to tip, diagonal, whatever your heart desires).
And yes, you can do this at home with autumn ombre nail looks without a degree in tiny art.
The lazy girl sponge method (works like a charm)
You need:
- base coat
- 2-3 polishes
- a cosmetic sponge (the little wedge kind)
- top coat
- a little cleanup brush/cotton swab for the inevitable mess (because you are human)
How I do it:
- Base coat. Let it dry.
- Optional but helpful: a thin white or nude base so your colors pop.
- Paint stripes of your polish colors onto the sponge, right next to each other.
- Dab, don’t swipe onto your nail. Dab like you’re applying a very tiny, very sparkly stamp.
- Repeat until it looks right, then top coat to smooth it out.
The top coat is the glow up stage. Trust the process.
Painting: where gradients are gorgeous… and also mildly stressful
This is my favorite place to use these techniques because if you mess up a little, you’re not walking around with it attached to your body (hair and nails are braver than I am).
Ombre painting (single color fade) = easiest place to start
If you want that “designer wall” look without fighting five colors at once, do ombre.
My best tip: pre-mix your shades before you start. Because trying to remix “that perfect middle tone” while your paint is drying is a special kind of panic.
Basic idea:
- lightest shade at the top (or center)
- darkest at the bottom (or edges)
- overlap slightly and blend while it’s still wet
Multi-color gradients (true gradients) = pretty, but don’t overwork it
If you’re blending multiple hues (like blue → purple → pink), choose colors that play nicely together. Neighbors on the color wheel blend cleaner. Opposites can turn into that dreaded mystery mud brown if you fuss with them too much.
Also: paint dries fast. Your blending window is not infinite. If you notice harsh lines, it’s usually because the paint started setting and you missed your moment.
If you’re working on something big, I keep a little spray bottle nearby to lightly mist the transition area so it stays workable but don’t go full rainforest or you’ll get drips and regret.
Yarn & fiber arts: don’t trust the label with your whole heart
If you knit/crochet (or you just enjoy buying yarn like it’s a personality trait no judgment, I see you), here’s the deal:
- Gradient yarn: shifts through multiple colors
- Ombre yarn: shifts light to dark within one color family
And some brands use these words… creatively. So look at the actual skein/cake and ask: is the yarn changing hues, or just changing value (lightness)?
Two quick gotchas:
- Direction matters. Your project construction affects how the colors show up (in the round vs flat, top down vs side to side).
- Undertones will betray you. Warm beige and cool beige might look like twins under store lighting and then fight like siblings in daylight. If you can, buy from the same dyelot and check in natural light.
Also: if you want the color shift to be the star, don’t choose the world’s busiest stitch pattern. Let the yarn have its moment.
DIY or hire it out? (A very real line in the sand)
Here’s my personal rule: if the mistake is annoying but fixable, DIY away. If the mistake is expensive or damaging, call in backup.
Usually fine to DIY:
- nail gradients with the sponge trick
- painted ombre/gradients on walls or canvases
- yarn projects with planned color changes
- hair toning on already light hair (like canceling brassiness)
Worth paying a pro for:
- hair lightening from medium/dark brown (bleach is not a “learn as you go” situation)
- reverse ombre hair (placement matters)
- balayage on dark hair if you want it to look expensive, not stripey
- complicated multi-color gradient work where mistakes can’t be “just painted over”
The words to say so you actually get what you want
When you’re booking a salon appointment or describing a project, skip the vague “I want ombre” and say what you mean:
For hair
Try:
- “I want an ombre in the brown family darker at the roots and lighter at the ends.”
- “I want a gradient that goes from auburn to copper to gold.”
And always add:
- how much contrast you want (soft vs bold)
- where the fade should start (chin? shoulders? mid length?)
- reference photos with similar hair texture to yours (because curly hair and straight hair do not read color the same)
For nails
Say:
- “I want ombre across the set” (different shades on different fingers)
or
- “I want a gradient on each nail” (blended on the nail)
Bring pictures. Always. Words are slippery. Photos are not.
The bottom line (so you can stop overthinking this)
If you want a fade that stays in one color family: ombre.
If you want multiple colors blending: gradient.
And if someone uses the terms loosely (because people do), you’ll still be fine as long as you can describe the look you actually want.
Now go forth and blend things on purpose.