Sponge Ombre Nails: The “Secret” Trick That Makes You Look Like You Have Your Life Together
If you’ve ever tried to DIY ombre nails and ended up with something that looked less “Pinterest fairy gradient” and more “I dropped my hand in chalk dust,” hi. Welcome. You’re my people.
The sponge method is the thing that makes ombre finally click at home. It’s not magic, it’s not talent bestowed upon the chosen few it’s just a little prep, the right colors, and a very specific “tap tap tap” motion (and yes, your first nail might still look questionable… mine always does until I get in the groove).
Let’s get you from “patchy blobs” to “wait, did you go to a salon?”
First: Grab a Sponge… but not like a gremlin
You can absolutely use those cheap little makeup wedges you already have. The difference between a smooth fade and a speckled mess is how you prep it.
Here’s what I do:
- Slice the sponge into thinner pieces. A whole wedge is chunky and tends to stamp harder, which makes the fade look… aggressive. Thin slices = softer blend.
- Use the fresh cut side. The outside of the sponge is smoother and weirdly worse for blending. The inside has smaller pores and gives you a prettier gradient.
- Do the unsexy step everyone skips: press the cut sponge onto the sticky side of tape 10-15 times.
This yanks out loose fibers so they don’t end up embedded in your polish like a tiny lint memorial. (Ask me how I know. Actually don’t. It’s traumatic.)
Quick sponge test: tap it on your thumbnail. If it leaves a fairly even mark not big obvious dots you’re good.
Also grab: base coat, top coat, your colors, and maybe a little brush if you’re fancy (you don’t have to be fancy).
Gel vs. regular polish: pick your chaos
Both work. They just come with different flavors of drama.
Gel (my pick if you have a lamp)
- Pros: cures fast, doesn’t smudge, layers don’t get accidentally destroyed by your own impatience
- Cons: you need the lamp + gel base/top + cleanser/wipes
- Wear time: usually 2-3 weeks
Regular polish (totally fine, just… slower)
- Pros: no extra equipment, more working time to fix mistakes
- Cons: drying time is the boss of your life for an hour
- Wear time: typically 3-5 days before chips start auditioning
If you’re the kind of person who touches wet polish like it personally offended you, gel is going to feel like a gift.
Colors that blend nicely (aka: don’t make swamp nails)
Ombre goes muddy when your colors fight each other or when the formula is too opaque/stripey.
What works best:
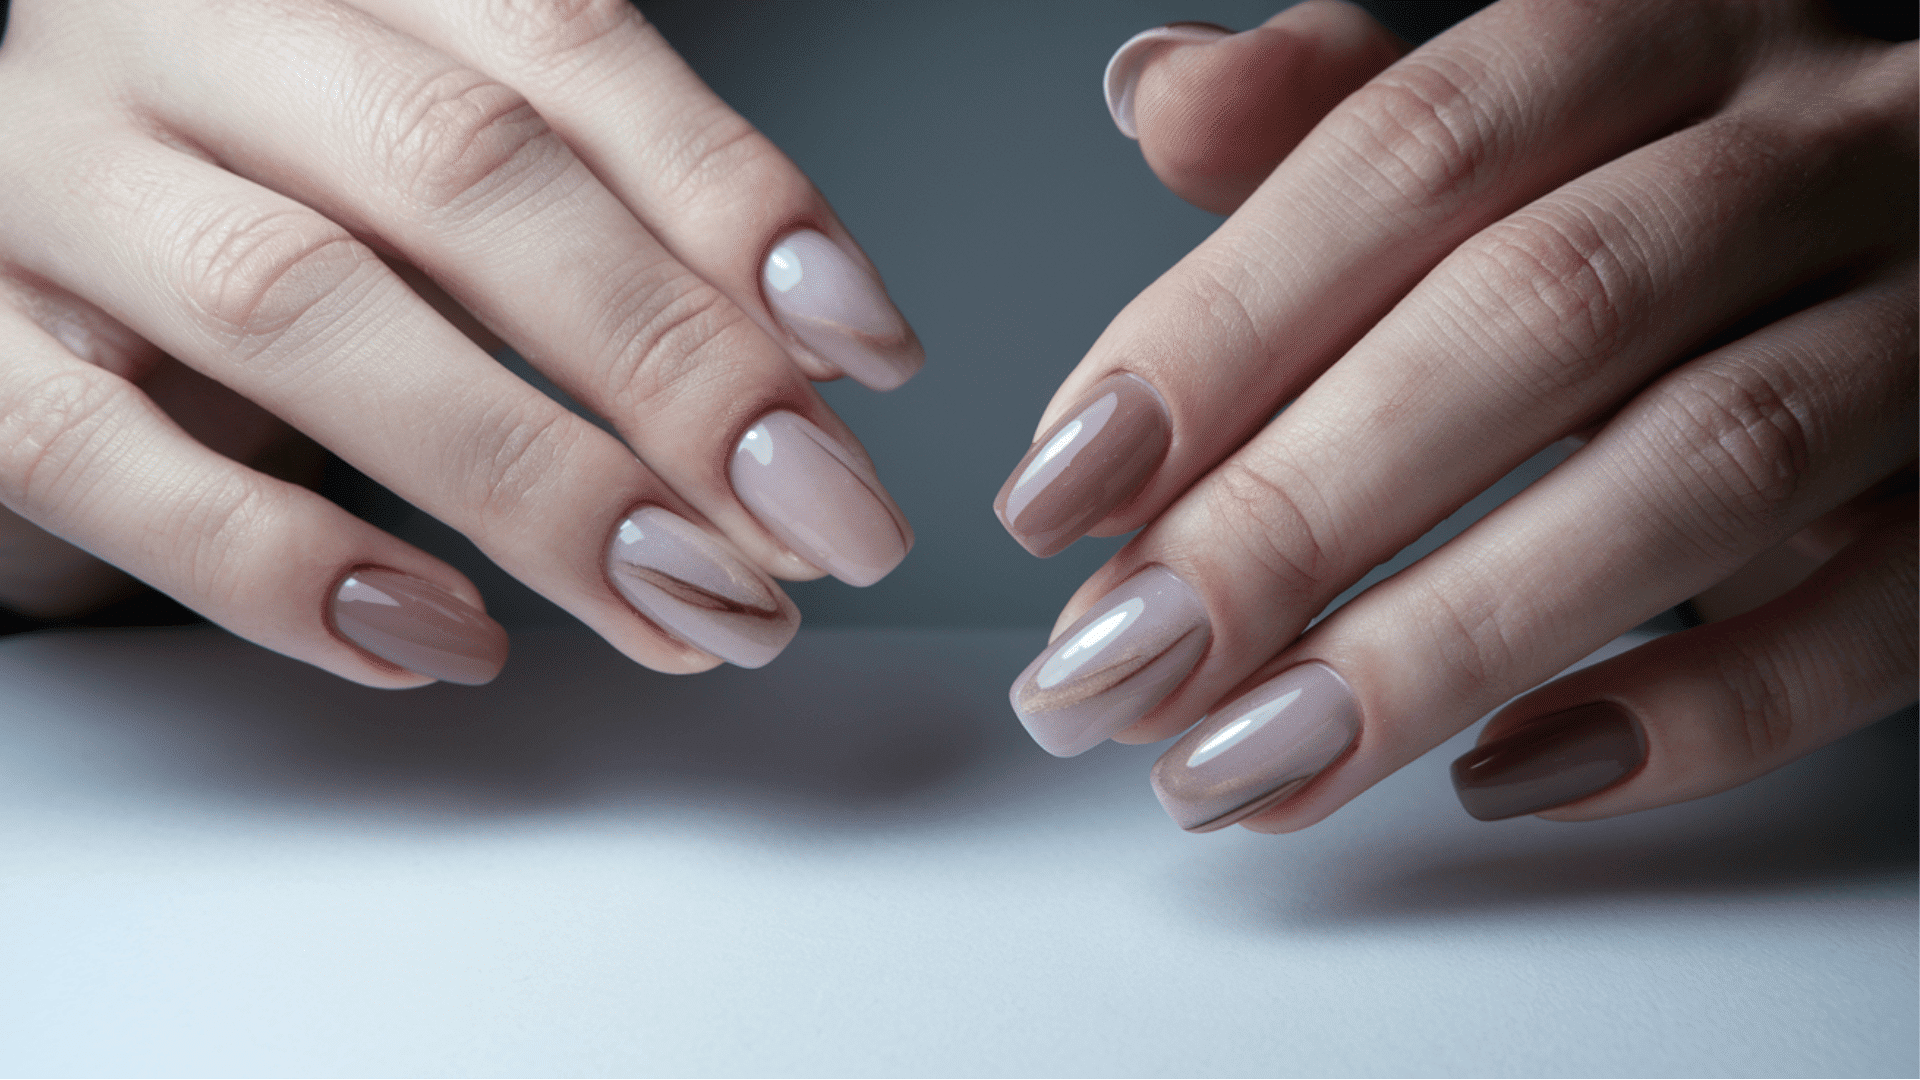
- Creamy, semi opaque shades (milky pinks, soft nudes, pastels) blend in a couple layers
- A “bridge” color helps a ton three colors often look smoother than two because that middle shade does the hard work for you
Beginner combo I love from my fall ready shade combos:
- pale base (white, nude, blush, pastel)
- deeper tip (navy, burgundy, deep green, jewel tone)
And I’m going to say it: skip glitter, shimmer, chrome for your first sponge ombre. The sponge eats the base pigment and leaves sparkles looking weirdly scattered, like you lost a craft battle.
The only motion that matters: tap straight down, lift straight up
If you take nothing else from this post, take this:
Do. Not. Drag. The. Sponge.
You’re stamping, not painting.
- Tap straight down → lift straight up
- Rotate the sponge slightly as you go so you’re not repeating the same pore pattern
- The first few taps will look awful. Truly. Like “why did I start this” awful.
- Somewhere around tap 8-12, the gradient usually starts smoothing out and you’re like, “Oh. OH. There it is.”
If you see harsh lines, it’s almost always because the sponge is swiping instead of tapping (or the sponge pores are too big more on that in troubleshooting).
How I do sponge ombre with gel (simple version)
- Prep like you mean it: push cuticles back, shape, lightly buff until the nail is matte.
Gel lifts when you leave shine. Gel is petty like that. - Base coat + cure.
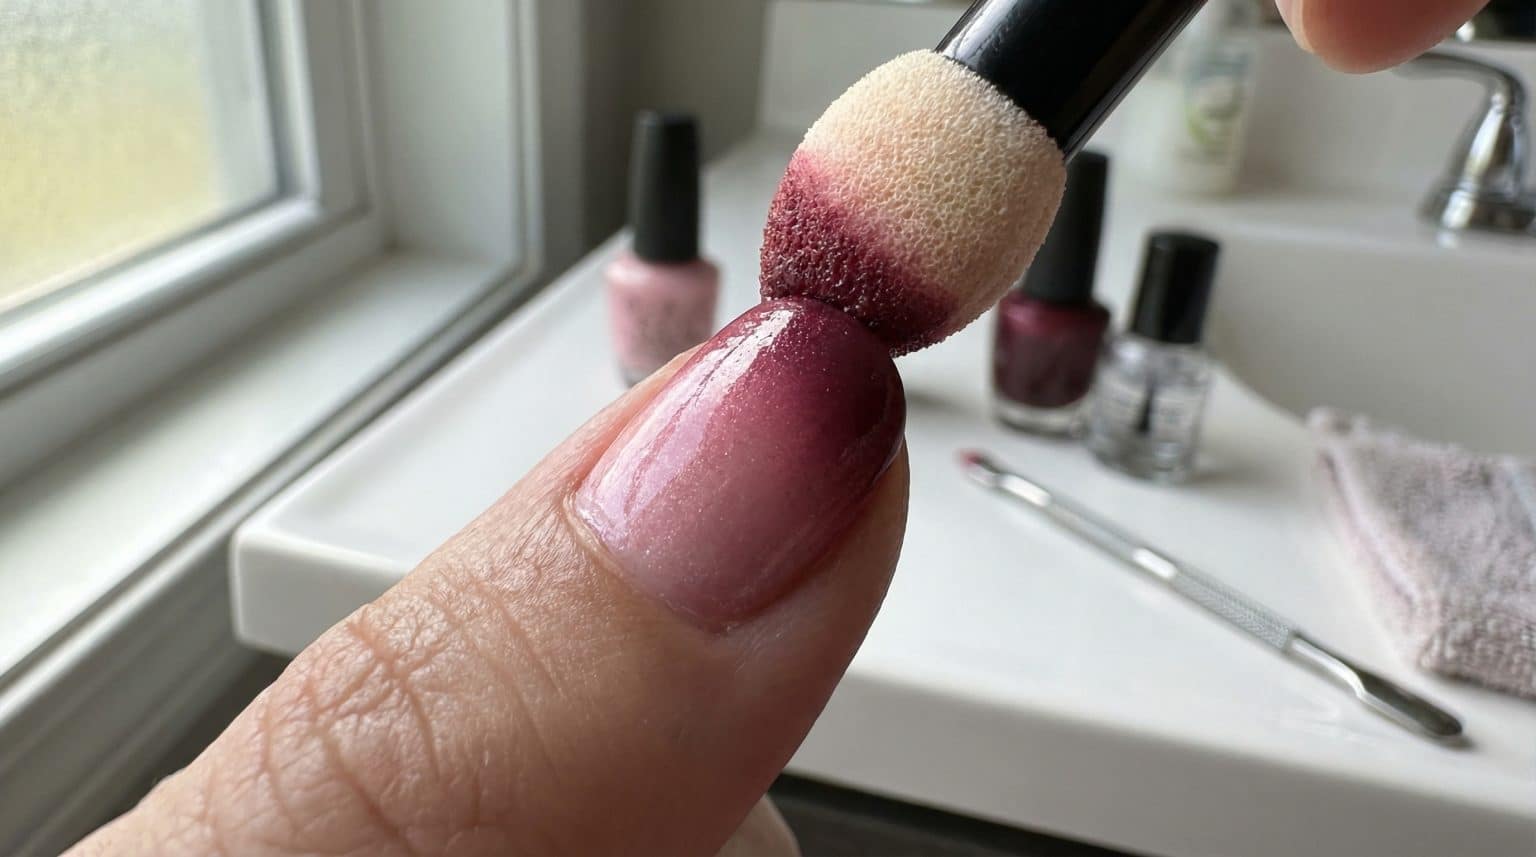
- First ombre layer: put your colors on the sponge and tap from the tip upward. This layer will look sheer and uneven. That’s fine this is your “map.”
- Second layer: reload sponge, tap again, mostly focusing on the tip and mid area.
- Third layer (if needed): deepen the tip, then lightly tap upward to blend.
- Cure between layers and don’t forget to seal the free edge (that little swipe along the tip). It helps with wear.
If you’re getting bubbles in gel, you’re pressing too hard. You’re not tenderizing meat. Gentle, firm taps.
How I do sponge ombre with regular polish (the timing matters)
- Base coat, let it dry fully.
- Paint two stripes of polish directly onto the sponge so they slightly overlap in the middle.
- Tap onto the nail until the colors start melting together.
- Wait 30-60 seconds between sponge layers.
I know. It’s annoying. But if you don’t wait, the sponge will grab the layer underneath and you’ll say words you don’t want your pets to learn. - If your base color smears when you dab: do a quick barrier top coat over the base first, let it dry a couple minutes, then ombre on top.
Regular polish ombre is basically a patience exercise disguised as nail art.
Top coat: the glow up step you can’t skip
Your nail will look a little textured after sponging. Normal. Top coat is the thing that makes it look smooth and blended, like you’re a professional person who owns matching socks.
- Make sure your ombre is fully dry/cured first
- Apply top coat in smooth strokes and seal the edge
Also: there’s a point where it looks good enough and more layers just dull the colors. If your fade is reading as intentional and cute? Stop. Seal. Move on.
Quick troubleshooting (because something will go slightly sideways)
- Dotted/stippled texture: sponge pores are too big → cut a fresh slice and use the inner cut side
- Harsh line instead of fade: you’re dragging → go back to straight down/straight up tapping
- Muddy, brownish gradient: colors are too close or undertones clash → top coat it and pick higher contrast shades next time
- Layer lifting with regular polish: you’re not waiting long enough between layers → give it 30-60 seconds, minimum
- Bubbles in gel: pressing too hard → lighter taps, and let gel sit a few seconds before curing
And honestly? If it’s starting to look muddy, more blending usually makes it worse. Top coat is your exit ramp.
Your first set doesn’t have to be perfect (mine never is)
The sponge ombre technique is one of those things where your hands learn the rhythm after a few tries. Like… your brain understands it immediately, but your fingers are like, “No thank you, I’m new here.”
So start simple with fresh autumn designs. Two or three creamy shades. Give yourself permission to have one nail that’s the “practice nail” (every hand needs one, it’s science). Take a photo so you can see how much better you get because you will get better.
Now go cut up that sponge and pretend you’re a tiny nail artist with a very serious tapping job.