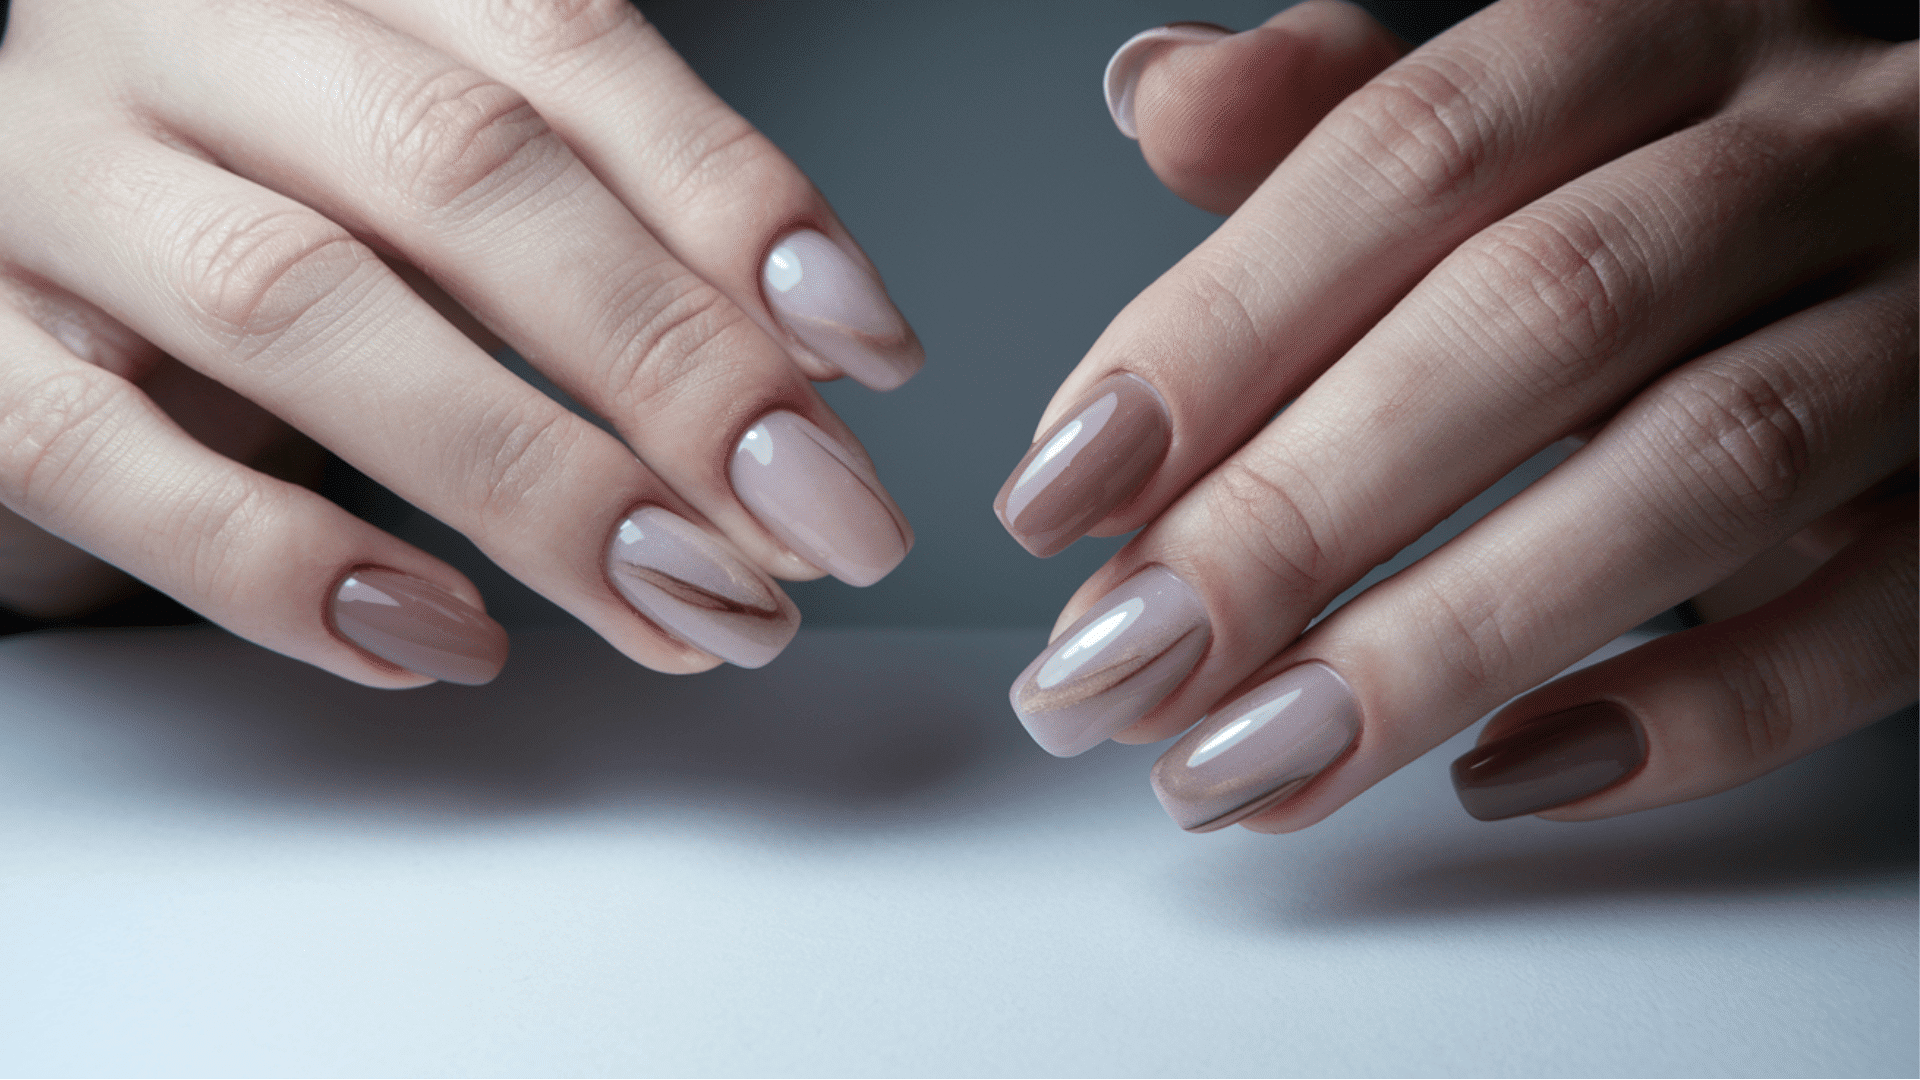
Getting salon-quality gel nails at home is simpler than most people think.
With the right tools, steady hands, and a little practice, you can achieve a flawless, glossy finish that rivals any professional manicure.
Doing your own gel nails also means saving time, experimenting with colors, and enjoying that satisfying moment when your nails shine perfectly under the light.
Here, you will get to know how to do gel nails at home using professional techniques that are easy for beginners to follow.
Set-Up for Doing Gel Nails at Home
A well-prepared setup makes all the difference between an effortless manicure and a messy one.
Before you begin, take a few minutes to gather all the items you’ll need and organize your space.
Having everything ready not only saves time but also helps maintain focus while painting.
Here’s what you’ll need to do gel nails at home :
- Nail file and buffer
- Cuticle pusher
- Lint-free wipes
- Gel base coat, top coat, and color polish
- UV lamp
- Nail Polish Remover
- Cuticle oil
Lay your supplies on a flat, well-lit surface. Place a towel or mat under your hands to catch any spills.
Check that your lamp is plugged in and functioning before starting. A calm, organized setup helps ensure smooth results.
How to Do Gel Nails at Home?
Each stage in a gel manicure plays a key role in getting that smooth, durable finish.
Following these steps in the right order helps you avoid uneven polish, peeling edges, or bubbles.
Keep your layers thin, be patient with curing, and allow time for each coat to set properly.
Step 1: Prep Your Nails
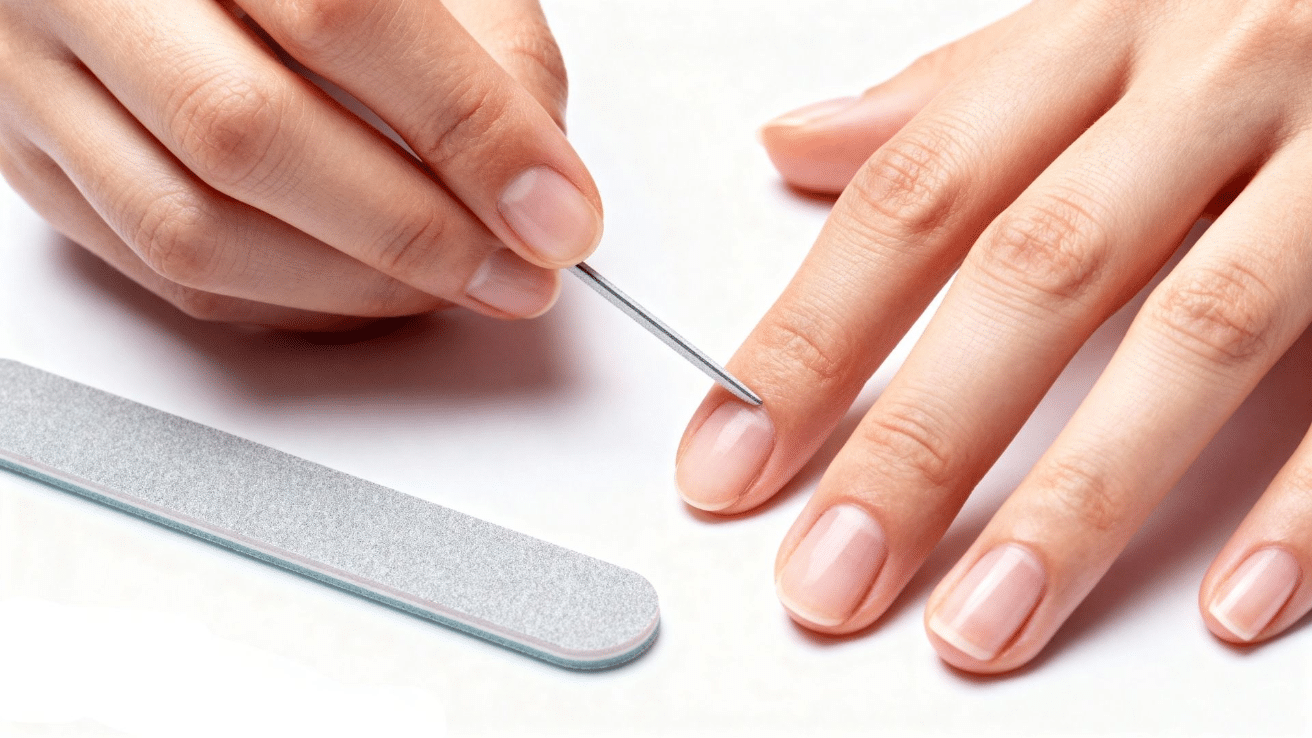
Start by giving your hands a quick wash to remove any oils or lotion. Gently shape your nails using a fine file until they look even and tidy.
Push back your cuticles to make your polish look clean and help it last longer.
Lightly buff the nail surface, then wipe away any dust so your base coat can grip perfectly.
Step 2: Cleaning the Nails
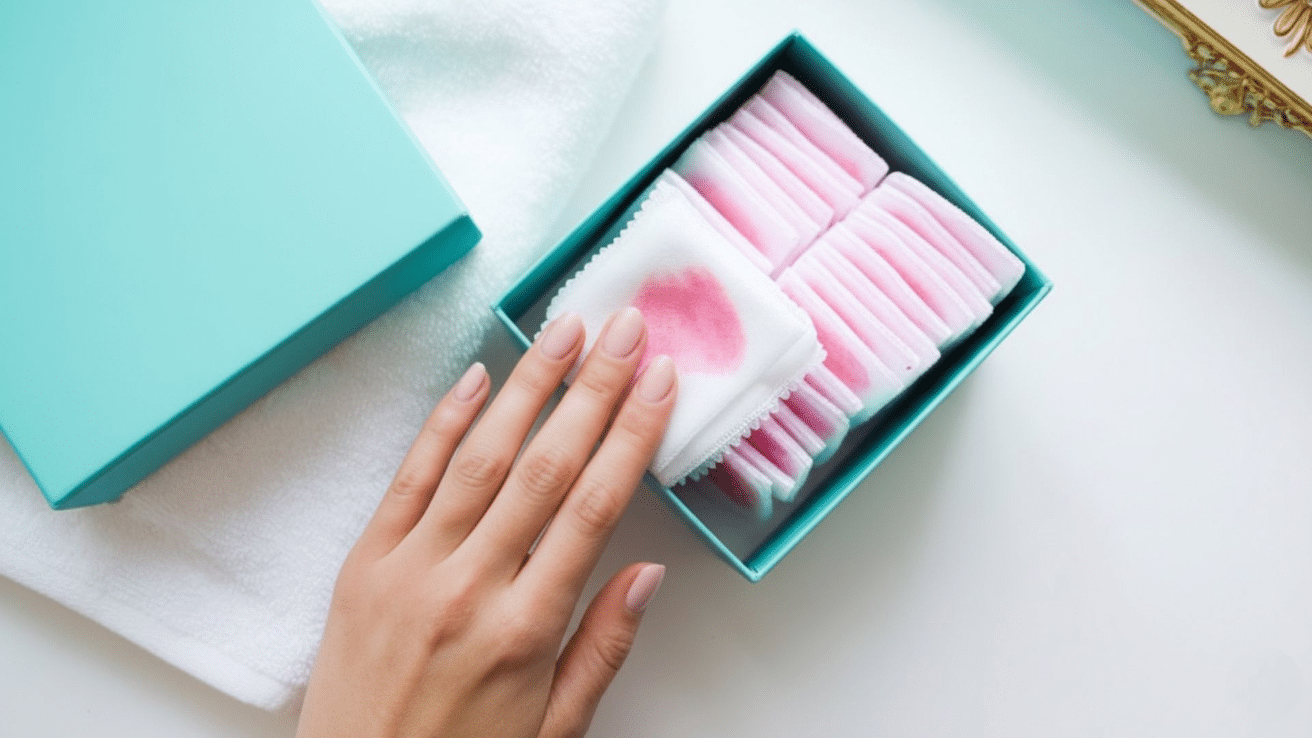
This step determines how long your gel lasts. Take a lint-free wipe soaked in nail polish remover and clean each nail carefully.
It removes every trace of oil or residue that could stop your polish from sticking. When the nails look matte and feel dry, you’re ready to paint.
Step 3: Applythe Base Coat
Think of this as your foundation, as everything else builds on it. Apply a thin, even layer of base coat, keeping it slightly away from the skin.
If any polish touches your cuticle, wipe it off before curing to prevent lifting.
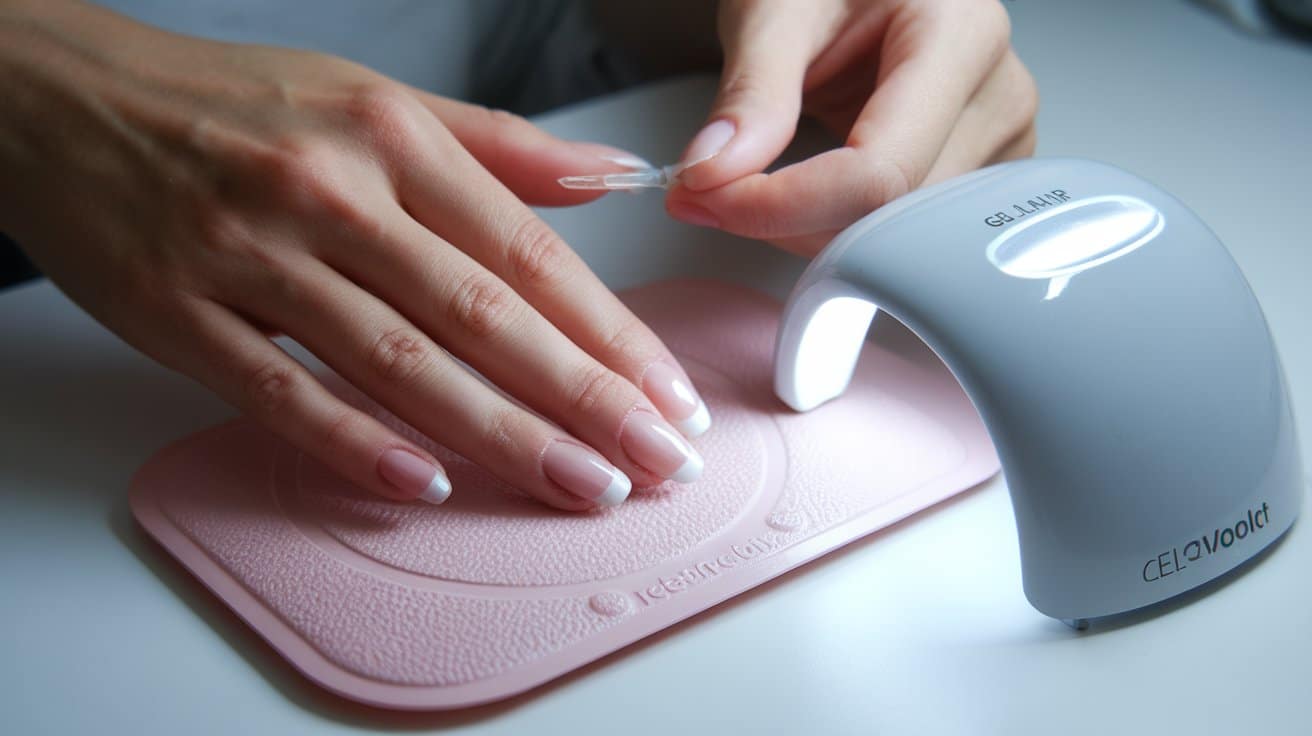
Cure your nails under the lamp for 30–60 seconds until the layer feels lightly tacky and ready for color.
Tip: No lamp at home? Use a gel-effect or no-light top coat. It air dries to a similar glossy finish, though it won’t last quite as long as cured gel.
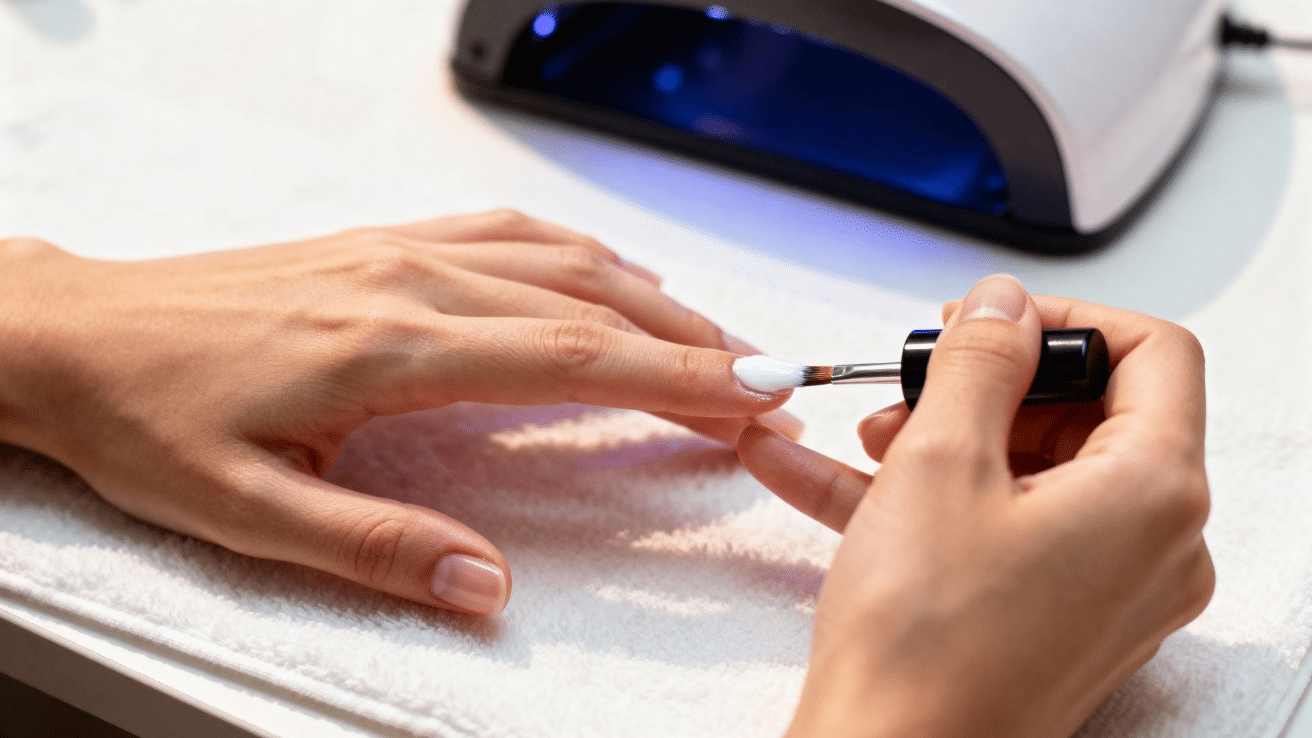
Step 4: Apply Gel Color
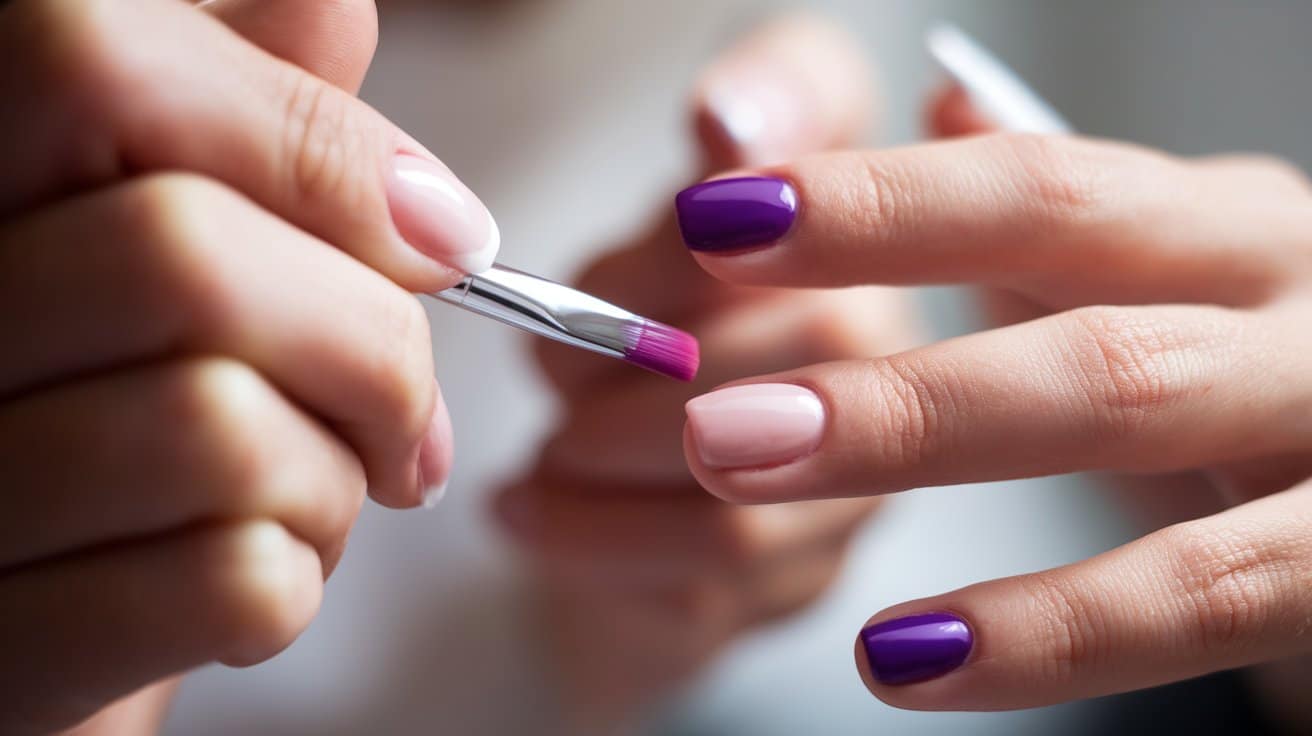
Here’s where the fun starts! Your color brings everything to life.
Roll your polish bottle between your hands to mix it, then brush on a thin, even coat from base to tip.
Cure, then repeat for a second coat to deepen the color. If you’re feeling creative, add a bit of glitter or a design before sealing it in later.
Step 5: Seal with Top Coat
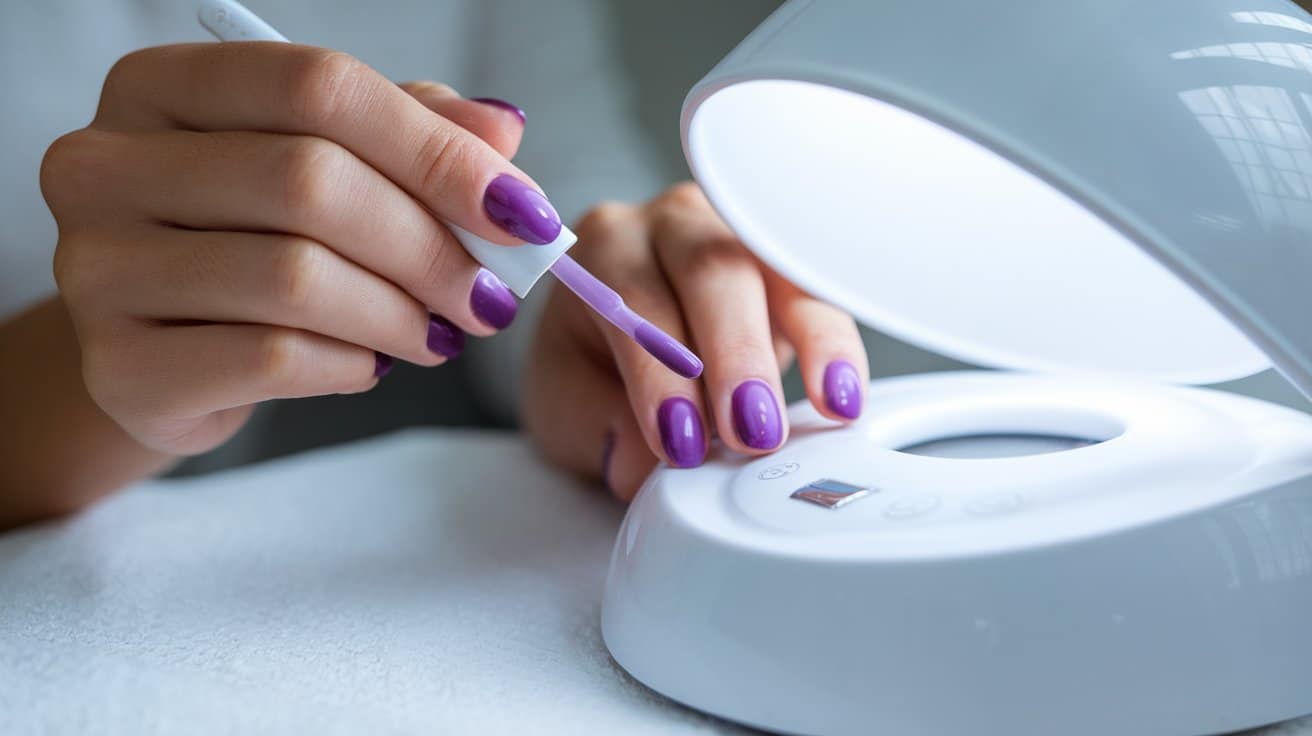
This step locks in all your hard work and adds that glass-like shine. Apply a thin top coat, making sure to swipe the edge of each nail; it’s a small trick that prevents chipping.
Cure under your lamp once more for the time recommended on your polish bottle.
When cured, your nails should look sleek, strong, and glossy.
Step 6: Clean the Sticky Layer and Finish
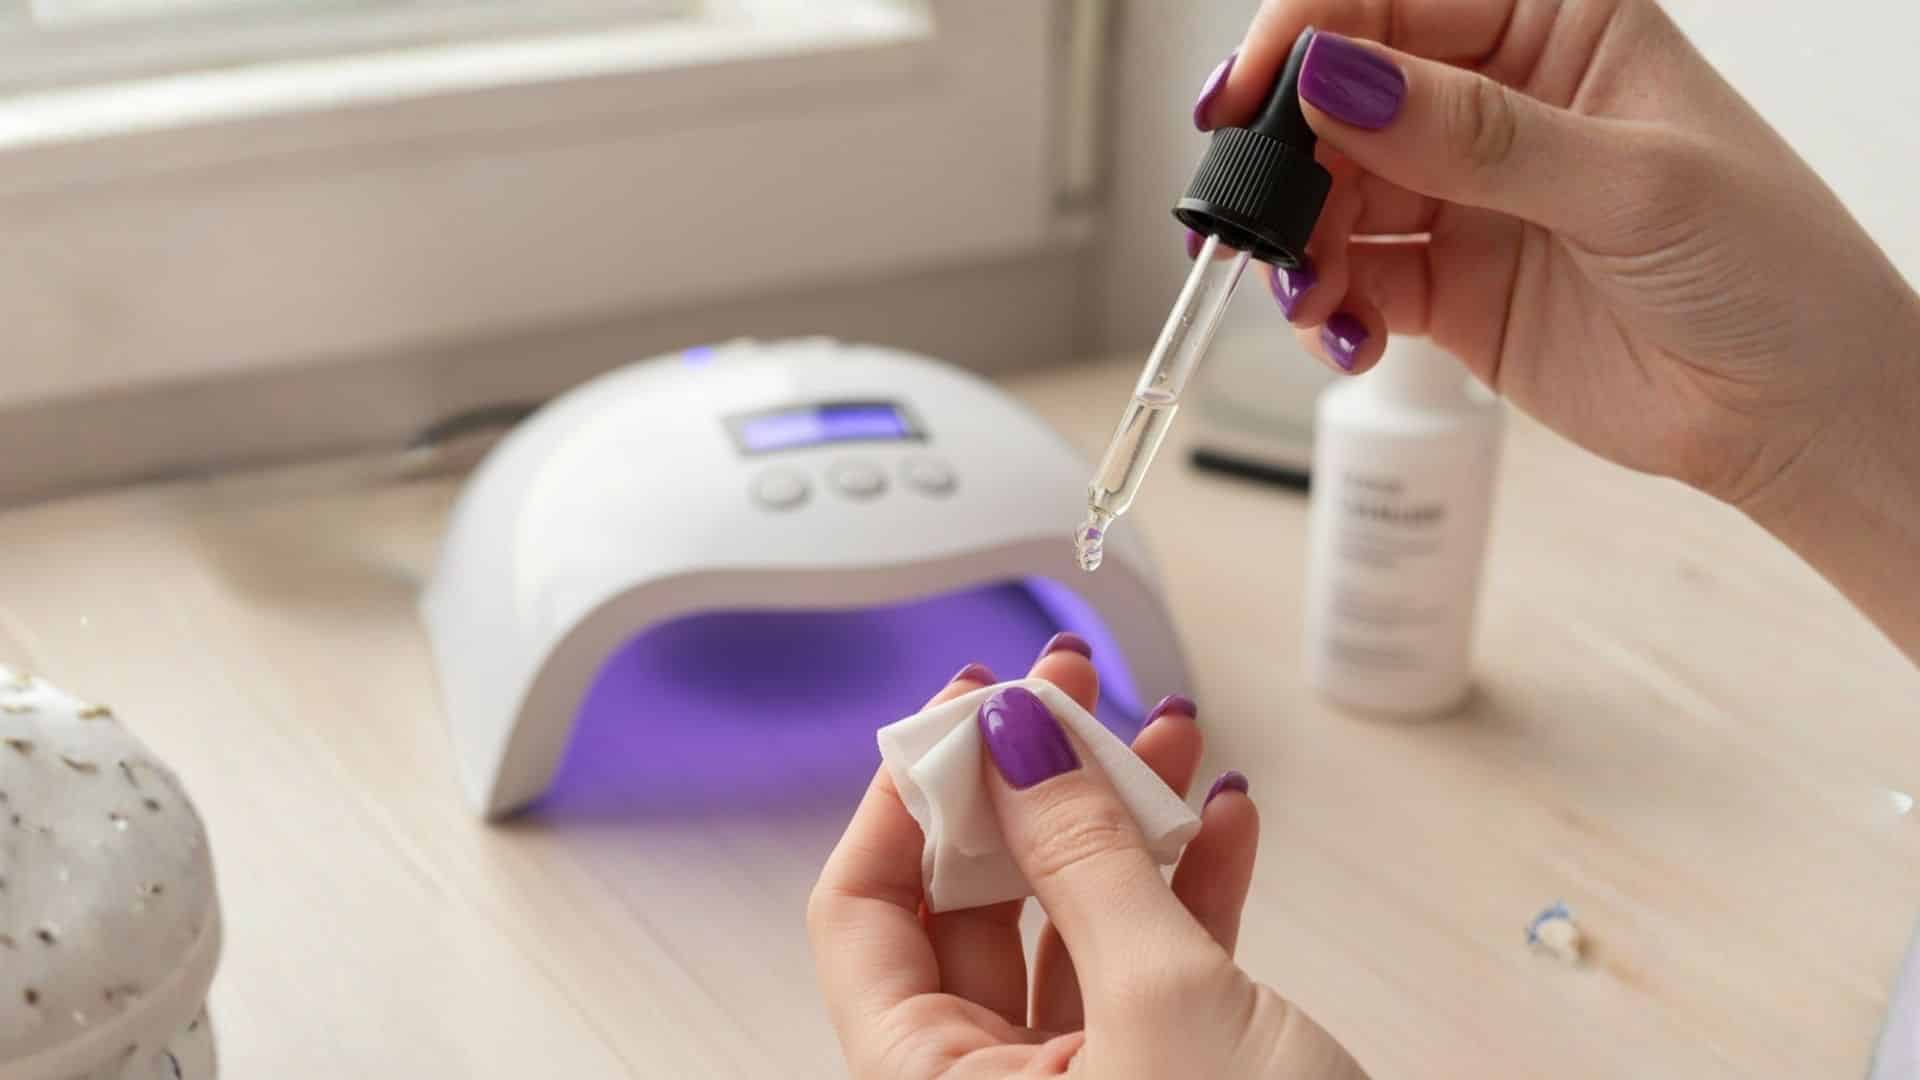
You’re almost done, and now it’s time for the final touch. Wipe each nail with a lint-free cloth dipped in alcohol to remove the sticky top layer.
Instantly, your true shine will appear. Finish by massaging a drop of cuticle oil around each nail to hydrate and complete that salon-worthy look.
Common Mistakes to Avoid
Even small oversights can shorten the life of your gel manicure. Knowing what to watch for helps you perfect your results and prevent frustration later.
These are the mistakes most people make when starting out.
- Applying polish too thickly, leading to uneven curing or bubbling
- Skipping the alcohol wipe before applying polish
- Letting gel touch the cuticle or skin
- Over-curing under the lamp, which can make nails brittle
- Forgetting to seal the nail tips with the top coat
Being mindful of these small details ensures your manicure stays glossy and chip-free for weeks.
How to Remove Gel Nails at Home?
Removing gel nails correctly is just as important as applying them. Rushing this part or peeling the polish can weaken and damage your natural nails.
Take a little extra time to do it gently for the best results. Follow these simple steps for a safe removal:
- Cut or tear one cotton ball into 10 small pieces, one for each nail.
- Soak each piece in acetone, then squeeze out the excess liquid.
- Place one soaked cotton piece on top of each nail, covering only the nail bed (not the skin).
- Wrap each fingertip with a small piece of aluminum foil to hold the cotton in place.
- Let the foil wraps sit for 5 to 10 minutes to soften the gel polish.
- Check one nail; if the polish hasn’t lifted, reapply and wait another 5 minutes.
- Use a nail groomer or wooden stick to gently push off the gel from the cuticle to the tip.
- Wipe nails with a fresh cotton pad soaked in acetone to remove any leftover residue.
- Finish by applying cuticle oil or moisturizer to rehydrate your nails and skin.
Special thanks to Popsugar Beauty for making this procedure look so simple in their video.
Aftercare Tips for Healthy Nails
Once your gel is off, your nails deserve a little care. Consistent aftercare keeps them strong, smooth, and ready for your next manicure.
It only takes a few small habits to maintain healthy nails between applications:
- Apply cuticle oil daily to keep nails hydrated.
- Moisturize your hands regularly to prevent dryness and cracking.
- Use gloves while cleaning or washing dishes to avoid exposure to chemicals.
- Let nails rest for a few days before your next manicure.
- Buff lightly instead of clipping to prevent breakage.
These small efforts make your nails resilient and ensure each manicure looks better than the last.
Conclusion
Mastering how to do gel nails at home is both practical and rewarding. With patience and consistency, you’ll soon achieve salon-level results that last for weeks.
Doing your nails yourself saves time, gives you creative freedom, and offers the satisfaction of seeing your hard work shine every time you look at your hands.
Keep layers thin, follow proper curing times, and care for your nails after each manicure.
Over time, your technique will become smoother, your polish more precise, and your results more professional.
Try these steps and share your favorite gel nail designs in the comments below!
Frequently Asked Questions
How Long Should I Wait Between Gel Manicures?
Give nails a 3-7 day break between applications to prevent thinning and maintain natural nail health.
How do I Prevent Gel Polish from Shrinking Away from Cuticles?
Keep polish slightly away from skin, seal edges properly, and avoid water for 2 hours post-application.
Is It Normal for My Nails to Feel Warm During Curing?
Slight warmth is normal, but remove your hand if it becomes uncomfortably hot or painful.