

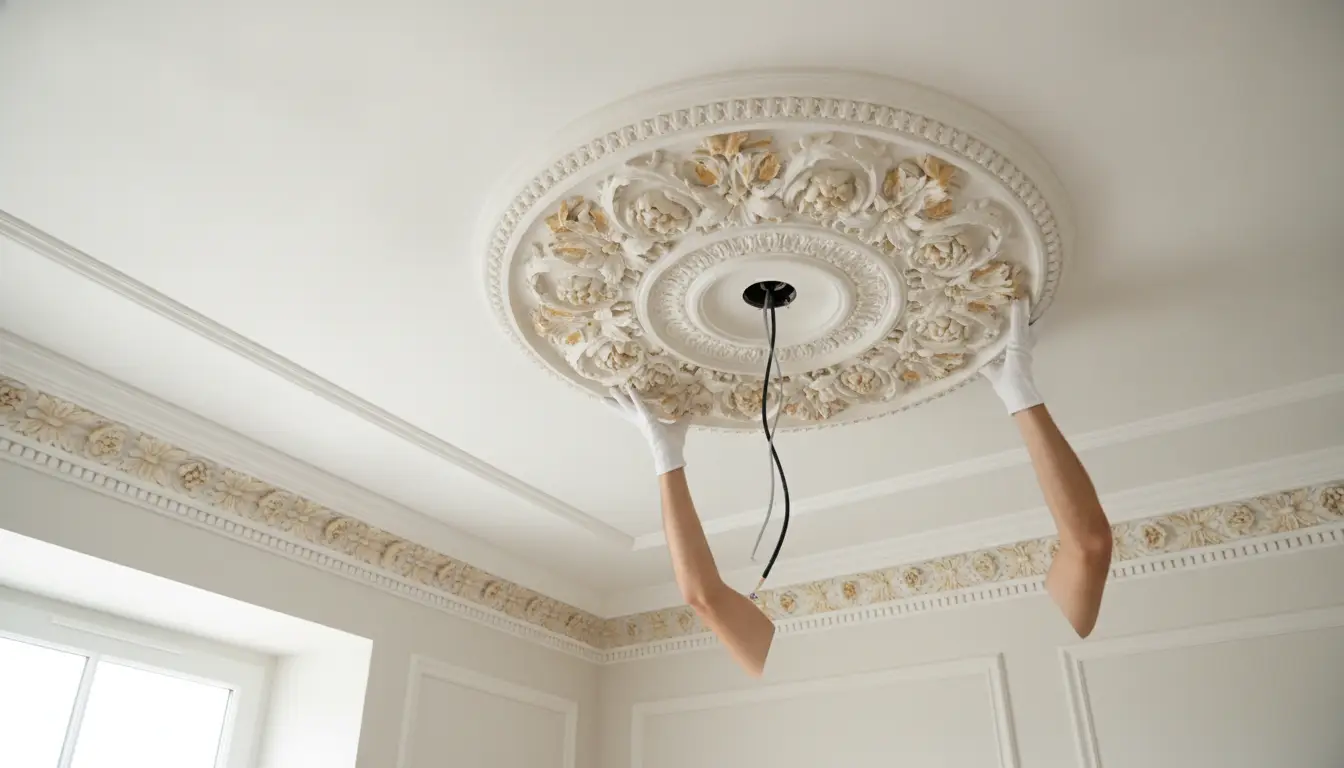
Before attempting to install a plaster ceiling rose, it is important to understand that careful preparation and accurate positioning are key to achieving a professional-looking finish. Ceiling roses have long been used to add decorative character to living rooms, dining areas, bedrooms, and hallways, creating an elegant focal point around pendant lighting. Whether you are renovating a period property or adding traditional charm to a modern home, proper installation ensures both durability and visual appeal.
While fitting a Plaster Ceiling Rose may seem daunting, following the correct process can make the project far more manageable. With the right tools, preparation, and attention to detail, you can achieve results that look neat, secure, and professionally finished.
Gather the Right Tools and Materials
Before starting, ensure you have everything you need, including:
- Plaster ceiling rose
- Strong plaster adhesive
- Filling knife
- Pencil
- Tape measure
- Spirit level
- Sandpaper
- Drill and appropriate fixings (for larger ceiling roses)
- Decorative caulk or filler
- Paint and brushes if required
Having all materials prepared beforehand helps the installation proceed smoothly without unnecessary interruptions.
Turn Off the Power
Safety should always come first when working around ceiling lighting. Switch off the electricity at the consumer unit before removing any existing light fitting or handling electrical wiring. Confirm the power is isolated before proceeding.
If you are unsure about electrical work, consult a qualified electrician to disconnect and reconnect the light fitting safely.
Mark the Centre Position
Accurate positioning is essential for achieving a balanced appearance.
Locate the centre of the existing light fitting and use a pencil to lightly mark where the plaster ceiling rose will sit. Hold the rose against the ceiling to confirm the positioning before applying adhesive.
Using a spirit level where appropriate helps ensure the fitting remains symmetrical.
Prepare the Ceiling Surface
A clean, stable surface allows the adhesive to bond properly.
Remove any loose paint, dust, or debris from the ceiling and lightly sand uneven areas. If there are existing cracks or imperfections, repair them before installation.
The smoother the surface, the better the final finish will look.
Apply the Adhesive Evenly
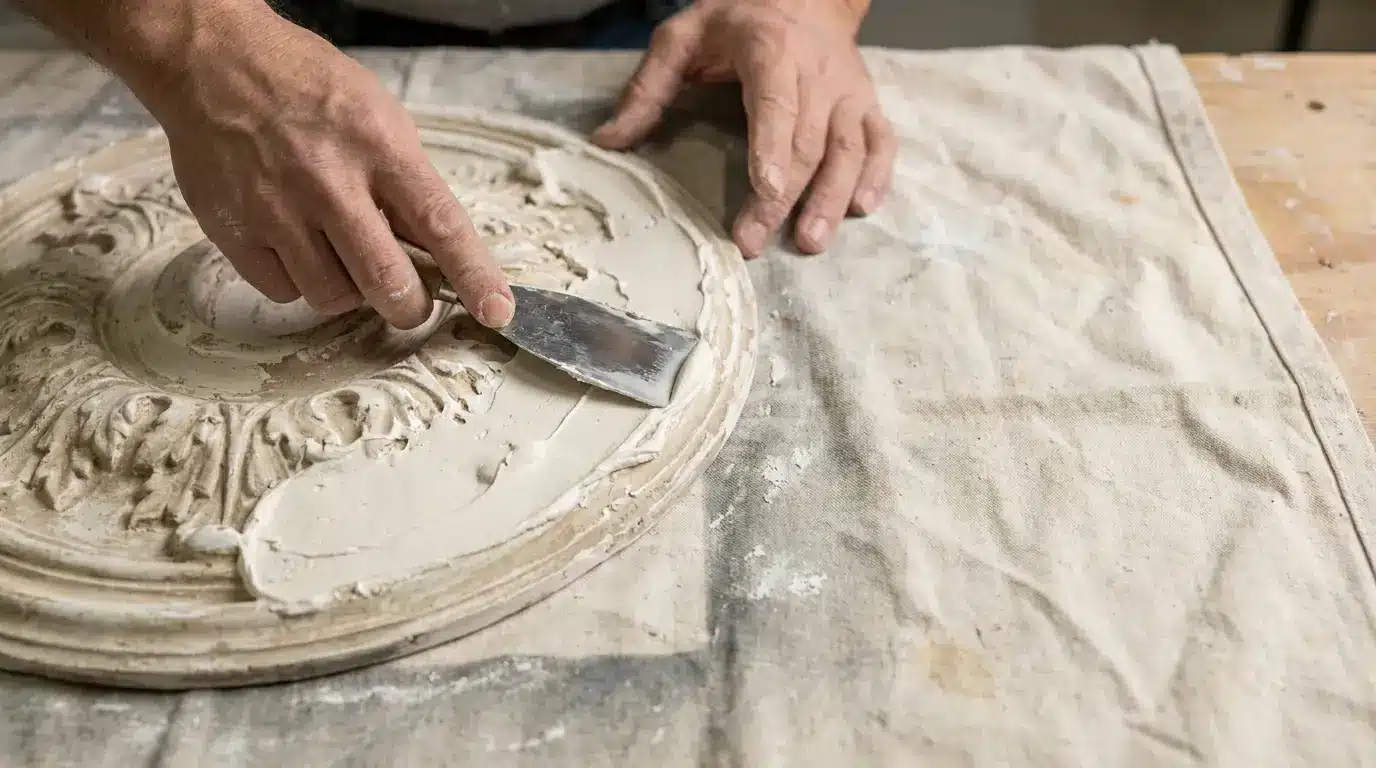
Spread plaster adhesive across the rear of the ceiling rose, paying particular attention to the outer edges.
Avoid using excessive adhesive, as this can squeeze out around the sides once the rose is pressed into place. A consistent layer provides strong adhesion without creating unnecessary mess.
Secure the Ceiling Rose
Carefully lift the plaster ceiling rose into position, aligning it with your centre mark.
Press firmly and evenly against the ceiling to create a secure bond. Larger or heavier plaster ceiling roses may require temporary mechanical fixings while the adhesive cures.
Follow the adhesive manufacturer’s recommended drying times before removing any supports.
Finish Around the Edges
Once the adhesive has fully cured, inspect the perimeter.
Fill any small gaps using decorators’ filler or fine caulk to create a seamless transition between the ceiling and the rose. Smooth the filler with a filling knife and allow it to dry completely before sanding lightly.
This finishing stage gives the installation a clean, professional appearance.
Reinstall the Light Fitting
Feed the electrical cable through the centre opening of the ceiling rose before reconnecting the light fitting.
Take care not to damage the decorative plaster during installation. Once the light is securely attached and wiring has been completed safely, restore power and test the fitting.
The ceiling rose should now frame the light beautifully while remaining securely fixed.
Paint for a Flawless Finish
Many plaster ceiling roses arrive unfinished and are designed to be painted after installation.
Apply a quality primer if necessary, followed by your chosen ceiling paint. Painting after installation helps disguise filled joints and creates a consistent finish across the ceiling.
For period properties, many homeowners choose classic white, while contemporary interiors may incorporate subtle colour matching with surrounding décor.
Common Installation Mistakes to Avoid
Professional-looking results often come from avoiding a few common errors:
- Installing onto dusty or loose surfaces
- Using insufficient adhesive
- Positioning the rose off-centre
- Ignoring drying times
- Applying excessive pressure that damages decorative details
- Attempting electrical work without proper knowledge
Taking your time during each stage will produce a cleaner and longer-lasting installation.
Conclusion
Installing a plaster ceiling rose is an excellent way to enhance the elegance and character of any room. With careful preparation, accurate positioning, and attention to detail, you can achieve a finish that rivals professional workmanship. Whether updating a traditional property or introducing decorative features into a modern home, a well-installed plaster ceiling rose creates a timeless focal point that enhances both lighting and interior design for years to come.