
Store-bought lip glosses are expensive, full of chemicals, and rarely feel right on your lips. Making one at home costs less and gives full control over ingredients, texture, and finish.
Learning how to make lip gloss at home is simpler than most people think, and the results are worth it. The right base, the correct oils, and a few careful steps are all it takes to get a smooth, stable formula every time.
No special equipment or professional skills are needed to get started. Everything from choosing the right ingredients to fixing texture problems and packaging the final product is laid out clearly below.
Why Make Your Own Lip Gloss At Home?
Learning how to make lip gloss at home gives you full control over what goes on your lips. You choose every ingredient yourself.
Store-bought options often include preservatives, artificial scents, and unclear ingredient lists. A homemade batch keeps things simple, safe, and easy to customize based on your skin’s needs.
Making your own gloss also saves money over time, since one batch often costs less than a single store-bought tube. It also lets you adjust shine, thickness, tint, and scent freely.
Once you understand the basics, making lip gloss at home becomes a quick, repeatable process that fits easily into your regular routine.
Ingredients You Need to Make Lip Gloss
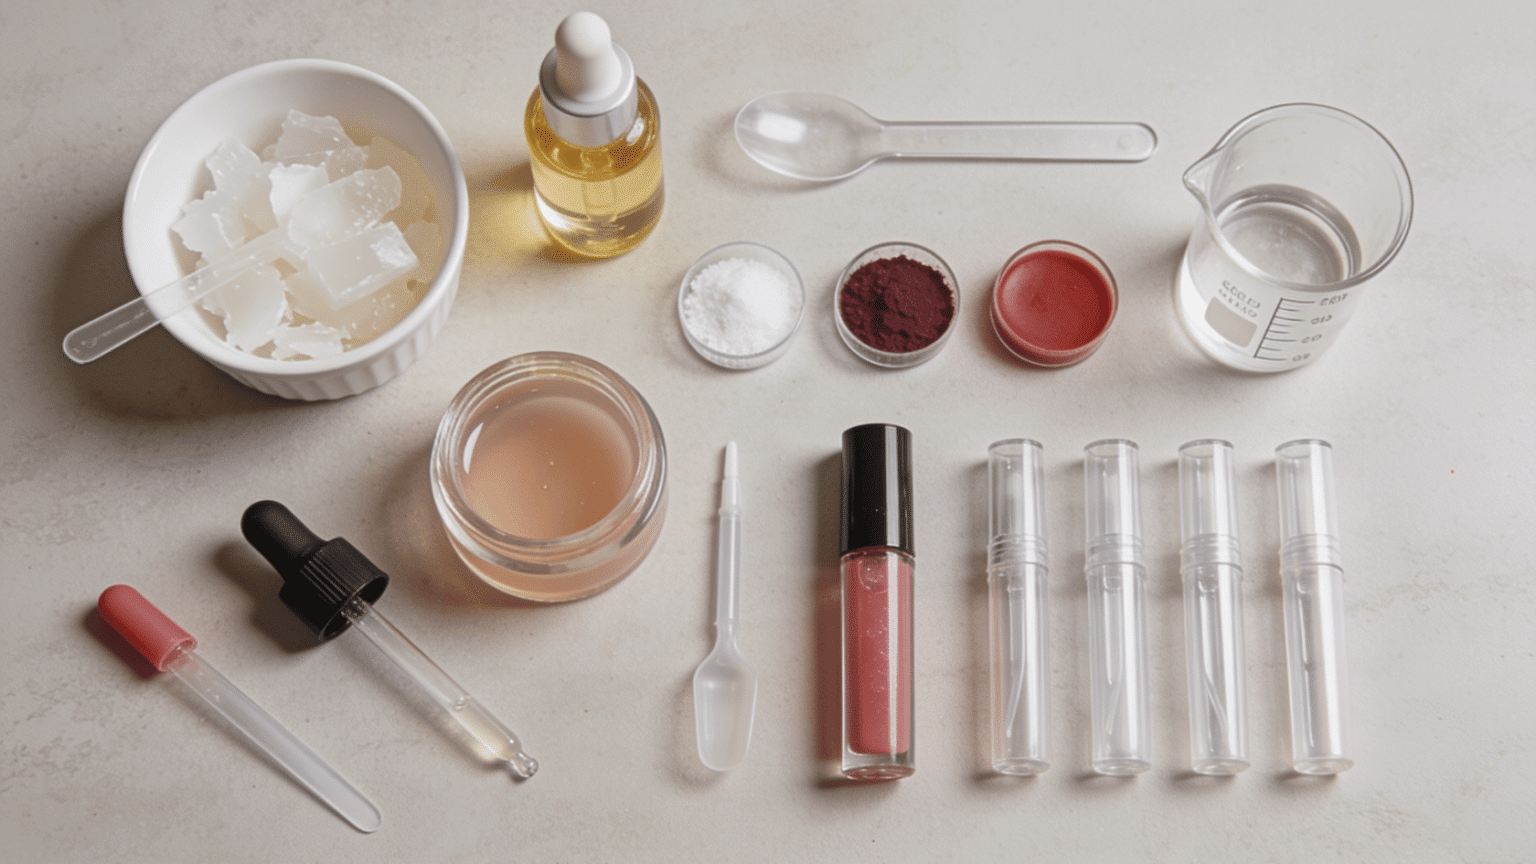
Lip gloss is built from a simple system of base, oils, and additives. Each part controls texture, shine, and how the final formula feels on the lips.
- Base Ingredients (beeswax, petroleum jelly, oil gels): Control structure and firmness. Beeswax firms, petroleum jelly softens, and oil gels give a smooth semi-liquid finish.
- Oils for Shine and Softness (castor, coconut, jojoba, olive): Affect gloss and spread. The same nourishing facial oils add shine, while jojoba and coconut keep it light.
- Additives (vitamin E, lecithin, cera bellina): Improve stability and texture. Vitamin E protects oils, lecithin aids mixing, and cera bellina smooths the glide.
- Color and Flavor Options (mica, beetroot, essential oils): Shape the look and scent. Mica adds shimmer, beetroot gives a tint, and essential oils add fragrance.
Base builds structure, oils add shine, and additives refine texture, color, and stability.
How to Make Lip Gloss Step by Step
Lip gloss making follows a controlled process from setup to final packaging, where each step directly shapes texture, stability, and final finish.
Step 1: Preparing Tools and Workspace
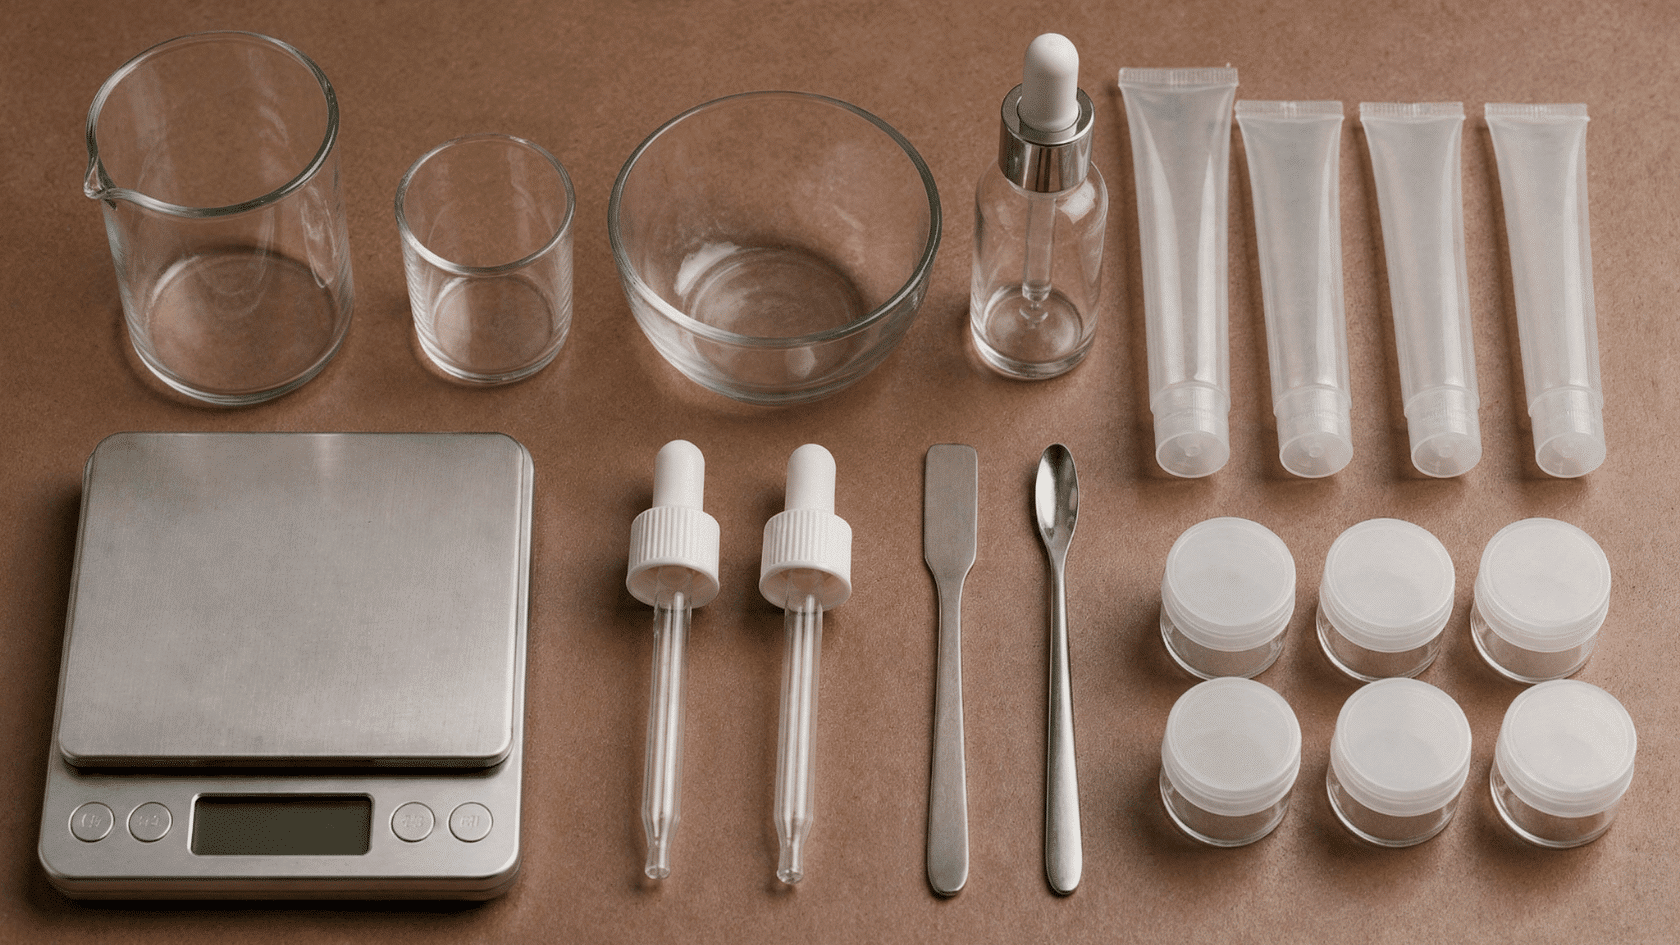
Start with a clean, dry workspace and sanitize all tools, tubes, and containers before use. For a beginner batch, measure around 2 tablespoons lip gloss base, 1 tablespoon carrier oil, and small amounts of additives like vitamin E, pigment, or flavor oil.
Safety Tip: Always use cosmetic-grade ingredients and lip-safe colors or flavors. Avoid adding food coloring or non-cosmetic products, as they may irritate lips or affect formula stability.
Step 2: Melting the Base Ingredients
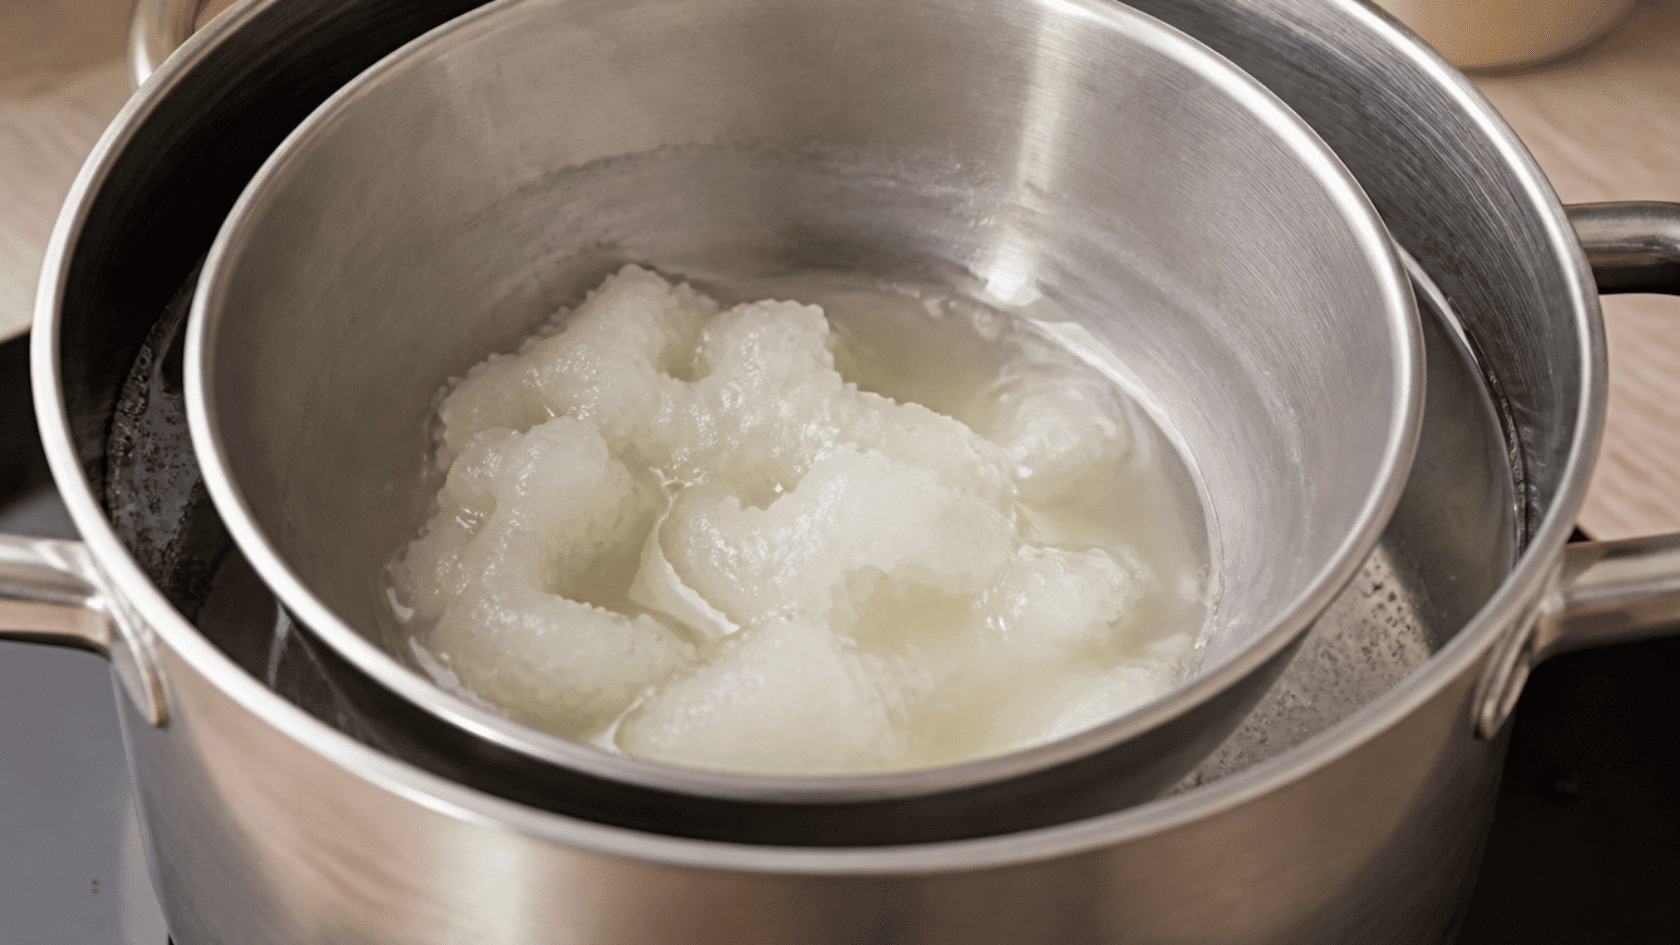
Add your base ingredients to a heat-safe container and melt them slowly using a double boiler. Keep the temperature around 120°F to 150°F (49°C to 65°C) to soften ingredients without damaging the formula.
If using a microwave, heat in short 10–15 second intervals and stir between each round. The mixture should become smooth and semi-liquid, not overheated or bubbling.
Step 3: Mixing Oils and Stabilizers
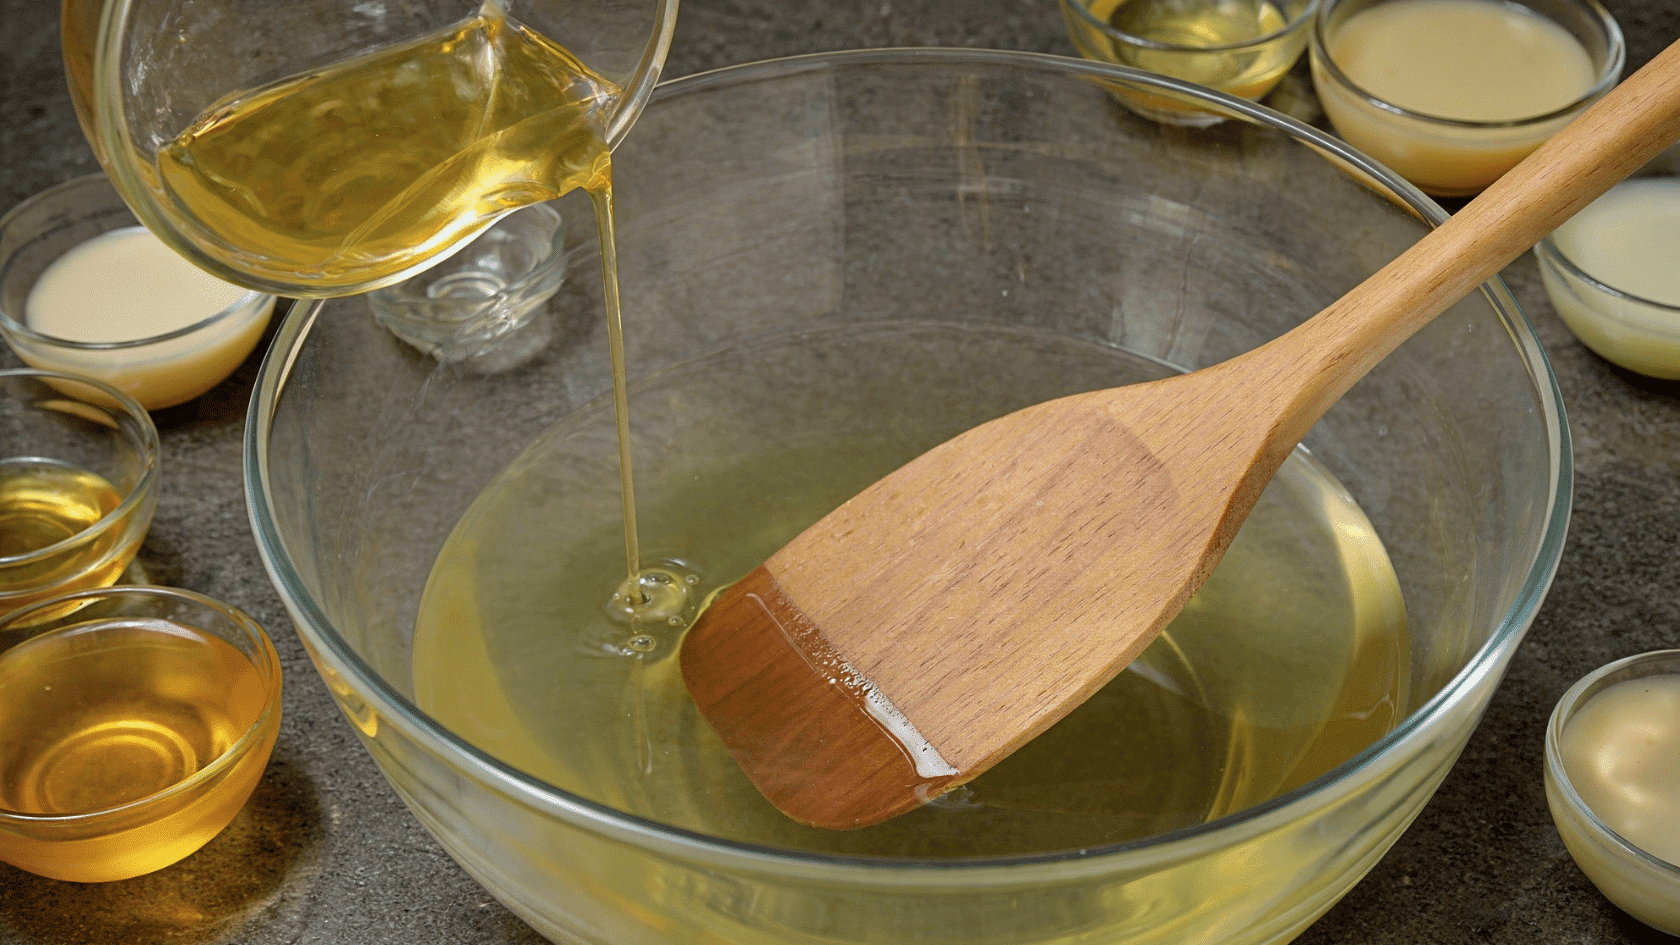
Allow the melted base to cool slightly before adding oils. Add carrier oils slowly, usually around 1 to 2 tablespoons per 2 tablespoons of base, depending on how glossy or thick you want the final texture.
Mix gently until the oils combine evenly with the base. A slow stirring motion helps reduce air bubbles and keeps the formula smooth.
Step 4: Adding Color, Shine, and Flavor
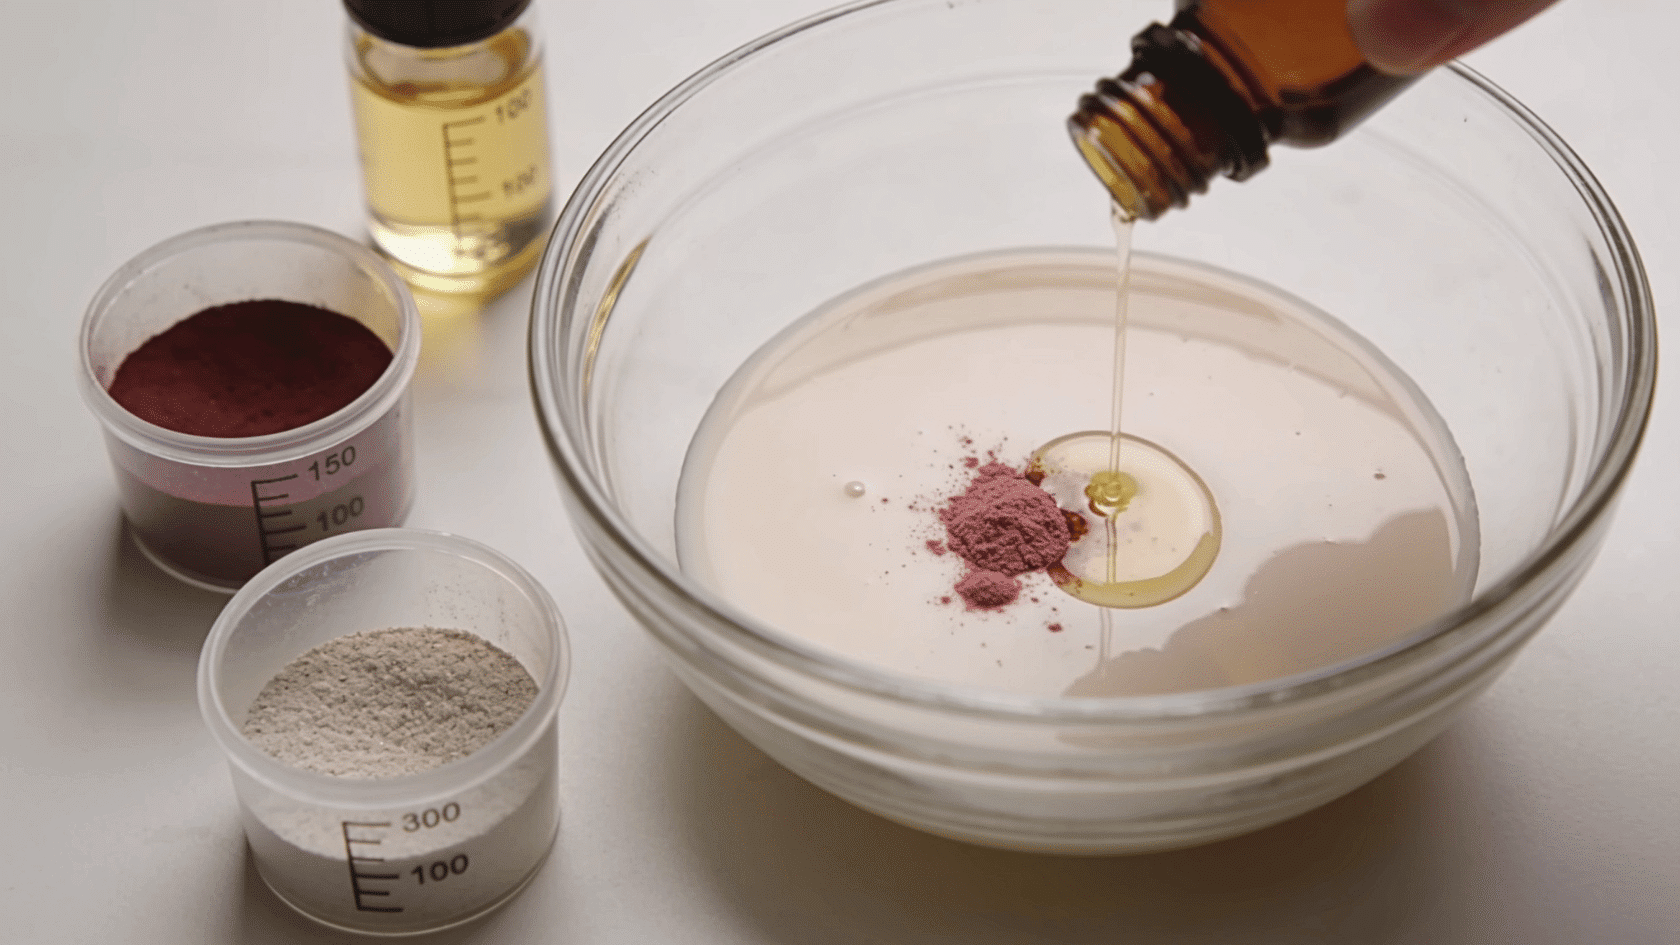
Mix pigments like mica or the tones behind popular seasonal makeup shades in small amounts to avoid thickening issues. Too much pigment can disturb consistency and reduce gloss clarity.
Add flavor oils carefully since excess can break the formula and affect texture. Small amounts are enough to keep the balance and avoid instability.
Step 5: Fixing Texture Issues
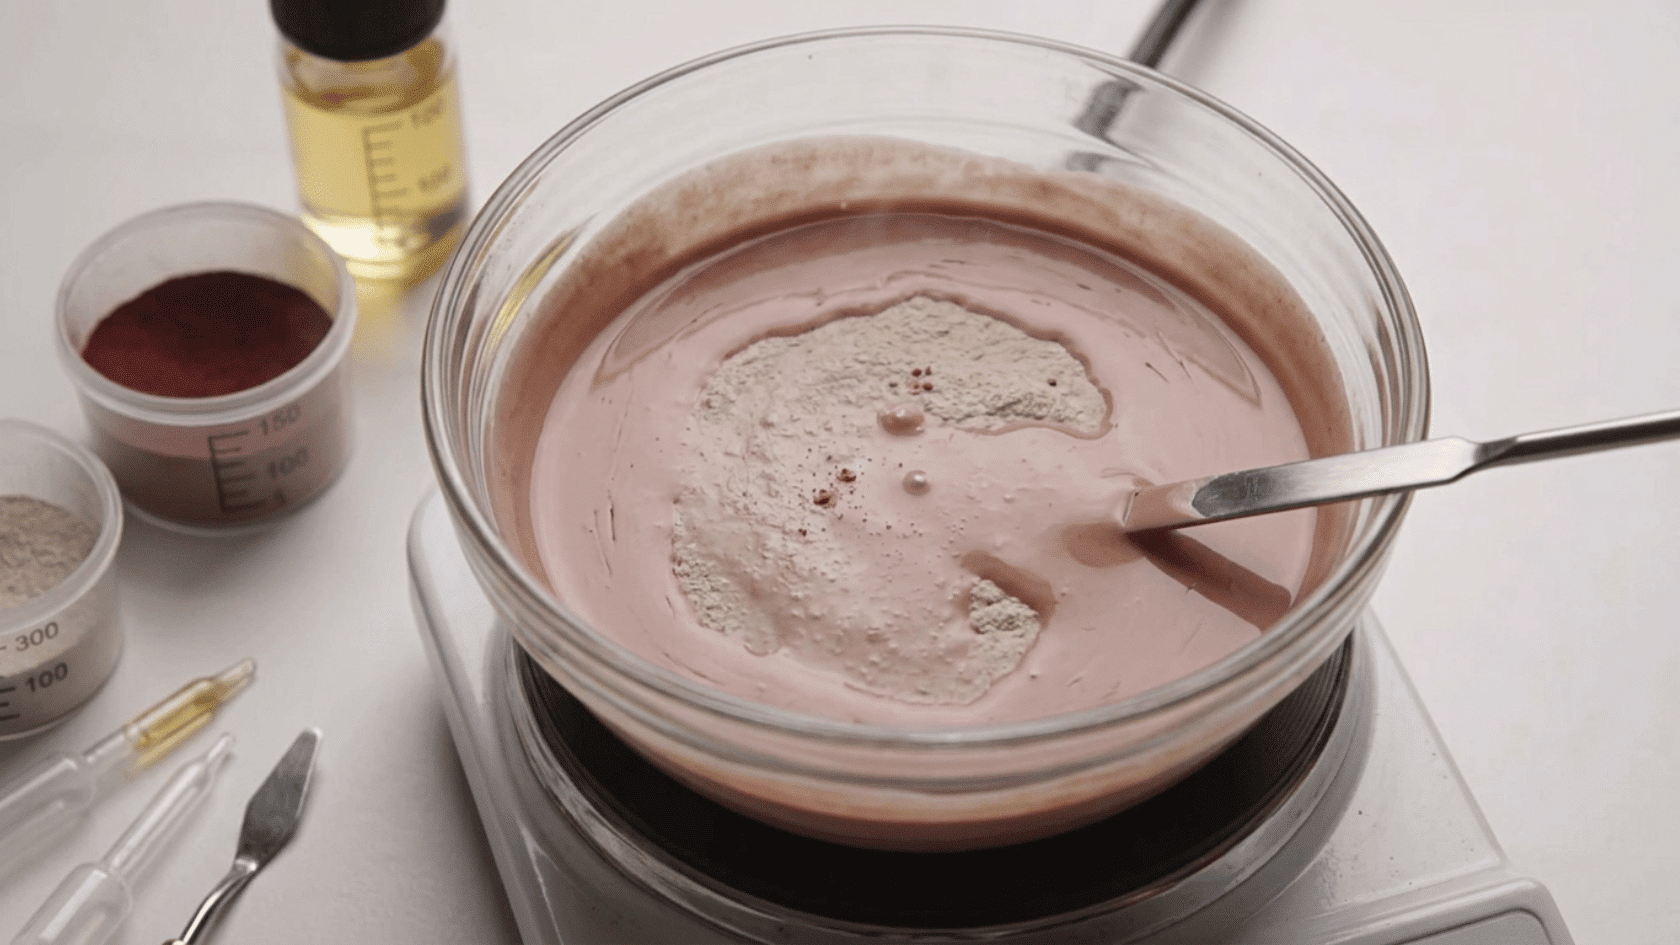
Before filling containers, test the gloss consistency by letting a small amount cool on a clean surface. The finished texture should feel smooth, spread easily, and hold its shine without feeling overly sticky.
If the gloss is too thick, add a small amount of oil. If it is too runny, increase the base ingredient gradually and remix.
Step 6: Pouring and Packaging
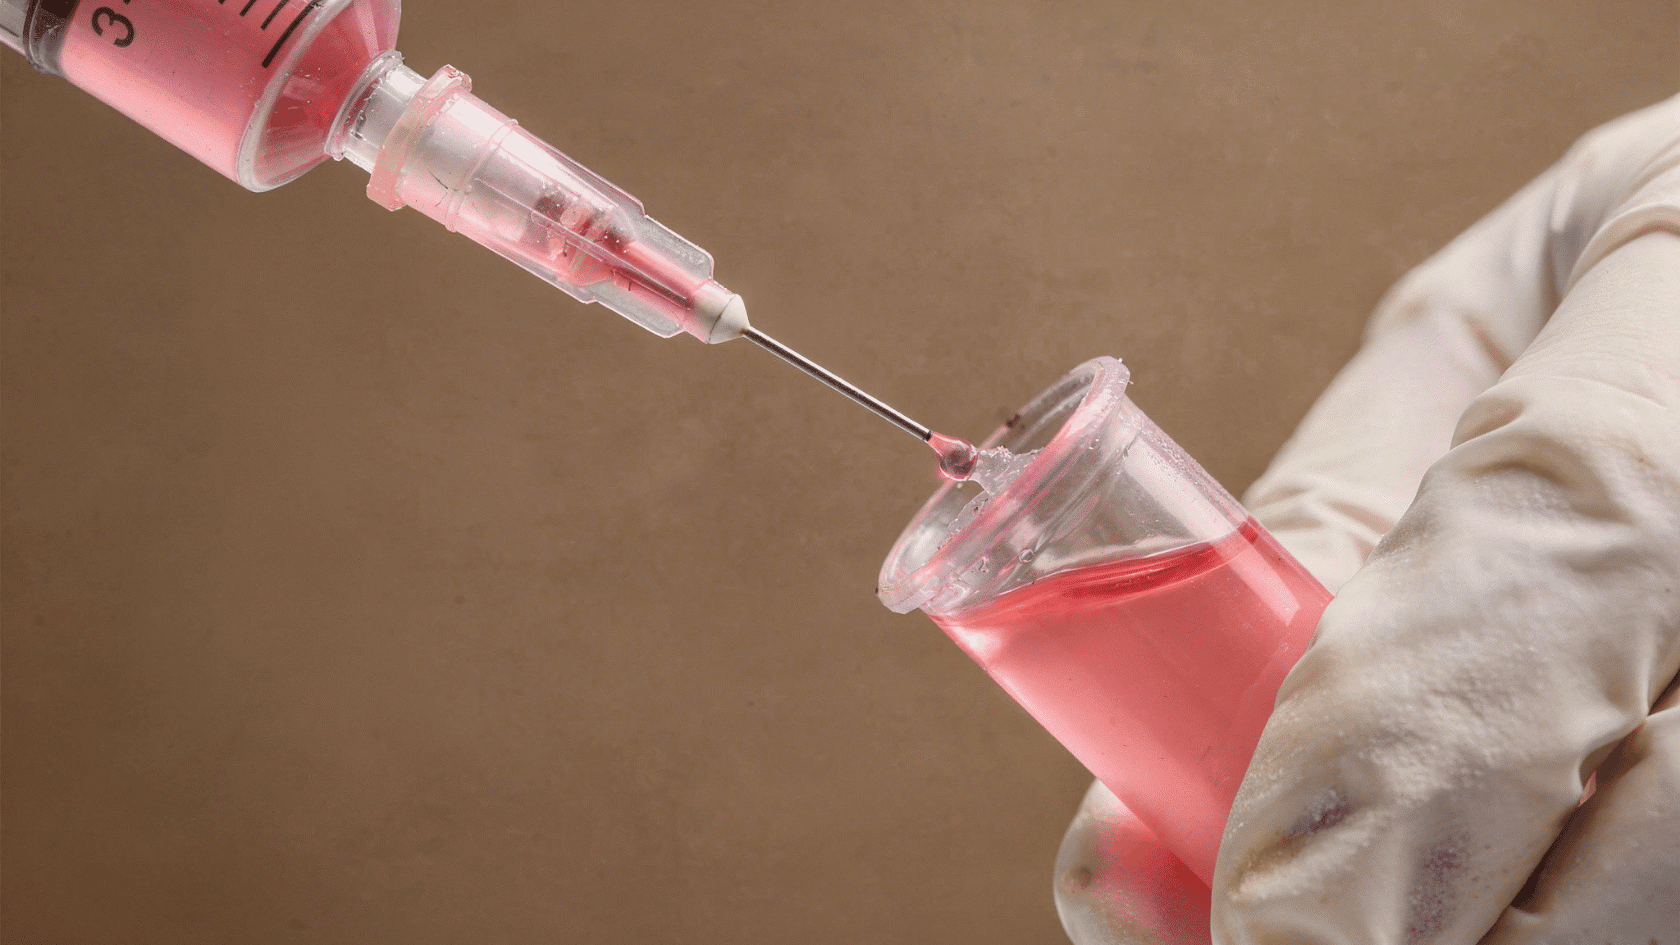
Transfer the finished gloss into clean tubes or pots using a syringe, dropper, or funnel. Fill slowly to avoid air pockets and leave a small space at the top for secure closing.
Seal containers immediately after filling and store them away from sunlight and heat. Proper packaging helps maintain texture and reduces contamination risks.
Storage Advice: Avoid dipping fingers directly into lip gloss pots. Using clean applicators helps extend the product’s usable life and keeps the formula safer.
Preservation Tips for Homemade Lip Gloss
Proper storage helps homemade lip gloss maintain its smooth texture, shine, and quality for longer. A few simple habits can reduce contamination risks and prevent changes in consistency.
| Preservation Tip | How It Helps |
| Use Clean Containers | Sterilize tubes or pots before filling to reduce bacteria and contamination. |
| Store Away From Heat | Keep gloss in a cool, dry place to prevent melting, separation, and texture changes. |
| Avoid Adding Water | Water-based ingredients can increase spoilage risk unless a suitable preservative is used. |
| Keep Tools Clean | Clean droppers, spatulas, and mixing tools to prevent unwanted moisture or bacteria from entering the formula. |
| Check Before Use | Discard gloss if you notice unusual smells, color changes, or texture issues. |
Following these storage practices helps keep homemade lip gloss stable and pleasant to use. Proper handling after making the formula is just as important as the ingredients and mixing process.
What Lip Gloss Formula Is Best for Beginners?
The best lip gloss formula for beginners is one that uses simple ingredients and allows easy control over texture, shine, and consistency.
A basic oil-based formula with a gloss base, carrier oil, and optional color or shimmer is usually easier to handle.
Begin with a simple base like petroleum jelly or a ready-made lip gloss base, as these require fewer adjustments and reduce the chances of separation.
Lightweight oils such as jojoba or castor oil help create smooth application and shine without making the formula feel too heavy.
Avoid adding too many extras at the start. Small amounts of pigments, flavors, or shimmer make it easier to understand how each ingredient affects the final texture.
Once you become comfortable with the basic formula, you can experiment with different finishes and custom combinations.
Common Mistakes to Avoid When Making Lip Gloss
Most issues in lip gloss making come from small handling errors that affect texture, hygiene, and final finish rather than ingredient balance alone.
- Using Unclean Tools: Dirty tools can introduce moisture, dust, or bacteria, reducing shelf life and changing the gloss texture over time.
- Adding Heat-Sensitive Ingredients Too Early: Flavor oils and vitamin E can lose effectiveness when added to a hot base, causing weak scent and uneven mixing.
- Skipping Accurate Measurements: Estimating ingredients can create inconsistent batches with changes in thickness, shine, and lip feel.
- Adding Too Many Extras: Excess pigments, flavors, or shimmer can make the formula unstable, sticky, or less glossy.
- Poor Storage Practices: Leaving containers open or exposing gloss to heat can affect texture, consistency, and overall product quality.
Final Thoughts
Making lip gloss at home puts the formula entirely in your hands. The ingredients are simple, the process is straightforward, and the results are far better than most store-bought options.
Once the basics are clear, making lip gloss at home stops feeling like a challenge and starts feeling like a reliable skill.
Good results come from clean tools, correct measurements, and controlled heat. Nothing complicated, just consistent habits applied at each step.
Start with a basic formula, follow the steps, and adjust from there based on what works best.
Try the formula, note what works, and share your results in the comments below.
Have questions or a tip to add? Drop it in the comments; it helps everyone starting out.
Frequently Asked Questions
Is it Legal to Sell Homemade Lip Gloss?
It depends on your location, since cosmetic products often need proper labeling, safe ingredients, and sometimes registration. Check local regulations before selling any homemade batches.
Why Does Homemade Lip Gloss Feel Gritty Instead of Smooth?
Gritty texture usually comes from undissolved pigment or grainy additives. Mixing thoroughly while warm and sifting powders first helps create a smoother, more even finish
Can you add SPF protection to homemade lip gloss?
Yes, but only by using a cosmetic-grade, lip-safe SPF ingredient in the correct ratio. Like other ingestible beauty products, regular sunscreen isn’t suitable, since it isn’t formulated for ingestion or lip use.