
Smoke can transform an ordinary image into something cinematic. It adds depth to a landscape, separates a subject from the background, softens hard lines, and introduces colour or atmosphere without relying heavily on post-production. Used well, it can make a fashion editorial feel dreamlike, a portrait more dramatic, or a product shoot unexpectedly memorable.
But smoke effects are rarely as simple as lighting one device and pressing the shutter. The best results come from planning around the location, weather, colour palette, safety requirements, and the practical realities of working with a limited-duration effect. Before adding smoke bombs to a shoot, it helps to treat them as part of the production design rather than a last-minute visual flourish.
Start With the Mood You Want to Create
The first consideration is not the smoke bomb itself, but the story of the image. Different colours and densities communicate different things. Deep reds and oranges can suggest energy, heat, celebration, or rebellion. Blue and purple often feel more atmospheric or surreal. White smoke can create a misty, understated look, while black or darker tones tend to work best in industrial or high-contrast settings.
Think about how the smoke will interact with the rest of the frame. A coloured cloud may look striking against a muted concrete wall, but disappear into a busy woodland background. Similarly, an outfit with strong colours can clash with the smoke rather than complement it. Many photographers find it useful to limit the palette to two or three dominant tones: the subject, the setting, and the smoke.
Match the Effect to the Light
Smoke is most visible when it catches light from the side or behind. Backlighting can make a plume appear luminous and textured, especially in early morning or late afternoon. Shooting directly into bright sunlight, on the other hand, may wash out subtle colours and reduce definition.
Consider the intended exposure as well. A fast shutter speed can freeze swirling shapes around a model or vehicle. A slower speed can turn the smoke into softer ribbons and trails. Neither approach is inherently better; the choice depends on whether you want energy and detail or movement and abstraction.
Assess the Location Before You Choose a Product
Not every visually appealing location is suitable for smoke effects. Public parks, beaches, urban streets, heritage sites, and private venues can all have different rules around pyrotechnics, open flames, smoke, or event materials. Landowners and local authorities may require permission, even for a small editorial shoot.
Weather matters just as much. Wind is the single biggest variable in smoke photography. A gentle breeze can carry smoke beautifully through the frame; stronger gusts can disperse it before you have composed the shot. Wind direction also determines where the photographer, subject, assistants, and bystanders should stand.
It is worth understanding the product’s expected behaviour before arriving on set. Manufacturer guidance explaining how a smoke bomb ignites can help a production team account for activation time, handling expectations, and the limited window in which the effect is at its strongest. That knowledge is especially useful when working with models, clients, or daylight that is changing by the minute.
Put Safety and Consent at the Centre of the Shoot
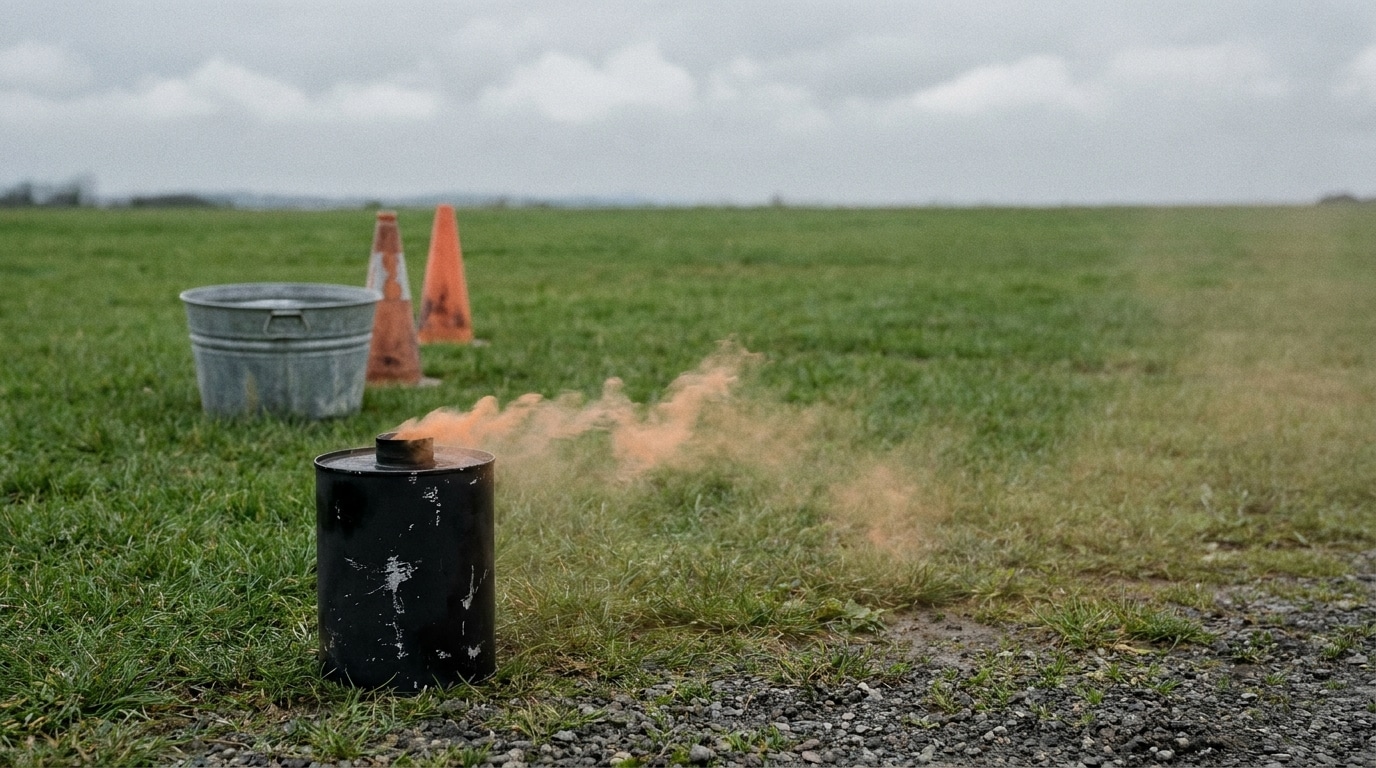
A visually successful image is never worth an avoidable injury, fire risk, or uncomfortable experience for the people involved. Smoke bombs are designed for controlled use, but they still produce heat, residue, and dense smoke. Follow the manufacturer’s instructions exactly, and do not modify, dismantle, relight, or hold devices unless the product guidance specifically states that it is safe to do so.
Before the shoot begins, brief everyone involved. Models should know where to stand, when the effect will begin, which direction to move, and what to do if smoke changes course. Keep the smoke away from faces where possible, and never assume that someone is comfortable with close exposure simply because they agreed to take part in a dramatic-looking shoot.
A simple pre-shoot checklist can prevent most problems:
- Confirm permission from the landowner or venue manager.
- Check local restrictions, fire conditions, and weather forecasts.
- Keep water or an appropriate fire extinguisher nearby where permitted.
- Establish a clear exclusion area for crew, public, pets, and flammable materials.
- Designate one responsible person to handle the device and monitor conditions.
If anyone on set has asthma, respiratory sensitivities, or concerns about the smoke, adjust the concept rather than press ahead. There are always alternative angles, compositing options, or lower-intensity effects available.
Choose Colour and Quantity With Restraint
It is easy to overestimate how much smoke is needed. In many photographs, one well-placed plume is more effective than a scene filled from edge to edge. Too much smoke can obscure facial features, muddy the background, and make it harder for autofocus systems to lock onto the subject.
For portraits, try positioning the smoke behind or beside the subject rather than directly in front of them. This preserves expression and creates separation. For wider shots, use the landscape to guide the smoke: an alleyway, doorway, forest path, or open ridgeline can give the cloud a sense of direction.
Bring backup options, but avoid activating several devices at once unless the composition truly calls for it. Smoke is unpredictable, and a second attempt is often more valuable than a larger first one.
Plan for Timing, Cleanup, and the Unexpected
Smoke effects are brief, so preparation should happen before activation. Set your exposure, test framing, position your subject, and agree on cues with the team. If the model needs to move through the scene, rehearse the route first. The moment the smoke begins, everyone should know their job.
Finally, leave the location as you found it. Collect spent casings and any associated waste, and check the area carefully before departing. This is not only courteous; it helps protect access to creative locations for other photographers.
When smoke is used thoughtfully, it can add a distinctive layer to an image without becoming the whole story. The strongest photographs still depend on composition, light, expression, and intention. Smoke simply gives those elements something more interesting to work with.