

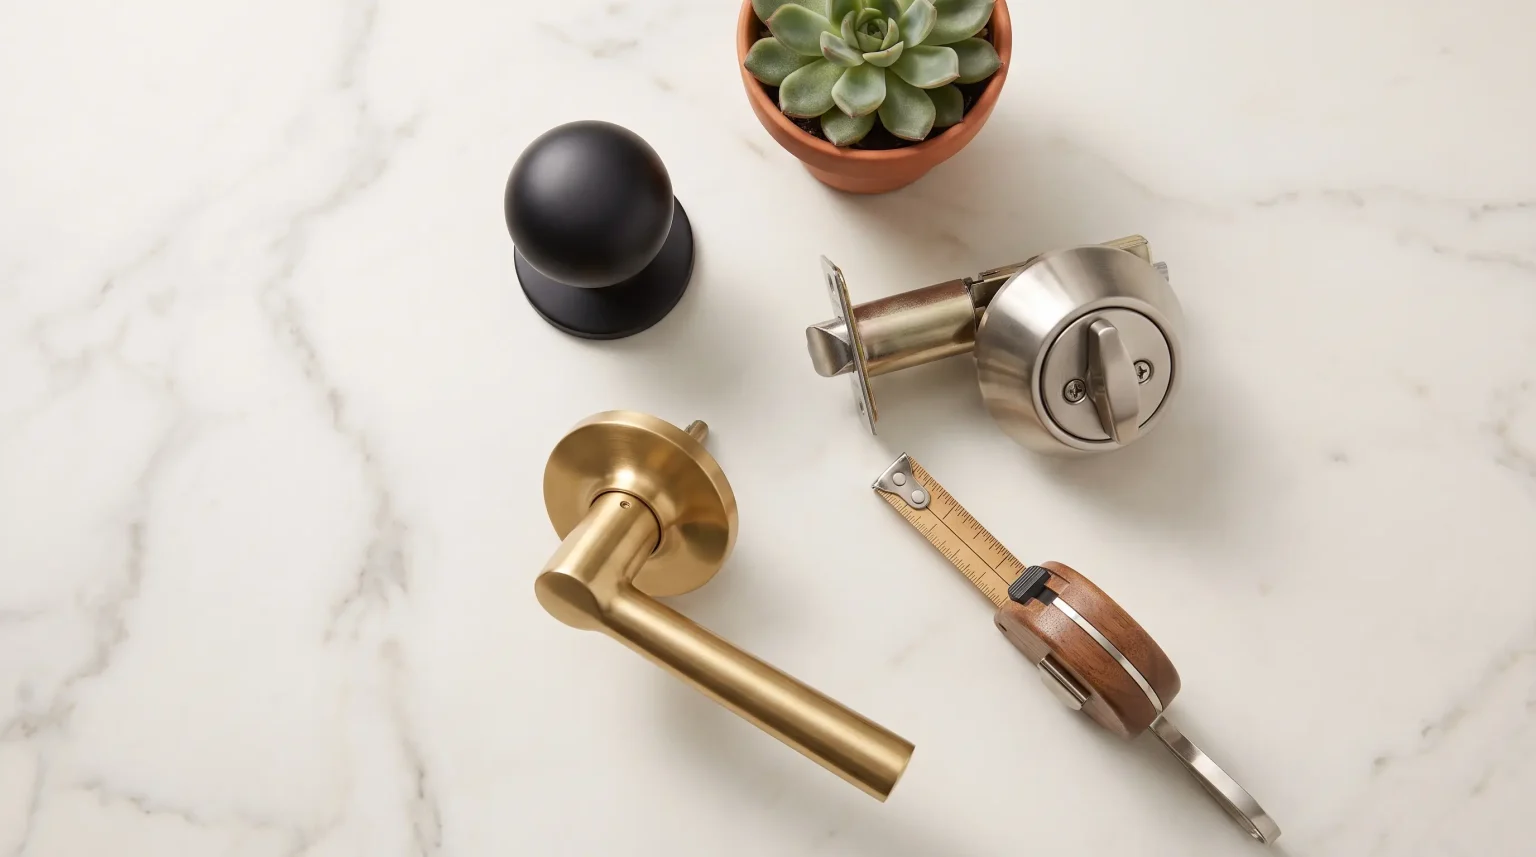
It’s easy to choose door hardware by its finish, then discover it doesn’t fit the door, doesn’t provide the right kind of lock, or needs more upkeep than expected.
A better approach starts with a short checklist: measure the door, pick the function, choose a comfortable handle, check durability ratings, and plan finishes. Then consider whether smart features or a door closer would help. A product catalog can help you compare the functions and finishes described below, while product specifications confirm what fits.
Key Takeaways
- Measure first. Crossbore, backset, and door thickness are three essential fit checks.
- Function follows the room. Keyed entry, privacy, passage, and dummy sets each have a specific job.
- Read the label. The BHMA Certified Secure Home label rates Security, Durability, and Finish separately.
- Plan finishes together. Coordinate handles with hinges and stops, and decide whether you want a stable finish or one that develops a patina.
- Smart is optional. Check compatibility and everyday access options before paying for connected features.
Step 1: Measure Before You Order
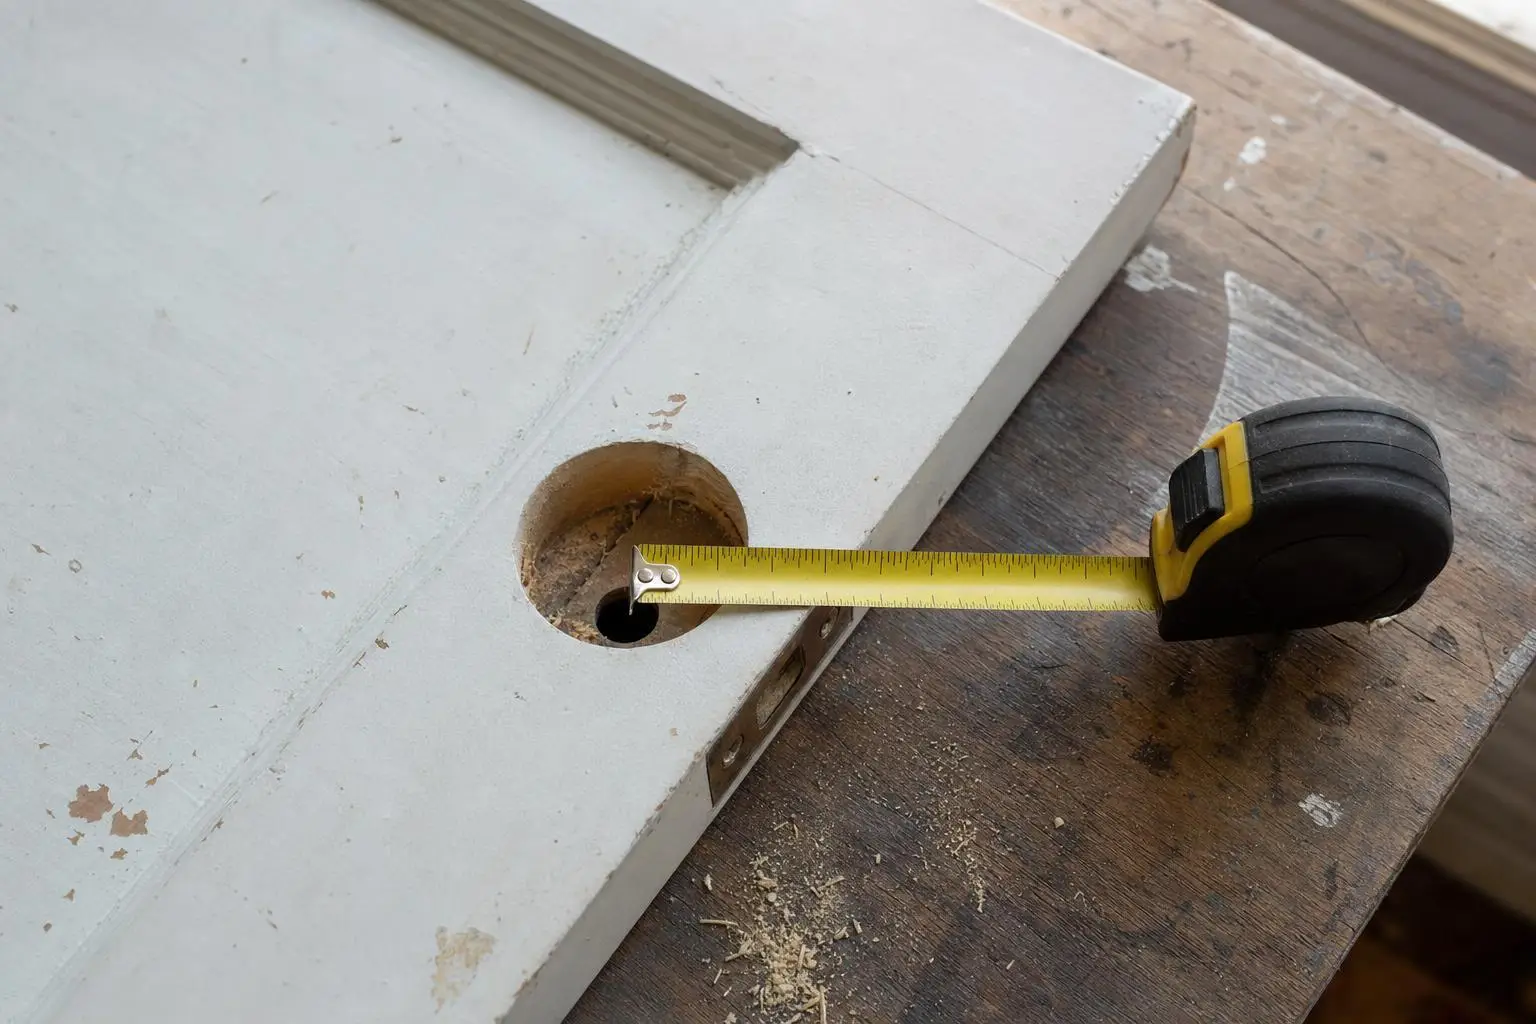
Before choosing a style, grab a tape measure. Many standard U.S. residential doors use a 2-1/8-inch crossbore, the large hole through the face of the door. The backset, measured from the door edge to the center of that hole, is commonly either 2-3/8 or 2-3/4 inches. Many residential locks have an adjustable latch that fits both backsets.
Door thickness matters too. Many residential sets fit doors from 1-3/8 to 1-3/4 inches thick, but check the specifications for the exact model. Older doors, unusually thick doors, and existing mortise locks may need different hardware or additional preparation.
Finally, check handing, which describes the door’s opening direction. Many levers are reversible, but some curved dummy levers and handlesets are made for a specific side. Follow the manufacturer’s handing diagram rather than relying on appearance alone.
Step 2: Pick the Right Function for Each Room
Hardware function describes what a set does when you turn or pull it. These are the four common options:
- Keyed entry provides a lock operated by a key from outside, commonly used on exterior doors.
- Privacy locks from inside with a button or turn and typically has an emergency release outside, for bedrooms and bathrooms.
- Passage latches but doesn’t lock, for hallways and closets.
- Dummy is a fixed, non-turning pull with no latch, for doors held shut by a separate catch or an inactive door leaf.
On exterior doors, a common approach is to pair a passage or keyed handle with a separate deadbolt. Choose hardware intended for exterior use, and check that the arrangement meets local requirements for exiting safely.
Step 3: Choose a Form That Suits How You Live
Knob or lever? Knobs often suit traditional interiors. Levers are generally easier to use with full hands or limited grip strength, making them a practical choice for many households.
The 2010 ADA Standards for Accessible Design offer a useful design principle: door hardware should work with one hand without tight grasping, pinching, or twisting of the wrist. Those standards apply to covered facilities, not automatically to every private home. If accessibility compliance is required, have a qualified professional confirm the hardware and installation requirements. For a side-by-side look at configurable locks, finishes, and closer options before committing, a retailer example such as Doors for Pros can help you browse; product specifications still confirm what fits.
For French doors, consider each door leaf separately. The active leaf may need a working latch, while the inactive leaf may use a dummy handle. If you’re choosing curved dummy levers, check whether the pair requires separate left-hand and right-hand models.
Step 4: Decode Durability With the BHMA Label
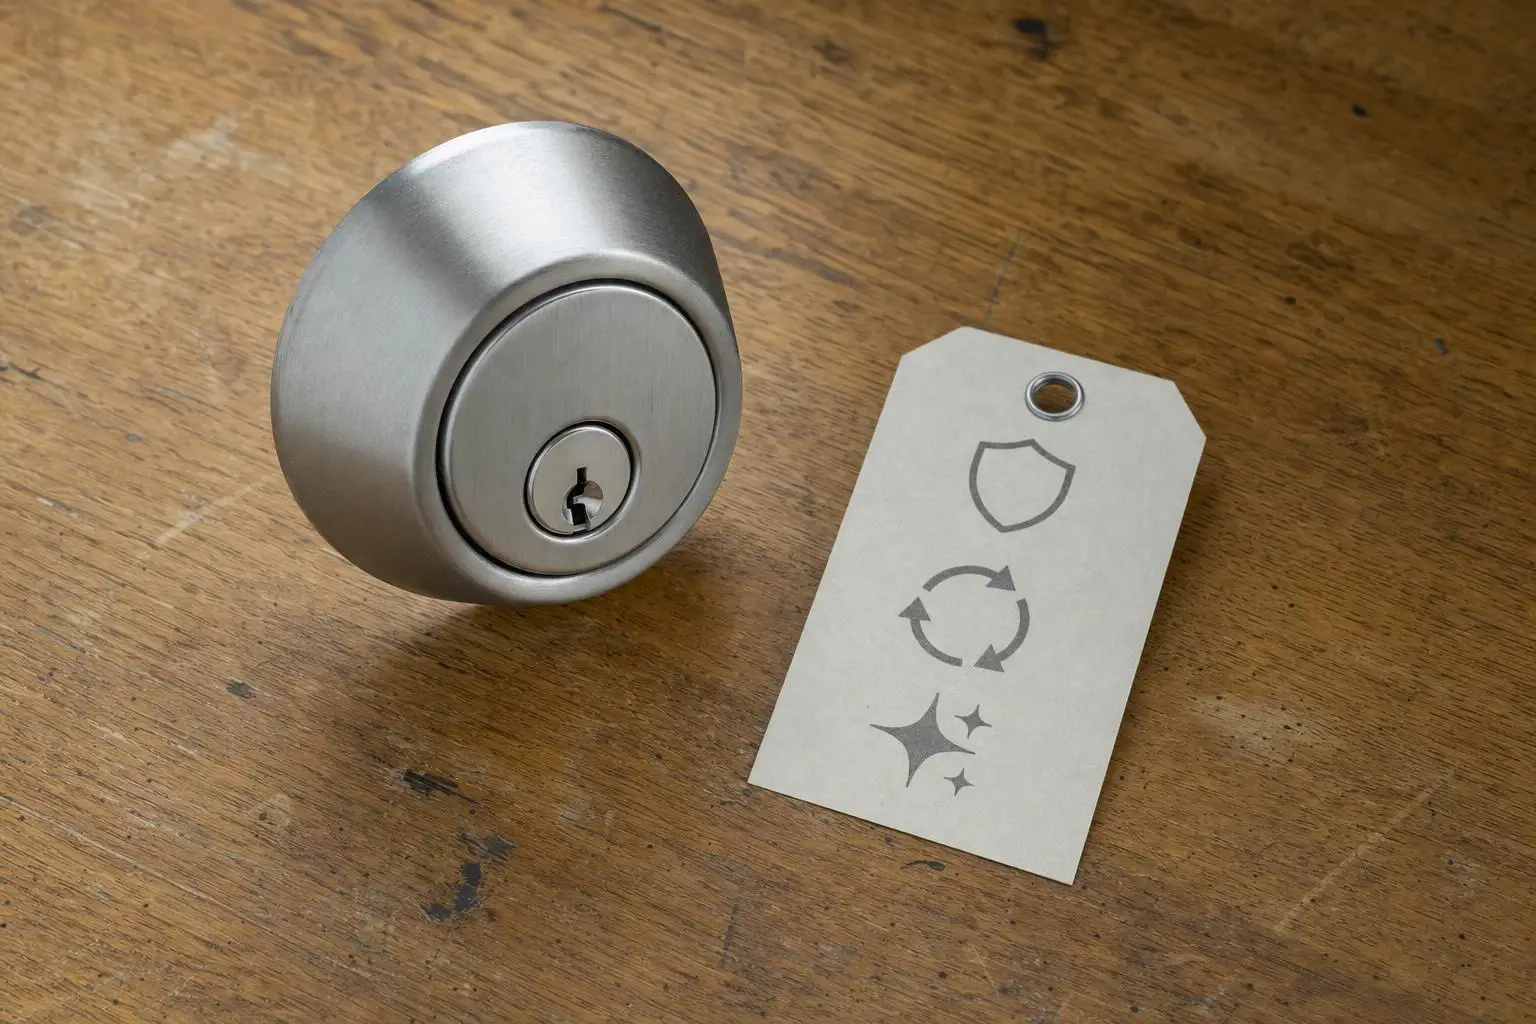
The Builders Hardware Manufacturers Association (BHMA) offers the Certified Secure Home label for residential locksets and deadbolts. It rates Security, Durability, and Finish separately, using grades A, B, and C, with A the highest. Read all three ratings rather than treating the label as one overall score.
Give each category weight based on how the door is used. A busy bathroom benefits from a strong Durability rating. A coastal or frequently exposed entry calls for close attention to Finish ratings and the manufacturer’s environmental limits. Security deserves particular attention when choosing a front-door deadbolt, though the door, frame, and installation matter too.
Step 5: Pick a Finish Palette That Lasts
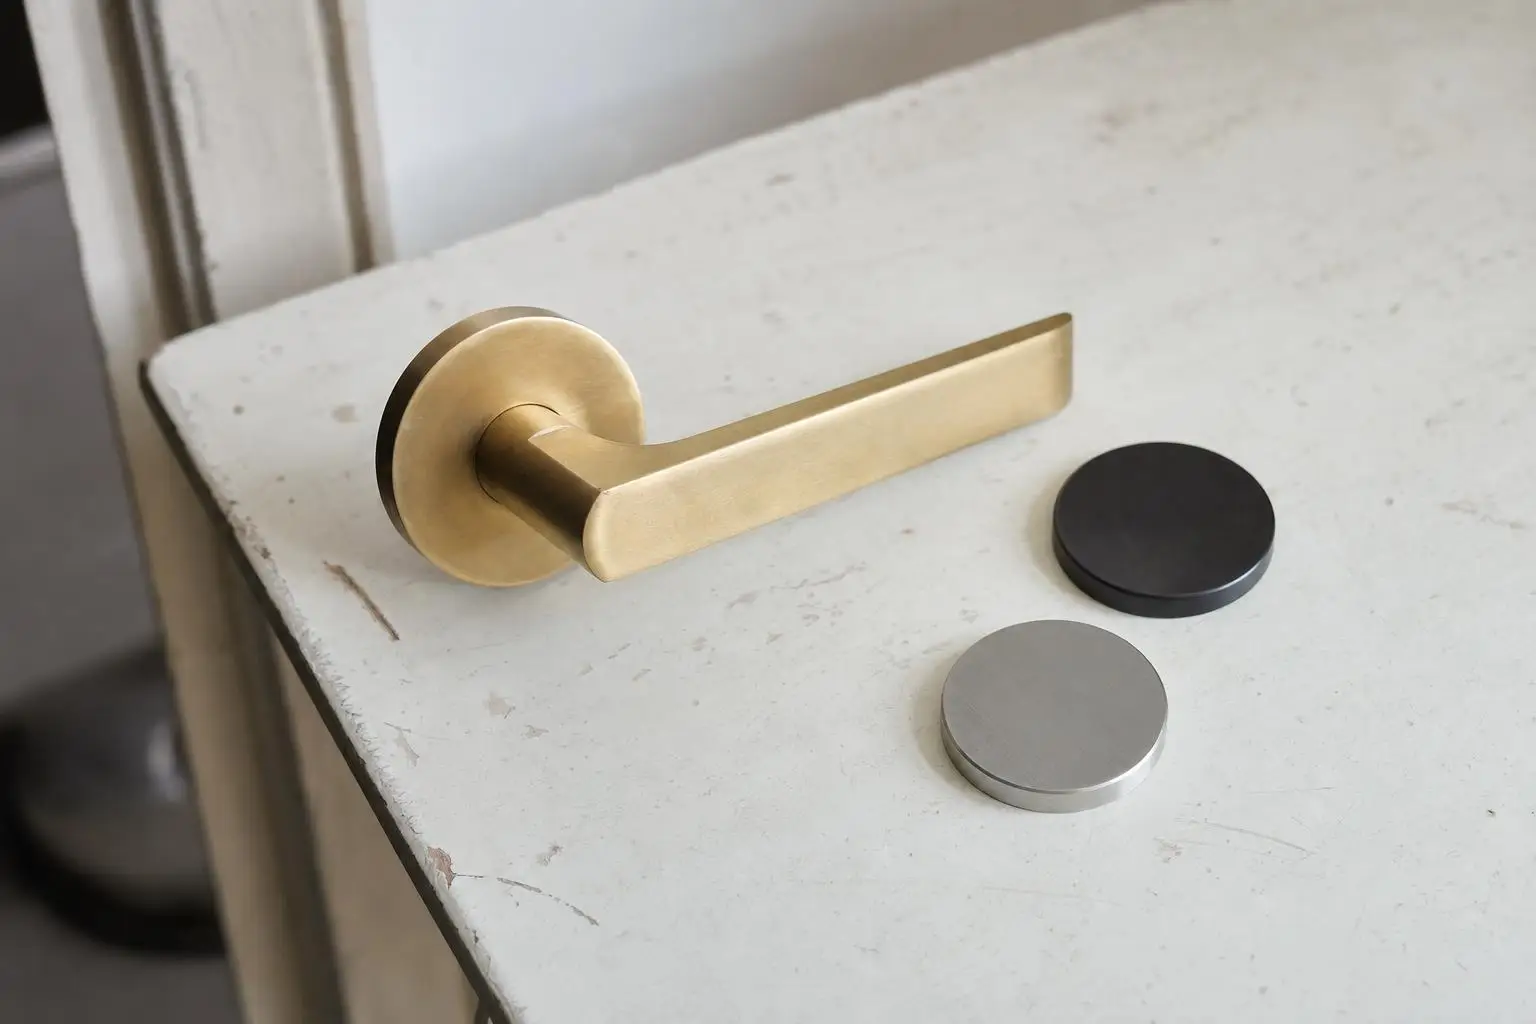
Start with the finishes already visible near the door, including light fixtures and cabinet hardware. Matte, brushed, satin, and polished surfaces each create a different effect. Compare samples in the room’s lighting rather than choosing from a product photo alone.
How a finish is made matters as much as its color. PVD, short for physical vapor deposition, creates a thin, hard coating that can improve resistance to wear and tarnish. Performance and warranty coverage vary, so check whether the specific finish is suitable for exterior exposure or humid rooms.
Living finishes, such as unlacquered brass and some oil-rubbed bronze finishes, are intended to change with use. Choose them if you welcome variations in color and sheen. If you want a consistent appearance, look for a protected finish and follow the manufacturer’s cleaning guidance.
Coordinate rather than match obsessively. Hinges and doorstops can sit in the same finish family as the handle. Keeping an open-plan space to two or three metal tones is a useful starting point, not a rule.
Step 6: Choose Smart Features You Will Use
Smart locks need the same fit-and-function checks as other hardware, plus a compatibility check. Confirm that the exact model works with your phone and any smart-home platform you use. Also check whether remote access requires a separate hub or bridge.
Read feature descriptions carefully. For example, Apple Home compatibility doesn’t automatically mean a lock supports Home Key in Wallet. Look for explicit support for the feature you want.
Guest codes can help with visitors, while auto-lock may be useful if you often forget to lock up. Tap-to-unlock and hands-free access are optional conveniences. Before buying, check battery alerts, what still works without internet access, and how you’ll enter if the batteries run out.
Step 7: When a Door Closer Helps
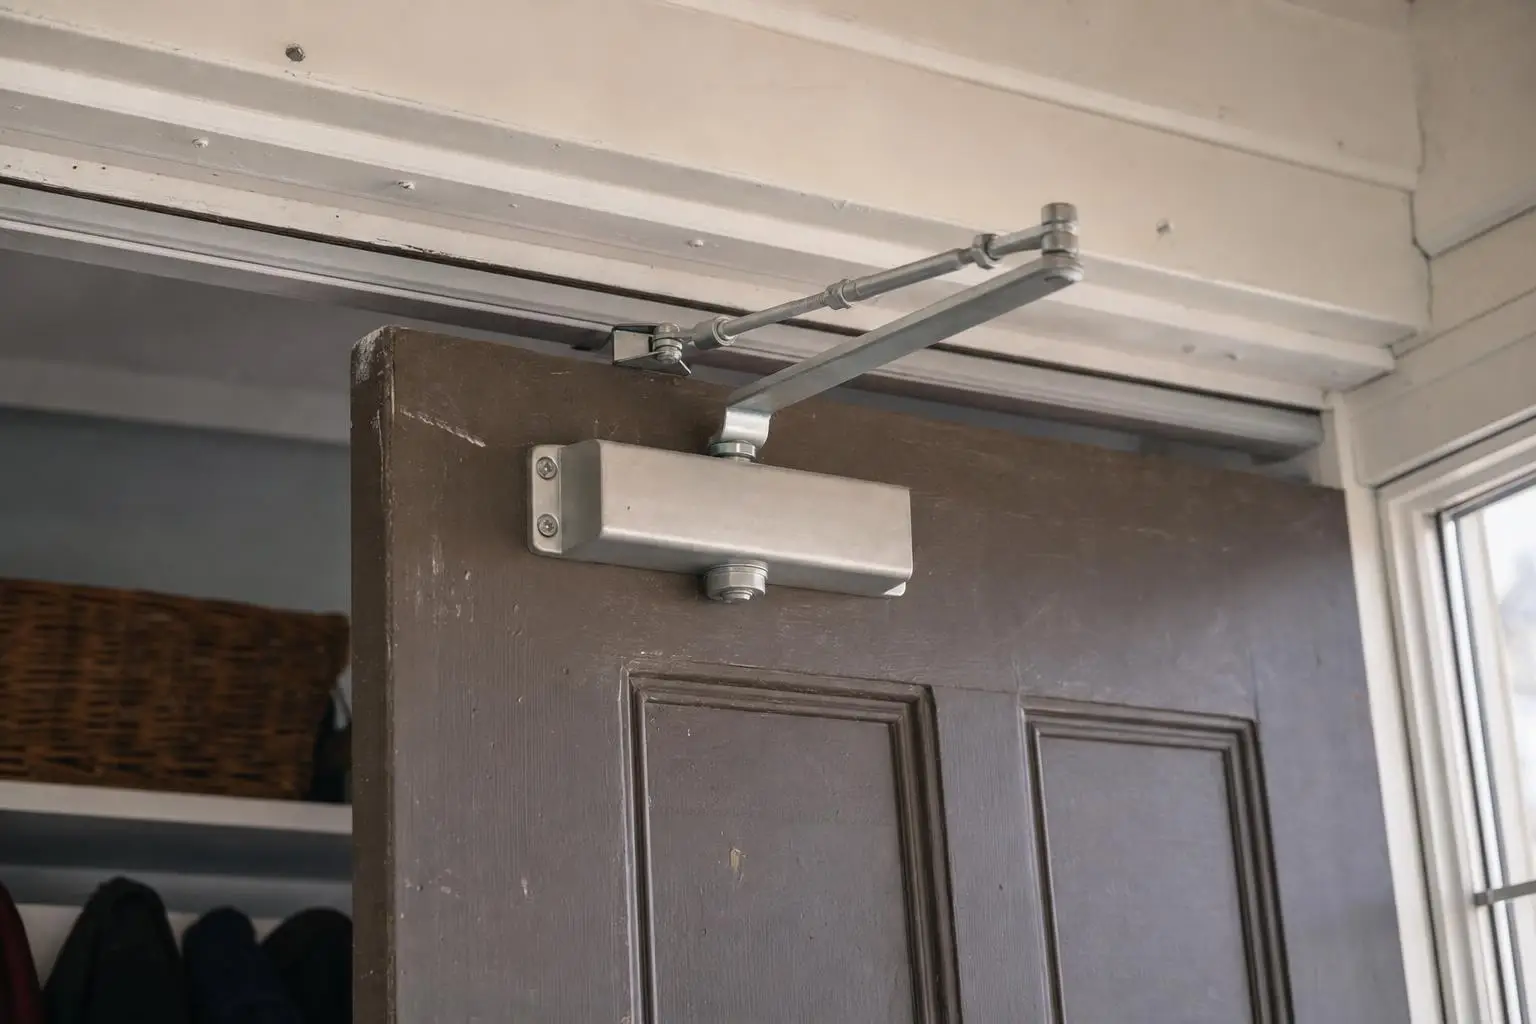
A heavy garage-entry door or a mudroom door that repeatedly slams may benefit from a surface-mounted closer. It controls the closing motion, but it isn’t a substitute for repairing loose hinges or a misaligned latch. Select a model suited to the door’s size, weight, mounting space, and expected use.
Spring power affects closing force. Sweep speed controls most of the closing movement, while latch speed controls the final portion. Backcheck cushions an abrupt opening, but doesn’t replace a doorstop.
Follow the manufacturer’s adjustment instructions and confirm that the door closes and latches without excessive force. Fire-rated doors and accessible routes have specific requirements, so check applicable codes before selecting or changing a closer.
A Room-by-Room Playbook
- Front entry: an exterior-rated handle and deadbolt, with suitable security ratings and a finish approved for the exposure.
- Bedrooms and baths: privacy sets with an outside emergency release.
- Hallways and closets: passage sets where the door needs a working latch.
- French doors: working hardware on the active leaf as needed, with dummy hardware on an inactive leaf or doors held by separate catches.
- Pantry: passage hardware if the door latches, or a dummy pull if a magnetic or roller catch holds it shut.
Common Mistakes to Avoid
- Buying for looks before measuring.
- Mixing finishes without considering what is visible together.
- Ignoring handing on curved levers and handlesets.
- Choosing knobs where levers would make daily use easier.
- Assuming smart-home compatibility includes every unlocking feature.
- Overlooking the manufacturer’s instructions for strike plates and mounting screws.
Style and Function, Together
The most useful checklist starts with fit and daily use, then moves to durability and appearance. Treat smart features and closers as solutions to specific needs, not automatic upgrades.
Once those decisions are settled, choosing a style becomes simpler. You can focus on hardware that looks right and works comfortably throughout the home.