My curls looked the same in every photo I took between 2019 and 2022: a soft brown cloud with no shape, which my aunt called “the dandelion” and my roommate called “the situation.” The problem was never my curl pattern. It was that I copied a routine built in Arizona and ran it through August in Atlanta, where the air holds water like a wet sponge that refuses to be wrung out.
So here is the honest version of what fixed it. Curls are shaped by water, and they are undone by water in the air, which means your routine has to do two jobs at once: get moisture into the strand and then seal it there before the sky tries to add more. If you buy the wrong category of hair care products for curly hair, like a rich butter when your hair actually wants a light gel, you will spend the whole season fighting a texture that was never the enemy. Below is the wash-hydrate-seal framework I built after wasting money on four separate curl creams. It works the same way for waves, ringlets, and coils. You just change how much of each step you use.
Why Your Curls Fall Apart the Second You Step Outside
Curls form when hydrogen bonds in the strand rearrange around water and then dry that way. The National Institutes of Health explains that hydrogen bonds hold proteins in their specific shape, which is the same chemistry that gives a curl its spiral. Dry hair in humid air is a sponge sitting next to a full bucket. It pulls moisture from the atmosphere, the cuticle lifts, and the shape you spent twenty minutes building starts to sag and fuzz. Here is the part most routines get backwards. People add moisture on wash day and then seal nothing, so the humidity has an open door. The fix is to close the cuticle after hydration, not to hydrate harder.
You can test this on your own head this week. Style one half of your hair with a leave-in and nothing else, then the other half with a leave-in plus a gel that forms a cast. Go outside. The second side will feel stiff, and then it will dry into a curl that actually holds. That stiffness is temporary. Crunch it out with dry palms once the hair is fully dry, and what is left underneath is definition.
What Actually Belongs on Your Shelf
You need four things, in this order. Not six. Not ten. Four.
- A sulfate-free cleanser. It lifts oil and buildup without stripping the strand bare.
- A conditioner you actually leave in for a few minutes. This is your hydration step, not a formality.
- A leave-in or cream. This carries water into the strand and starts the shape.
- A gel or mousse with hold. This is the seal, and this is what the humidity cannot argue with.
Notice what is missing. Pre-poo treatments, curl butters used as daily stylers, and a separate “curl activator” are nice extras I would happily buy and I would not build a routine on them. Squeezing a heavy butter into fine waves is how you get a curl that looks greasy by noon and flat by dinner.
Should you match the product line across all four steps? Not necessarily. I would rather you buy a cleanser and a hold product that actually suit your density than force loyalty to one brand. The one honest advantage of a matched set is that the formulation chemist already balanced the protein and moisture levels, so you are less likely to overload one strand with both. That is a convenience, not a law.
The Wash-Hydrate-Seal Method, Step by Step
This is the routine I run now, and it is deliberately unglamorous.
- Cleanse at the roots only. Scrub your scalp. Let the suds run down the lengths, and do not pile your hair on top of your head and grind it. That motion is how you build the frizz you are about to blame on the weather.
- Condition and detangle, then leave a little in. Rinse most of it, not all of it. If your hair is coarse or coily, leave more.
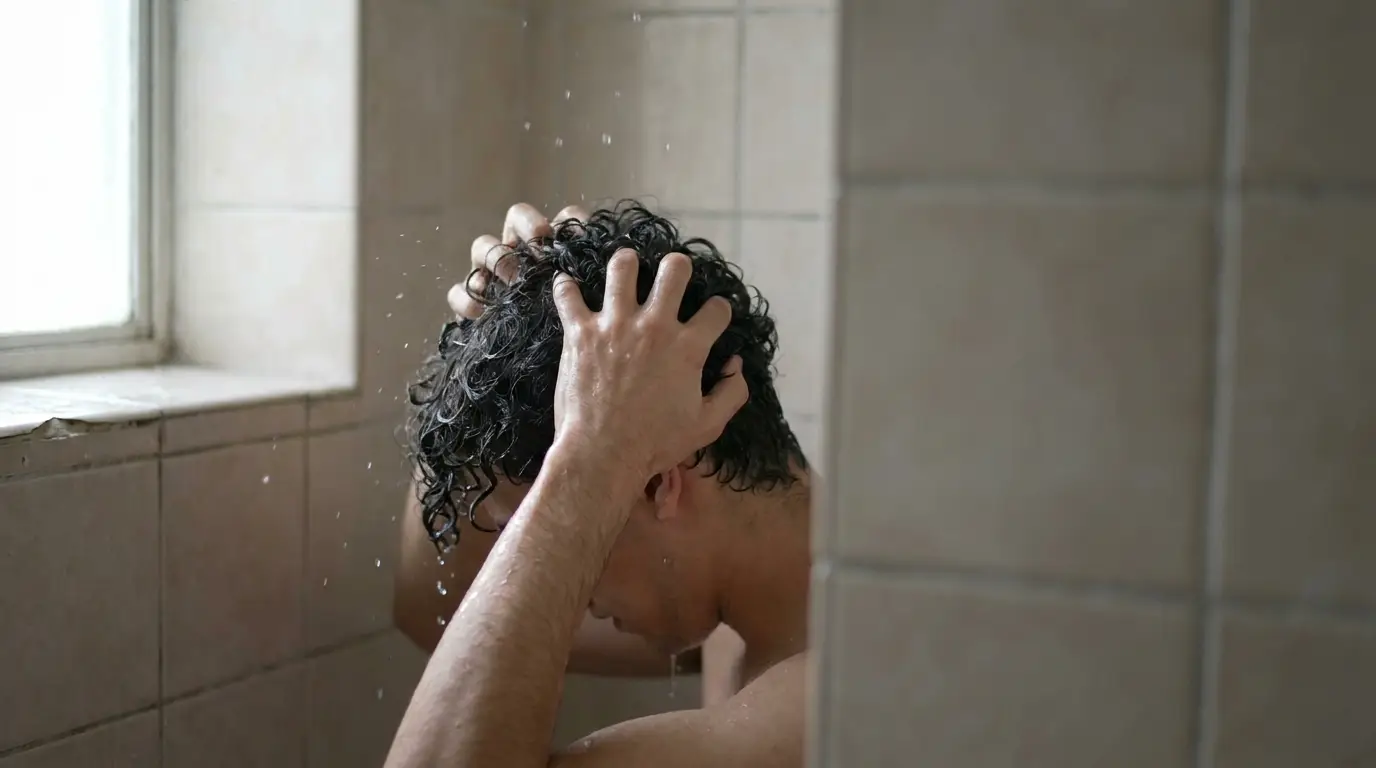
- Apply your leave-in on soaking wet hair. This part matters more than the product. Dripping hair inside a shower where you have already turned the water off is the ideal moment. Inside is doing more work here than any label claim.
- Rake, then scrunch. Run your fingers through to distribute, then cup the ends with a palmful of water and squeeze upward toward your scalp. You should hear a small squishing sound. Quiet hair means you need more water.
- Gel last, over the top. Glaze it over the finished curl clumps. Do not rake this through or you will break up the groups you just made.
- Dry without touching. A microfiber towel or a cotton t-shirt is fine. Then leave it alone. Wind and hands do half the damage attributed to weather.
Once your hair is completely dry, the gel has dried into a cast and the hair underneath is protected. Break that cast with a drop of oil or dry palms. The curls relax into shape, and the definition stays.
Reading Humidity Before You Style
Humidity does not treat all textures the same way, and neither does density. Use this as a starting point rather than a verdict.
|
Your hair |
Heaviest product step |
Adjustment in high humidity |
|---|---|---|
|
Fine waves (2A to 2B) |
Light mousse |
Add a second layer of mousse after the first dries |
|
Medium curls (2C to 3B) |
Gel |
Apply gel twice, once wet and once damp |
|
Tight curls and coils (3C to 4C) |
Leave-in plus buttery cream |
Keep the cream, but seal it with a gel on top |
According to the National Oceanic and Atmospheric Administration, relative humidity is a measure of how much water vapor the air is holding compared to what it can hold at that temperature, and warm air holds far more water than cool air. That is why a rainy morning is not the worst case. A hot, still afternoon after rain is worse, because the air is warm, saturated, and moving slowly over your head.
One more piece of the puzzle that nobody explains well: many styling ingredients, including the humectants in leave-ins and creams, attract water from the air. That is helpful on dry days and unhelpful in a downpour of a forecast. Research on cosmetic formulation in ScienceDirect journals covers how different ingredients behave in different conditions. My practical translation: in July, cut back the humectant-heavy leave-in and lean harder on the film-forming hold product.
Three Habits That Ruin Curls After You Style Them
You can run every step above correctly and then throw it away in ten minutes without noticing.
Sleeping on unprotected hair. Cotton grabs the strand and grinds the curl apart overnight. A satin pillowcase is the cheapest fix in this entire article, and it outlasts the product you just bought.
Refreshing with dry shampoo mist. It feels like a reset. It is usually just more residue sitting on a cuticle that is already trying to close. Water in a spray bottle, a small amount, scrunched back in, does the actual job.
Diffusing on high heat and high speed. Speed breaks the clumps. Heat with the diffuser held in one place for too long roughs up the cuticle. Low and slow, with the diffuser cupping the hair in place for a few seconds before you move on. I skipped the pillowcase for two years, which was a mistake, and I want you to know that the missing thing in the routine is often the boring thing.
Your First Week, Mapped Out
Start with a fresh wash, then style with only the leave-in so you have a baseline. On the second wash, add the gel and compare. Keep the version that holds better on day two, not day one. Add a refresh spritz on days three and four, then wash again. That is four data points, which is more than enough to know whether a product earns a permanent spot on your shelf.
By the end of that week, you will also know whether your problem is hydration or hold. Almost everyone assumes it is hydration, buys another cream, and stays exactly where they started.
Buzzcut season is always an option, but your curls already know what to do. Give them water, give them something to hold the shape, and then stop touching them. When was the last time you styled your hair and truly kept your hands off it until it dried?