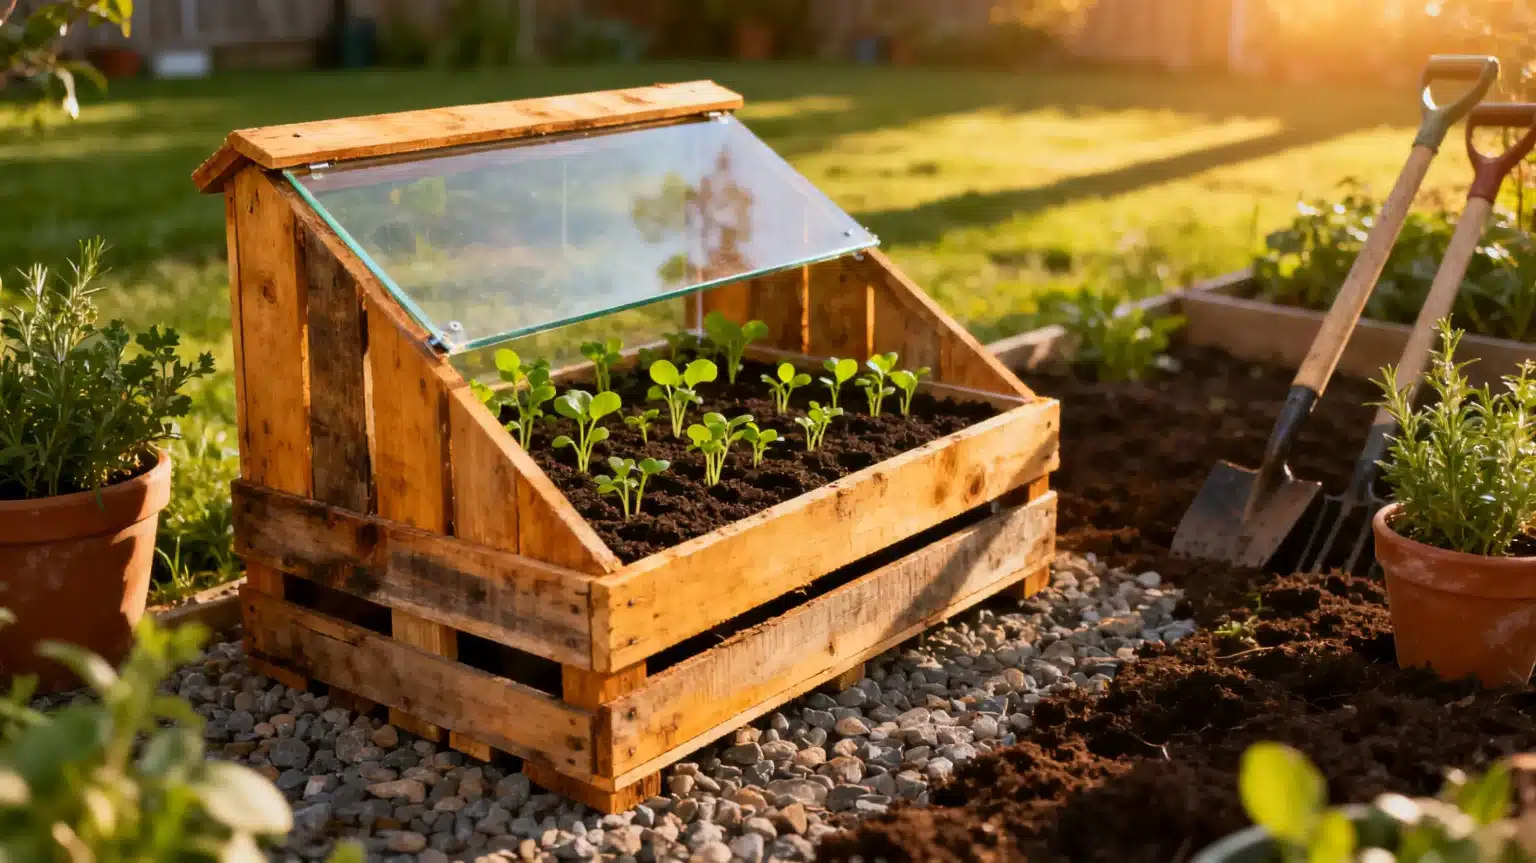
Growing your own plants from seeds is rewarding and gives you access to varieties not found in garden centres. However, the UK spring is often too cold for young seedlings to survive without protection. A propagation station acts like a mini greenhouse and provides a warm environment for seeds to germinate.
How to Source Materials for Your Project
You can build a sturdy station using reclaimed timber such as old pallets or decking boards. It is important to look for the HT stamp on pallets which means they are heat treated instead of using chemicals. This makes the wood safe for use around your plants.
Before you start cutting your wood, you should gather all the necessary components needed for the assembly process:
- Reclaimed pallet wood
- Stainless steel screws
- Metal hinges
- Clear plastic sheet
- Weatherproof glue
- Wood saw
- Electric drill
You will also need a tape measure and a pencil to mark your cuts accurately. A saw and a drill are the tools you’ll need for the job. It’s worth pointing out that using a weatherproof wood glue will make the joints much stronger. You should prepare your wood by sanding down any rough patches so you don’t get splinters while working on the construction.
How to Choose the Best Glazing
The lid needs to let in light while keeping heat trapped inside. Some people try to use glass windows but they are very heavy and can be dangerous if they break. Using a replacement acrylic greenhouse sheet is a much better option because it is lightweight and hard to smash. It provides excellent insulation and will keep the temperature inside the box more stable.
Acrylic is also much easier to cut and drill than glass. You won’t need special tools and you can fix it directly to your wooden frame. This type of plastic stays clear for years and won’t turn yellow when left in the sun.
How to Build the Wooden Main Frame
Start by cutting your timber pieces to length. A good size is around ninety centimetres wide and sixty centimetres deep. You should cut the back piece slightly taller than the front. This creates a slope so that rainwater will run off the top instead of sitting on the lid.
Join the pieces together using your drill to make pilot holes first. This prevents the wood from splitting when you drive the screws in. Apply wood glue to each joint before you screw them tight. You are building a bottomless box so it is easy to place it over soil or gravel for drainage. You can use a spirit level to check that the sides are even before you fasten the final screws.
How to Fit the Lid and Finish Your Unit
The lid is a simple rectangle of wood that should be larger than the top of your frame. You will attach your plastic sheet to this frame using small screws at the corners. It is a good idea to drill the holes in the plastic first. Once the sheet is secure, you can attach the lid to the box using hinges.
Add a handle to the lid so it is easy to lift. You should also think about adding a wooden prop to hold the lid open on warm days. This will help with ventilation and prevent your seedlings from getting too hot. Place the unit in a sunny spot that is protected from strong winds.
Final Considerations
Building your own propagation station is a great way to save money and recycle old materials. Your plants will grow much faster with the extra warmth and protection provided by the clear lid.
This project moves you towards a more sustainable way of gardening and ensures your seeds have the best start. It is a rewarding task that you can complete in a single afternoon to improve your garden and grow food.