

The bin of sprung-floor foam I bought before I’d measured anything sat in my hallway for five months. Nobody warns you that a home dance floor is really two projects stacked on top of each other: the floor itself, which is the easy part, and the zoning, which is everything else. Get the second one right and your dining room stops smelling like rubber at dinner.
Most people design this room like a gym. That’s the mistake. A home studio works like a dining nook or a desk corner, which is a defined zone inside a space that does other jobs. That framing changes what you buy, what you install, and what you can put back in a closet on a Tuesday night. It also explains why so many people sell their rollout gear on marketplace within a year.
Workable space for one dancer fits in a 9 by 9 foot room with the furniture pushed back. A dancer traveling or jumping needs closer to 12 by 12. And if you’re weighing surface types, loose-lay marley dance floors are the version that respects the double life of a room: they’re designed to go down over an existing hard subfloor and come back up without glue or damage.
Start With the Room’s Second Job
Write down every other function that room has. Guest bed. Storage. Cat’s favorite sunbeam. That list, not your floor plan, decides your layout. My rule: if a function happens at the same time every day, it has to survive the dance setup. If it’s occasional, it can move.
Here’s where it gets specific. A spare bedroom with a guest bed is a better studio than it looks on paper, because the bed sits on one wall and never moves. The setup I ran for two years looked like this:
- Guest bed and a dresser along one 12 foot wall
- Practice zone in the open half of the room, about 8 by 11 feet of usable floor
- Rolled surface stored upright in the closet, on end, never flat
- Barre mounted on the wall behind the door, where the door swing hides it
- One small shelf for shoes and tape, nothing else
That fifth item is not decoration. Clutter is what makes a multipurpose room feel like a studio that happens to have a bed in it. One shelf, one basket, done. If you need more storage than that, the room is really a studio and you should admit it and design accordingly.
Hard Surface or Roll-Out: Pick for the Room, Not the Dance
Most advice on this starts with dance style. I think that’s backwards for a home. Dance style determines grip and slip. The room determines whether you’ll actually use the thing on a Wednesday when you’re tired.
Permanent flooring makes sense when the room has no competing job, the subfloor is flat, and you’ve already accepted you won’t host Thanksgiving there. Roll-out surfaces make sense when the room flips between two lives, when you rent, or when you’re not certain the hobby will hold. Mine lasted through a move, which settled the argument for me.
What almost nobody says out loud: a roll-out surface is only as good as what’s under it. Bare concrete eats knees and ankles. Carpet under a rollout makes the surface squishy in a way that’s worse than either material alone. If your room has low-pile carpet and you don’t want to remove it, you’re looking at a different conversation with a flooring supplier.
Store It Like a Rug, Not Like a Hose
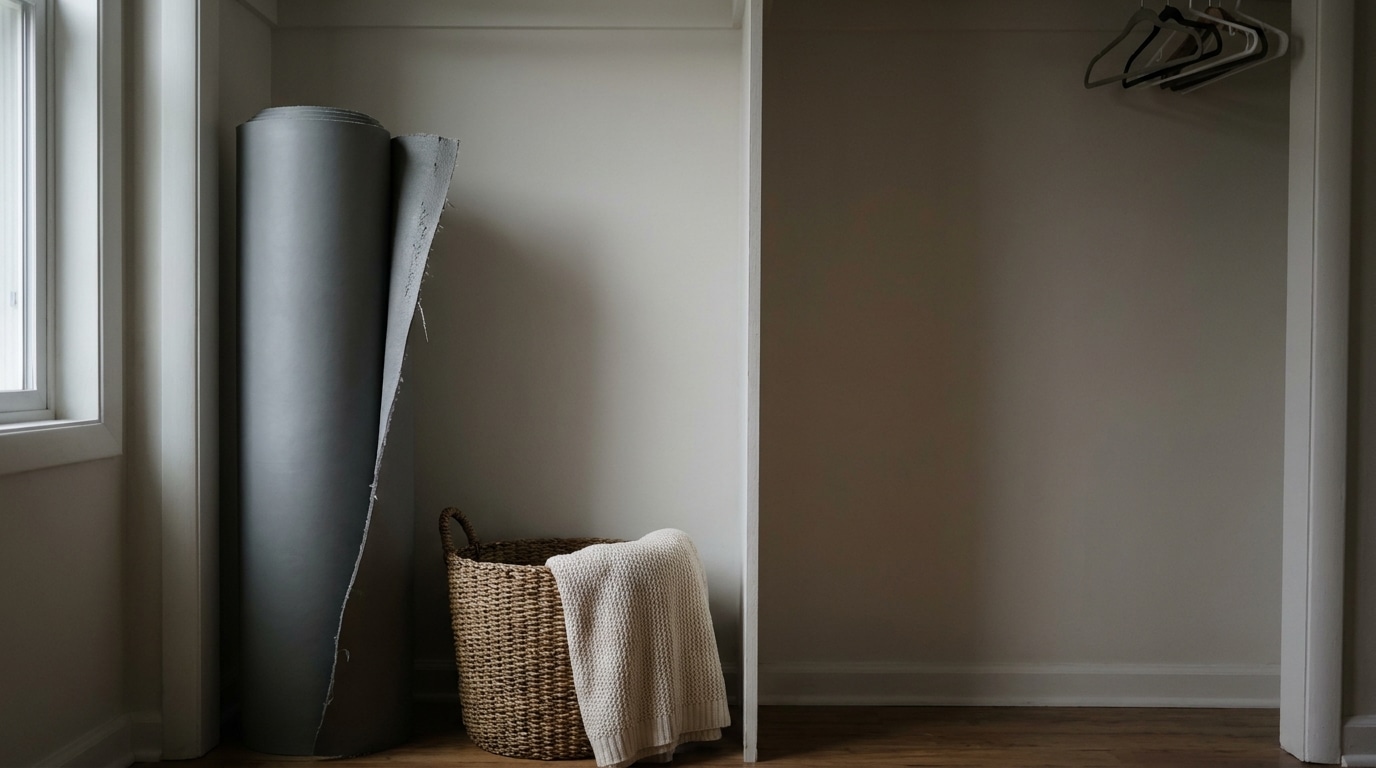
You’d be surprised how much of the “my floor developed a wrinkle” problem is a storage problem. A roll that sits curled the same direction for months takes a set. Products are manufactured to be rolled and rerolled a certain way, and that’s not just quirkiness, it’s how flexible polymer sheets behave over time. The National Institute of Standards and Technology is a solid place to read up on how material testing works if you want to understand why storage affects performance.
My method, learned the hard way:
- Roll it up the way it came, with the top surface facing inward.
- Stand it on end.
- Keep it out of a cold garage.
- Never fold it, ever.
- Lay it flat, top side up, half a day before you use it.
That last step alone fixed a curl I’d been fighting for weeks. Takes zero effort. Just requires knowing.
Manage the Seams and Transitions
The seam between floor surface and the rest of the room is what people see when they walk in. Treat it like a threshold, not a border. Rugs, runners, and low wooden transition strips all work. What doesn’t work is tape left down all the time, which collects dust and looks exactly like what it is.
Rollout surfaces need to sit flat, so the floor under them should be clean and dry. Common sense, but you’d be shocked how many people roll out over crumbs and then complain about lumps. Clean the floor first, then lay the surface, then check the edges by walking the perimeter. Ten minutes of prep saves an hour of annoyance.
Furniture placement deserves a mention too. Anything heavy within a foot of the practice zone gets pushed back before every session, and that gets old. Set the room up so the heavy stuff lives permanently outside the dance footprint, and the small stuff has a home you can reach from inside the zone. Your Wednesday self will thank you.
Light It Like a Room, Not a Stage
Good lighting pulls a room together faster than anything else you’ll do in here, and it also helps you see lines while you practice. Two layers work best: something soft and warm from the ceiling, and one light aimed at the wall you face. Household LEDs are fine. An angled floor lamp aimed at the wall makes your shadow readable when you’re checking a position, and it costs less than a nice dinner.
Sounds and Sightlines
Hard floors bounce sound. Anything soft in the room, a rug, curtains, an upholstered chair you already own, helps a lot. That’s not just about sound quality. A room that rings makes you dance quieter without thinking about it, and quiet practice is worse practice.
For sightlines, throw caution to the wind about mirrors if you don’t have one. A phone propped on a shelf and set to record twice a week does more for your technique than a wall mirror at this stage. I say this as someone who owns both.
What Actually Holds up Over a Year
Home studios fail for boring reasons. The list, ranked by how often I’ve seen it:
- Storage that’s awkward enough that setup becomes a chore
- A surface that lives on the floor permanently and slowly gets destroyed by foot traffic
- Furniture that creeps back into the practice zone until there isn’t one
- Lighting so dim you only practice in daylight
- Nobody else in the house knows where the floor goes when it comes up
The Occupational Safety and Health Administration publishes walkway and surface guidance meant for workplaces, and it’s a useful sanity check on slip and trip basics, even in your own house. Worth a skim if you share the space with anyone under ten.
One more thing. Give everyone who lives with you a thirty second explanation of the setup and teardown, once. Practice the teardown together on a Sunday afternoon. It sounds silly, and it’s the single best thing you can do to make sure the room stays a studio and not a pile of abandoned gear.
The Test That Tells You If It Worked
Here’s my framework, and I’ll name it because it’s earned it: the ten minute test. If you can walk in, set up, dance for forty minutes, and put everything away inside ten minutes total, the room works. If teardown alone takes fifteen, no amount of good flooring will save you, because you’ll stop doing it.
Measure your space, buy for the room, store the surface properly, light it like a living room, and give everyone in the house the thirty second tour. That’s the whole method. It’s not glamorous, and it’s the difference between a hobby you love and a pile of expensive rubber in your hallway.
What’s the one piece of furniture in your spare room that’s quietly making every decision for you?