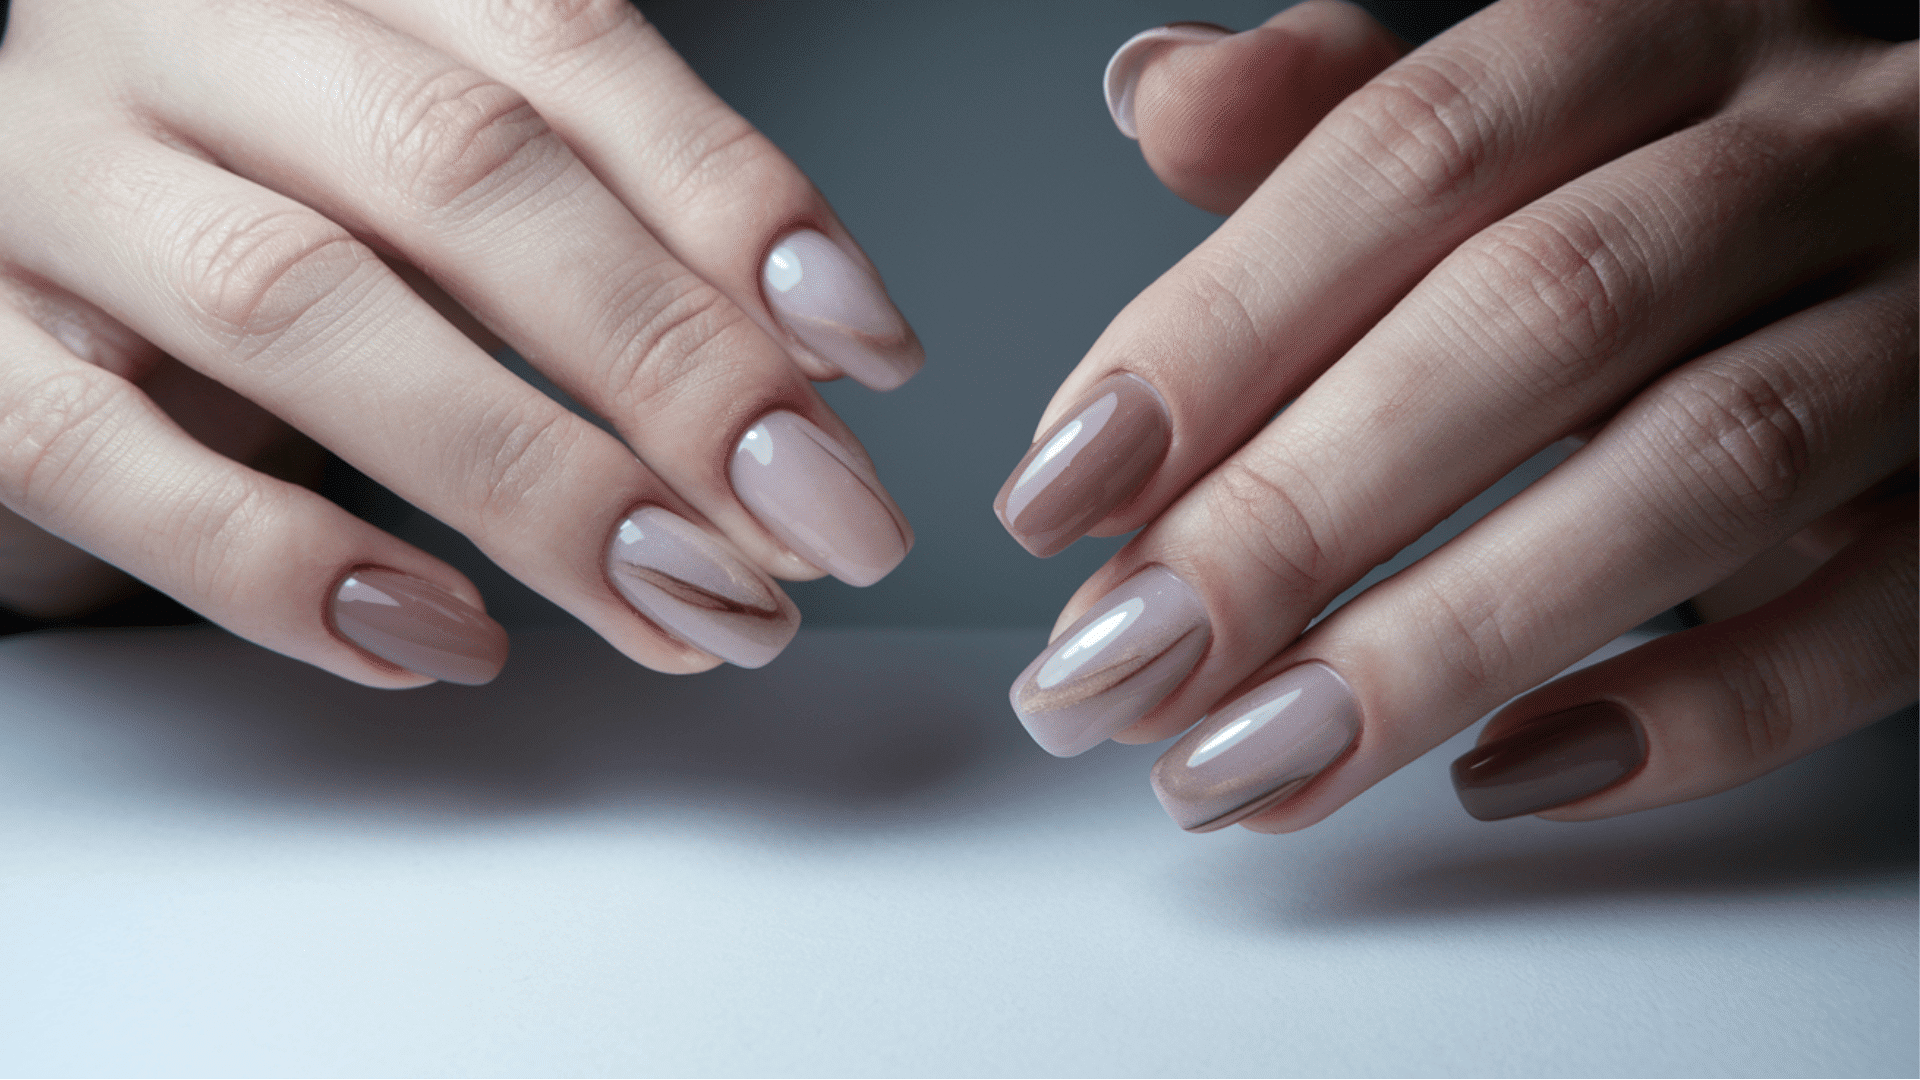

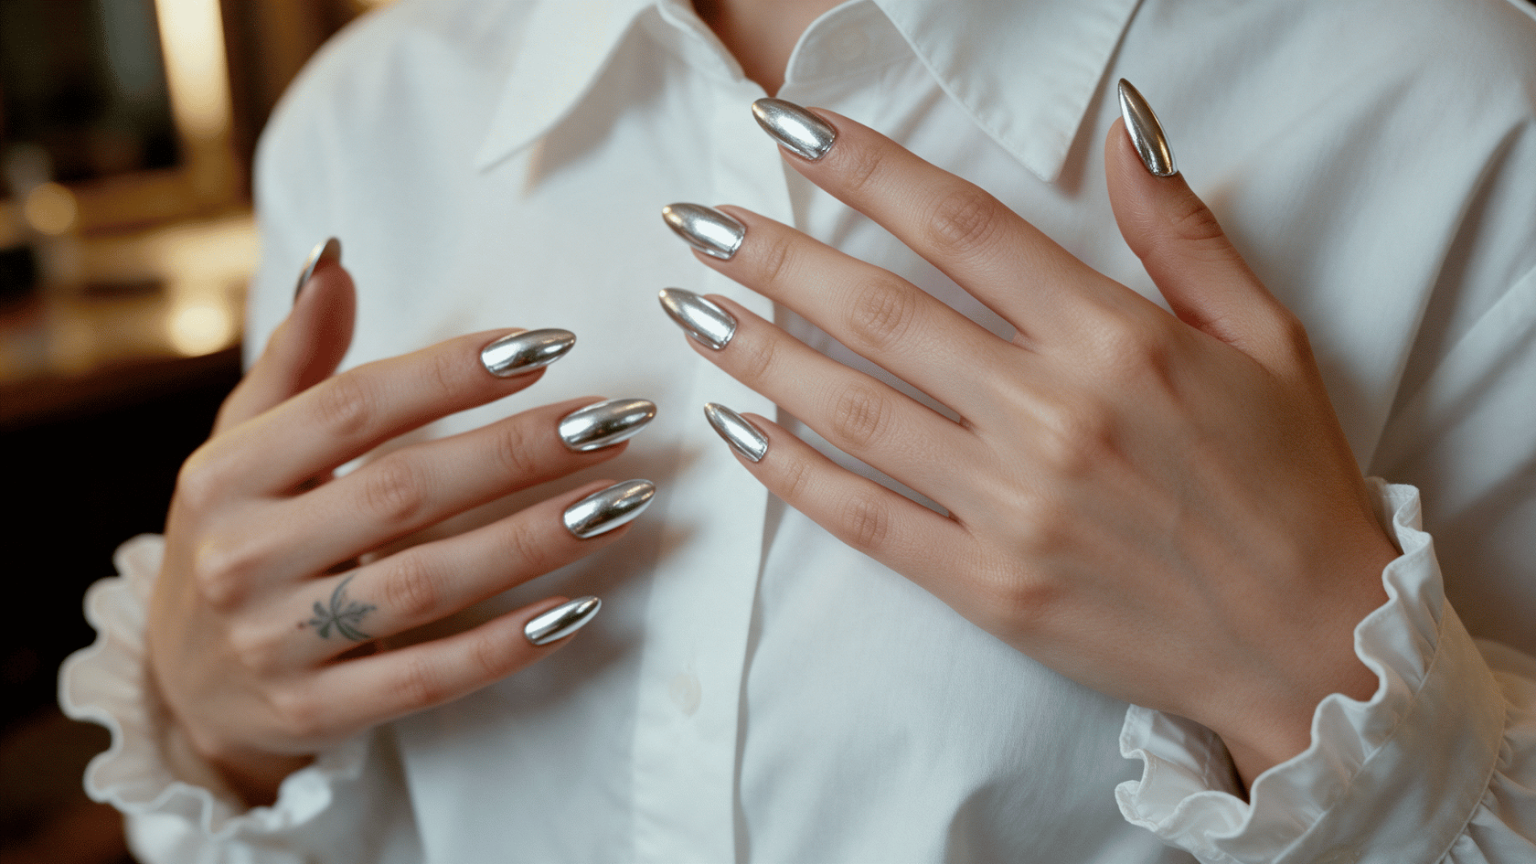
That liquid-metal shine on Instagram didn’t come from a salon chair, and it definitely didn’t happen by accident.
Behind every flawless mirror finish is a sequence most people skip past: the right prep, the right cure time, the right pressure on the powder, even the right nail shape to show it off.
Get one of those wrong, and the whole effect turns patchy before the day is out. What follows is how to do chrome nails the way it actually works, step by step.
What You Need to Do Chrome Nails
Before learning how to do chrome nails, gather the right tools ahead of time to keep the process moving without mid-manicure pauses.
- Nail file
- Nail buffer
- Cuticle pusher
- Rubbing or isopropyl alcohol
- Lint-free wipes
- Gel base coat
- Gel polish
- No-wipe gel top coat
- Chrome powder
- Sponge or silicone applicator
- Soft dust brush
- UV/LED nail lamp
- Cuticle oil
The no-wipe top coat and chrome powder do the heaviest lifting here. Everything else supports prep and cleanup around those two products.
How to Do Chrome Nails Step by Step
The process of how to do chrome nails comes down to eight steps, each building on the one before it.
Step 1: Prep and Shape Your Nails
This step removes oil, dust, and old product residue so the gel has a clean surface to bond to instead of lifting within a day.
- Remove old polish completely
- File nails into the desired shape
- Buff the surface lightly to remove shine
- Push back cuticles and clear away dust
- Wipe each nail with alcohol to strip away oils
Step 2: Apply and Cure the Gel Base Coat
This layer gives everything applied after it something stable and even to grip for the rest of the manicure.
- Apply one thin, even layer of gel base coat
- Keep product away from the cuticles to avoid flooding
- Cure fully under the lamp per the manufacturer’s instructions
- Check the layer for streaks before moving on
Base coat resins are built to flex slightly with the natural nail. Loading one on too thick fights that flex during curing and tends to leave soft, unstable spots underneath.
Step 3: Apply Your Gel Polish Color
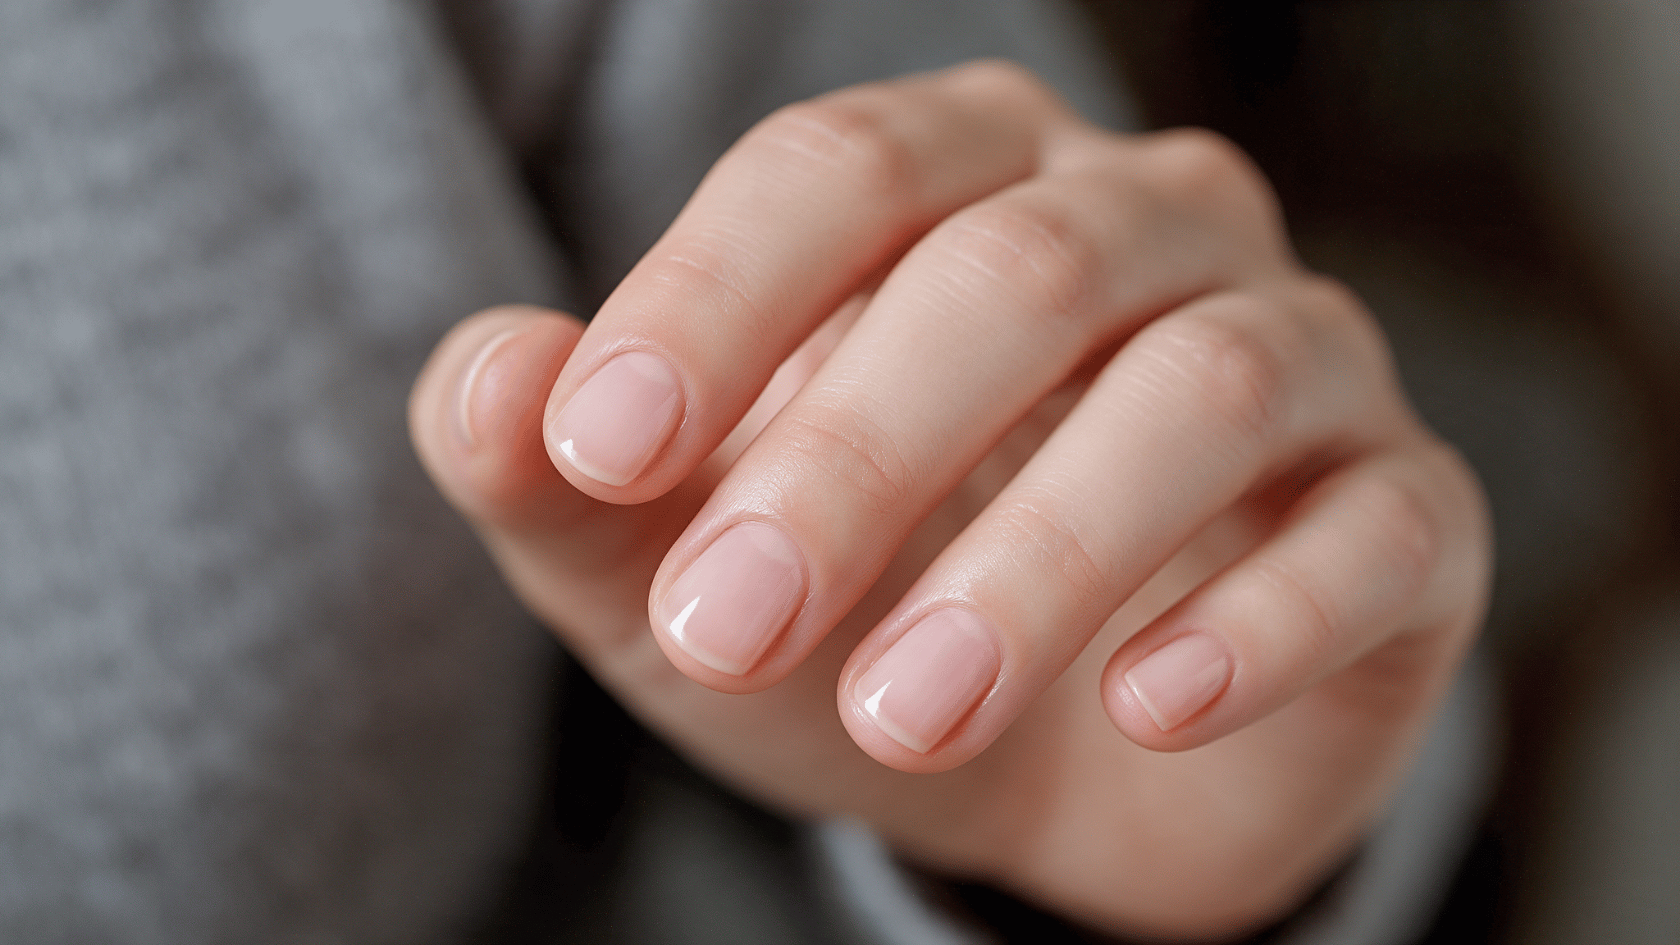
This step sets the base color that shows through the finished chrome and shapes how metallic or bright it looks.
- Apply a thin coat of gel polish
- Cure it fully under the lamp
- Add a second coat if the color needs more coverage
- Cure again before moving to the top coat
Step 4: Apply a No-Wipe Top Coat and Cure It
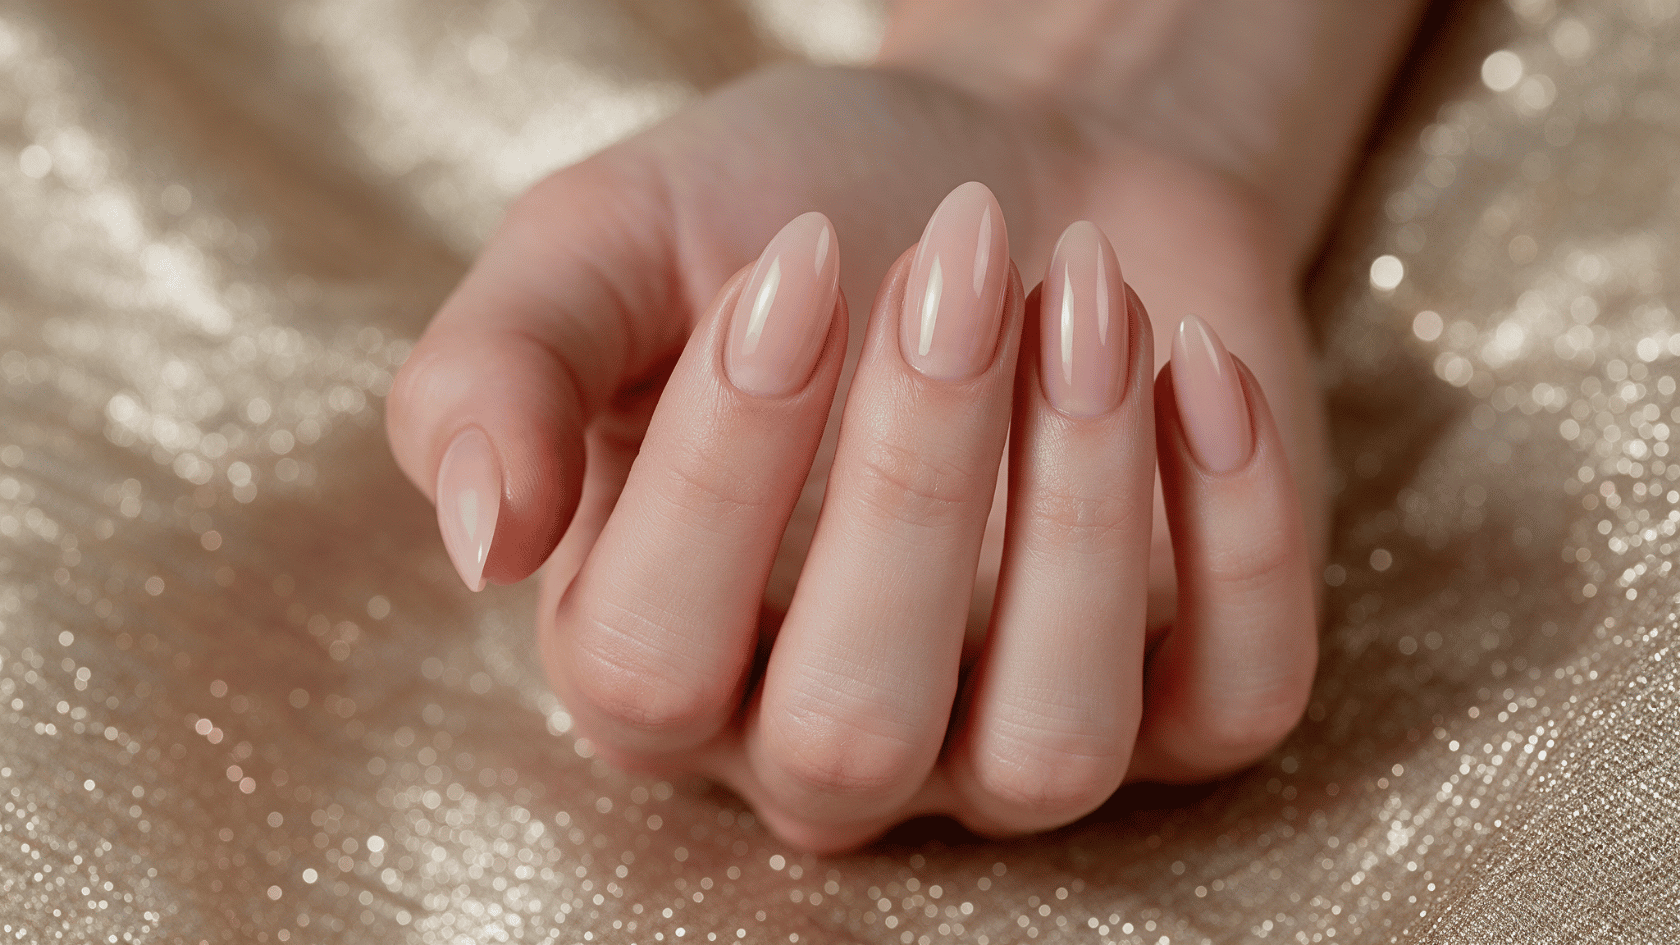
This coat creates the tacky surface chrome powder needs to bond and reflect light evenly.
- Apply a smooth, thin layer of no-wipe top coat
- Check closely for bumps or streaks before curing
- Cure fully per the specific product instructions
- Avoid touching the surface once curing begins
No-wipe formulas are designed to skip the usual cleanup step on purpose, since that residue layer is the exact surface chemistry chrome powder clings to. Under-curing it defeats the whole point.
Step 5: Rub the Chrome Powder Into the Nail
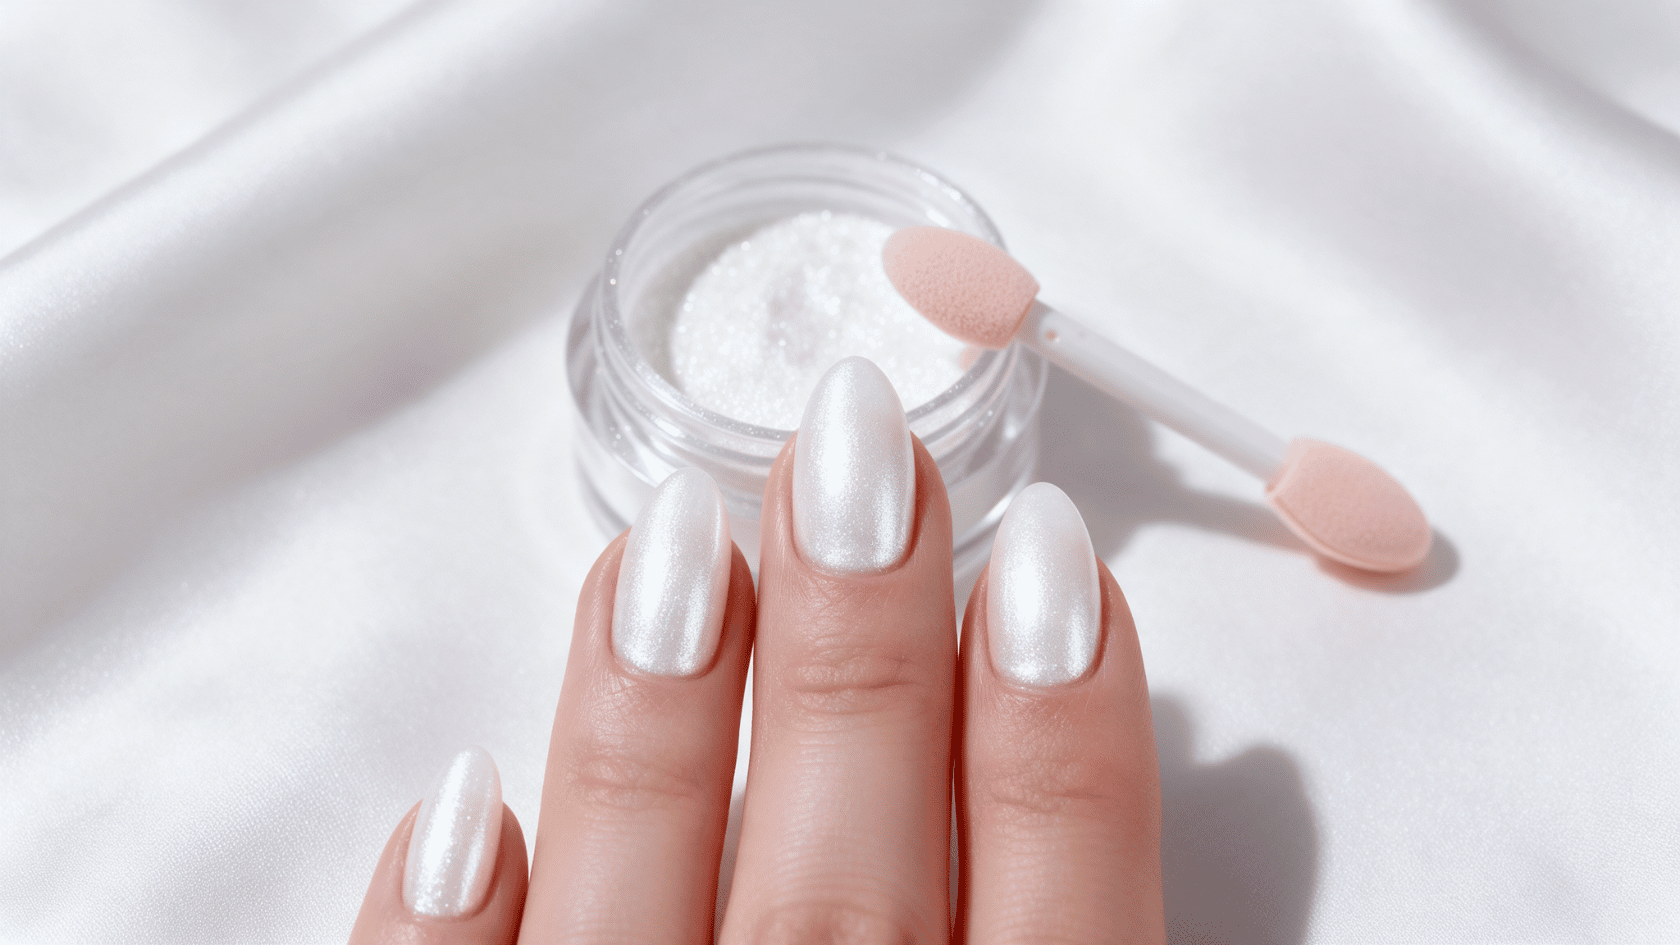
This is the step where the actual mirror effect starts to appear across the surface of the nail.
- Pick up a small amount of powder on the applicator
- Place it onto the cured nail surface
- Rub in small circular or back-and-forth motions
- Continue until the finish turns smooth and reflective
A little powder covers more than it looks like it will. Overloading the applicator is the single most common reason a finish turns patchy instead of even.
Step 6: Brush Away the Excess Chrome Powder
This step keeps loose pigment from interfering with the sealing layer that gets applied right after it.
- Check the nail from a few angles for thin or patchy spots
- Buff those areas again if needed
- Sweep away loose powder with a soft dust brush
- Clean powder away from the cuticles and sidewalls
Chrome pigments are fine enough to cling to skin through static alone, so a soft brush lifts far more residue than a wipe or a puff of air ever will.
Step 7: Seal the Chrome With Top Coat
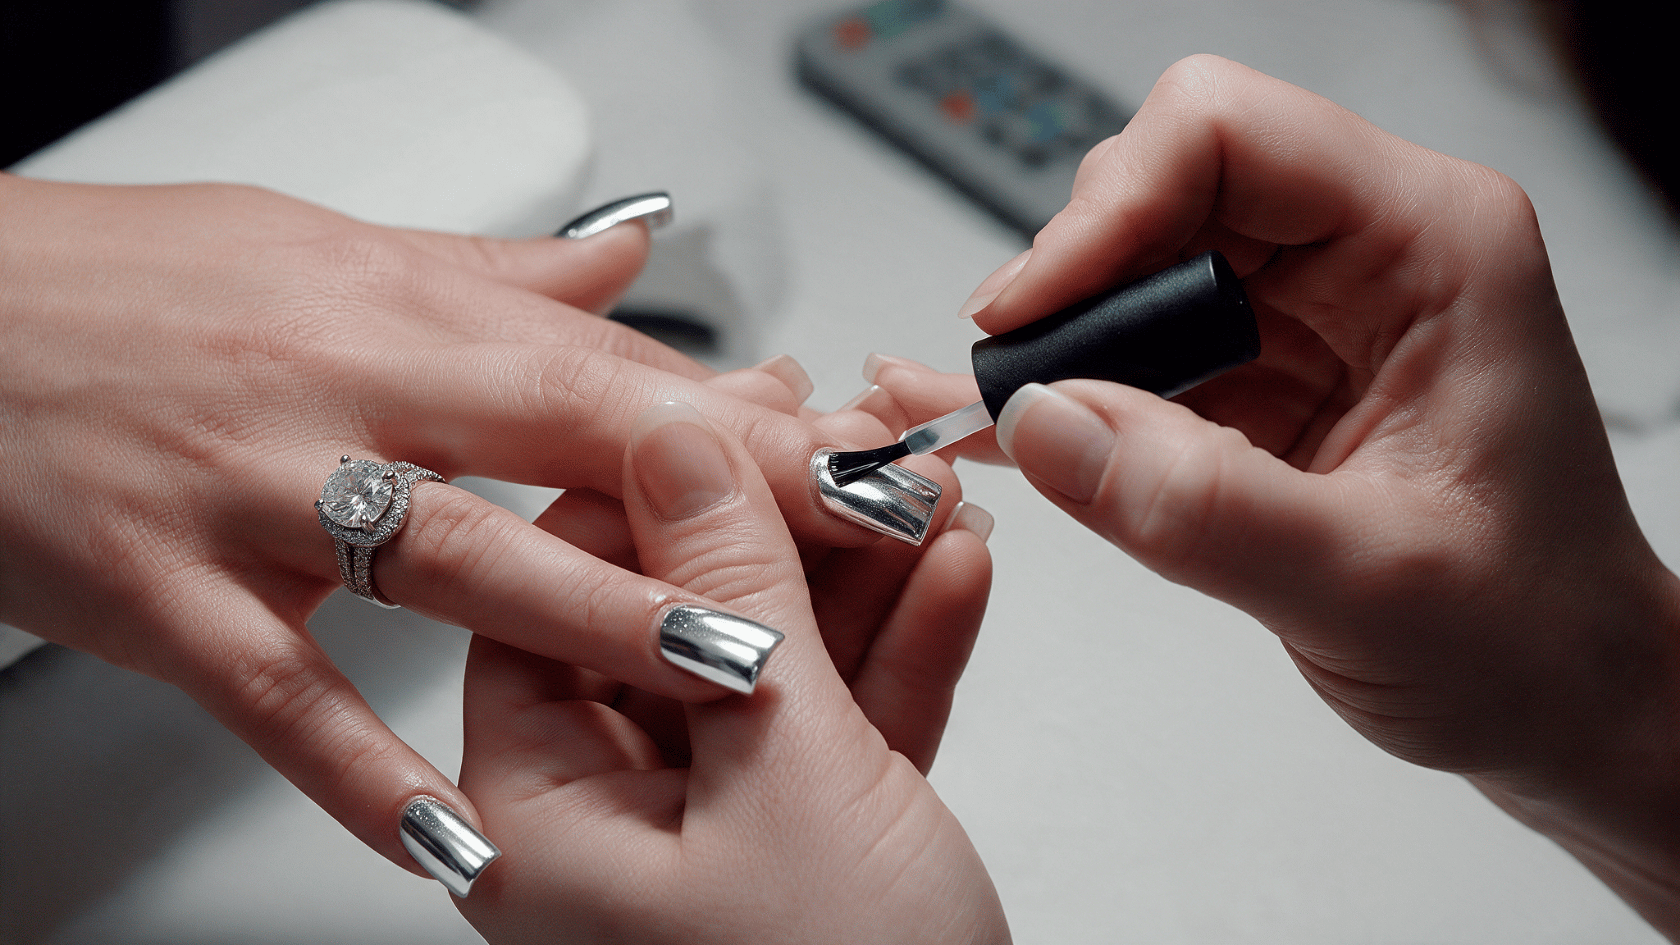
This layer locks the chrome pigment in place so the finish can hold up against daily wear and washing.
- Apply a thin gel top coat over the entire chrome surface
- Cover the side edges completely without leaving gaps
- Cap the free edge of the nail fully
- Check for even coverage before curing
Step 8: Cure and Finish the Manicure
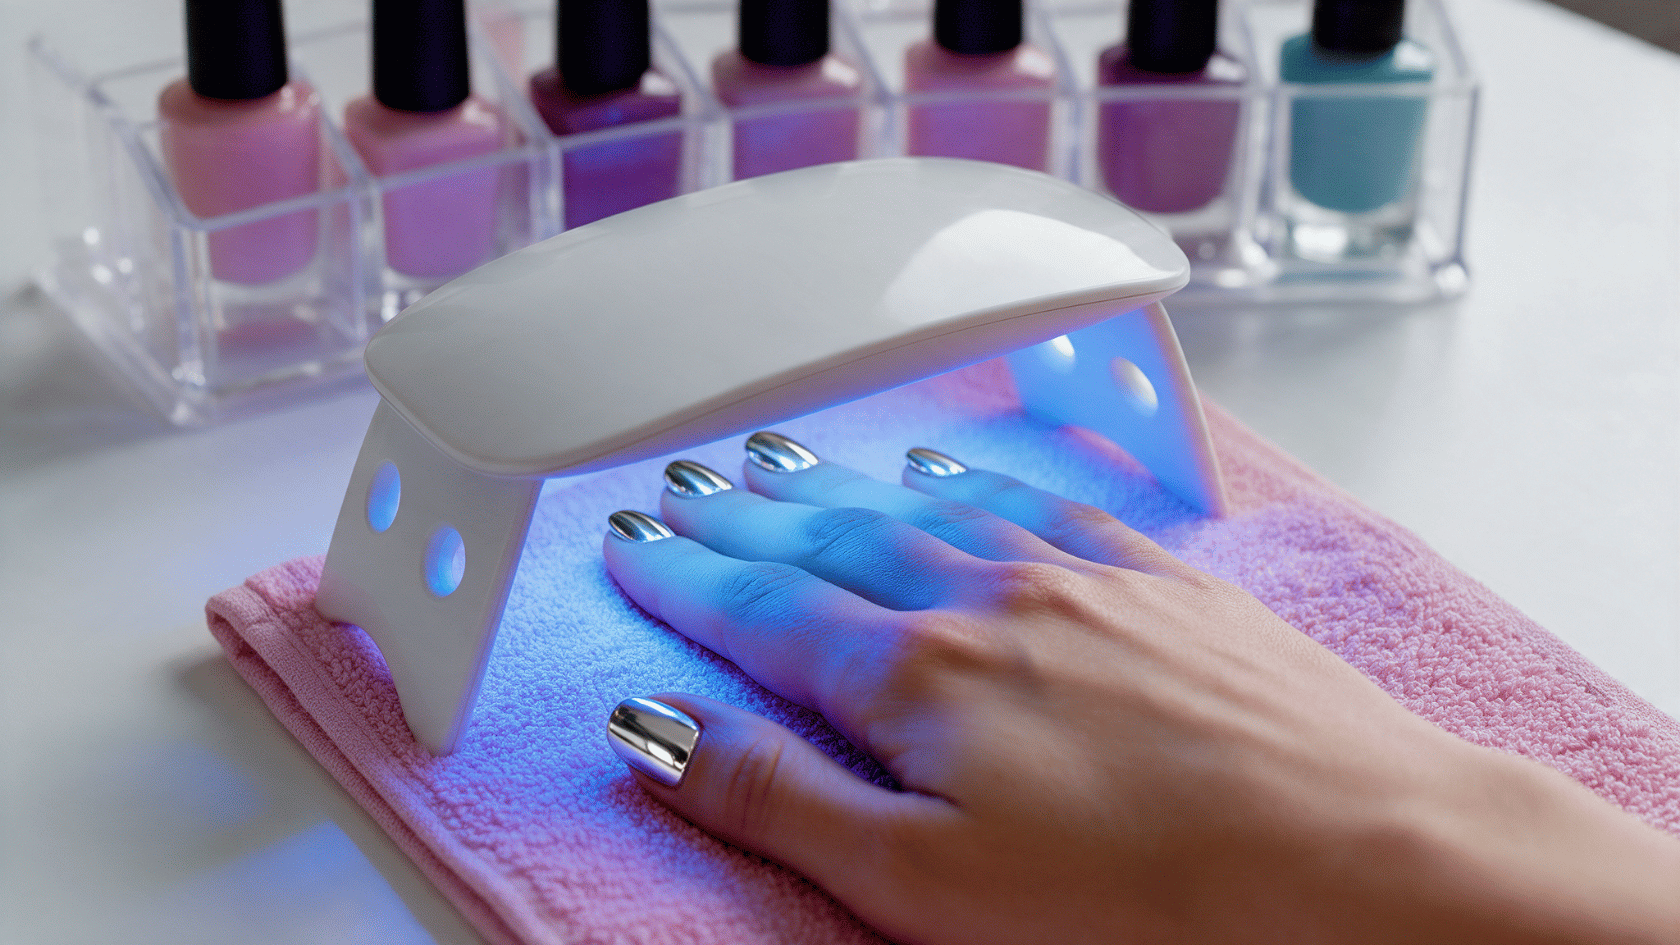
This final step locks everything in place and completes the manicure.
- Fully cure the final top coat under the lamp
- Wipe away any inhibition layer if the product calls for it
- Check the surface for smoothness under direct light
- Finish with cuticle oil around each nail
That slightly sticky top layer before wiping is called the inhibition layer, a normal byproduct of gel curing in open air, not a sign anything went wrong.
How Base Color Changes the Chrome Nail Look
The same chrome powder looks noticeably different depending on which gel color sits underneath it. Darker shades tend to deepen the mirror effect, while lighter ones brighten it.
|
Gel Base Color |
Finished Chrome Look |
|---|---|
|
Black |
Deep mirror or metallic chrome |
|
White |
Bright, clean chrome |
|
Sheer pink |
Glazed or pearl effect |
|
Nude |
Soft, subtle chrome |
|
Red, blue, purple, etc. |
Colored metallic chrome |
Swapping the base color is the simplest way to change the entire look without altering the application steps at all. Prep through sealing stays exactly the same; only the shade underneath changes.
Can You Do Chrome Nails With Eyeshadow?
Metallic eyeshadow can create a softer, chrome-inspired look for anyone without powder on hand, though the finish reads more shimmer than mirror.
- Prep and apply your base color: Clean and shape nails, then apply a base coat followed by a polish color, letting it dry fully or stay slightly tacky depending on the technique.
- Apply eyeshadow pigment: Choose a highly pigmented metallic eyeshadow and use a small sponge or makeup brush to press it onto the nail, building up layers until the shine looks even.
- Add a protective top coat: Apply a clear top coat carefully, sealing the edges fully, and let nails dry completely before wearing gloves or handling anything rough.
Eyeshadow pigments are formulated for color and shimmer on skin, while nail chrome powders are used to create a denser reflective effect over a compatible nail coating.
What Are the Downsides of Using Chrome Nails?
Chrome nails look flawless in photos, but the process has a few catches worth knowing upfront. Here’s what tends to trip people up before they commit an afternoon to the process:
- Requires multiple layers: base coat, gel color, top coat, powder, and a final seal add up to several steps, leaving more room for small mistakes
- Can chip if not sealed properly: powder left near the edges or a weak top coat shortens wear time, and poor curing at any stage makes it worse
- Removal takes extra care: gel chrome needs a proper soak-off process, since peeling it off directly can damage the natural nail underneath
- Chrome powder can be messy: fine pigment spreads easily during application and clings to cuticles and sidewalls if not cleaned up right away
- Mirror effect depends on technique: uneven gel layers, incorrect curing, or lower-quality powder all lead to a dull or patchy result instead of true mirror shine
Are Chrome Nails Still in Style in 2026?
Yes, chrome nails are still going strong heading into 2026, with silver, aura, and colored-chrome variations leading the trend.
What started as a viral nail art moment has settled into a mainstay, now offered by most salons and easy enough to recreate at home with the right gel setup.
If you’re wondering how to do chrome nails this year, the technique hasn’t changed, just the shades people are reaching for.
Conclusion
A clean chrome finish comes down to three habits: thin gel layers, a fully cured no-wipe top coat, and a careful seal along every edge. Skip any one of them and the shine fades within days, no matter how good the powder is.
Once those three basics feel automatic, chrome nails become one of the fastest ways to switch up a manicure without a salon visit.
Keep this breakdown handy for the next polish change, since the finish holds up best when each layer gets the same attention every time.
Grab the tools, follow these steps, and give the next manicure that mirror finish at home.
Tried this at home? Drop a comment with how the chrome finish turned out.